In today’s tutorial, I’m going to show you how to recycle a single Victorian pattern JPG into nine brand new patterns, all with the Illustrator CS6 Pattern Tool.
Introduction
Back in June, I put together a Victorian/Gothic Seamless Pattern Pack. I had just gotten Adobe Illustrator CS6 and was experimenting with the glorious Pattern Tool. With this experience in mind, I’m going to show you how to first use Image Trace on a JPG and then become a Vector Surgeon and recycle a pattern into nine new patterns!
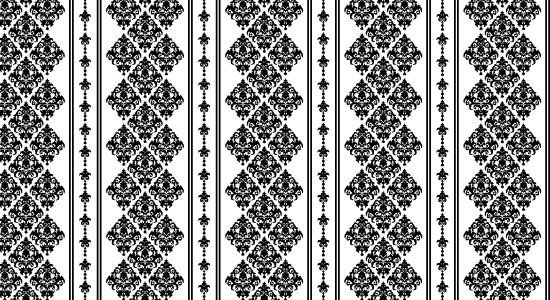
If you’d like to follow along with this tutorial, you can download the starting point JPG. Once you have that, we can get started!
Step 1
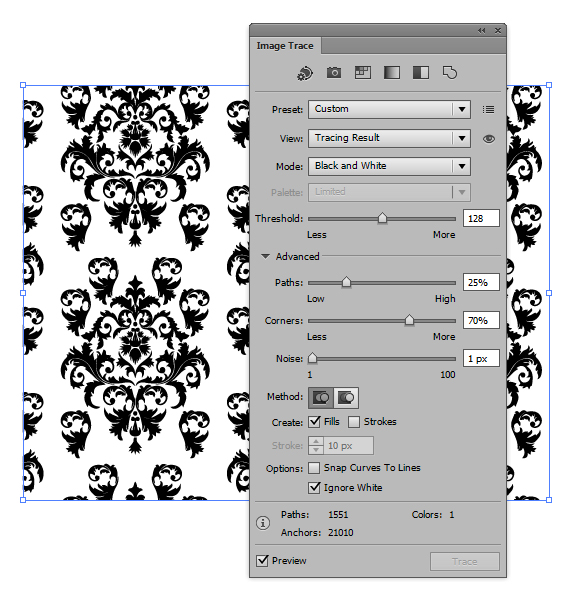
Start a New document and File > Place the Starting-Point.jpg on the canvas. I’ve used the Free Transform Tool (E) to reduce the size of it. Along the top of your Illustrator interface, you should have a button “Image Trace”. Click on this and then go into the Image Trace options. I’ve used the below settings to with one color (Black and White with Ignore White ticked).
Step 2
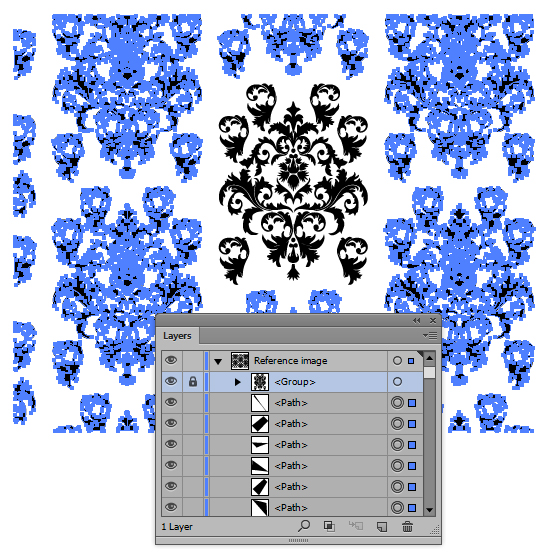
Go to Object > Expand to convert your Image Tracing to shapes. This will give you a Group with the shapes within.
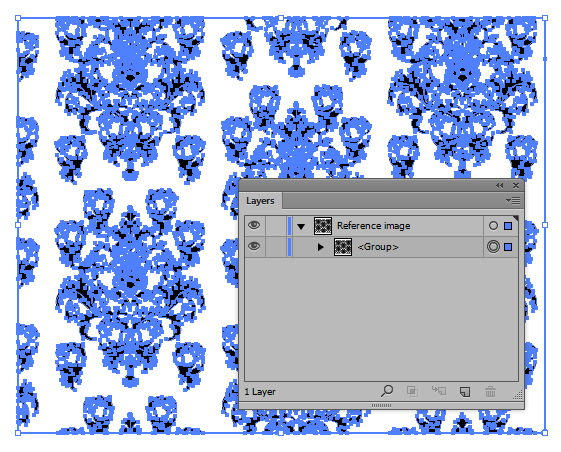
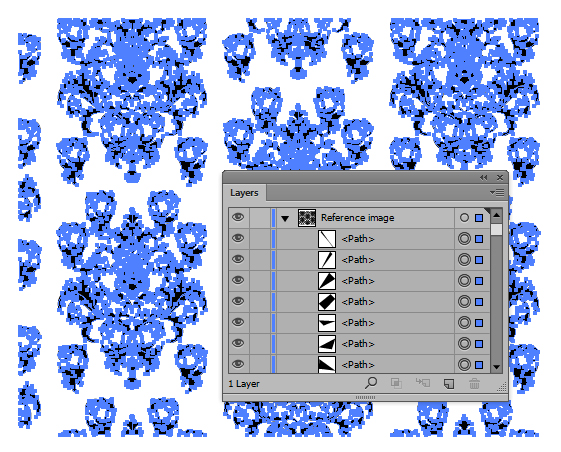
Use the Direct Selection Tool (A) to select a shape which isn’t black/doesn’t have a fill and then go to Select > Same > Fill Color. This will select all the shapes with a null fill. Just delete these shapes. Then select your Group and then Object > Ungroup (Shift + Ctrl + G).
Step 3
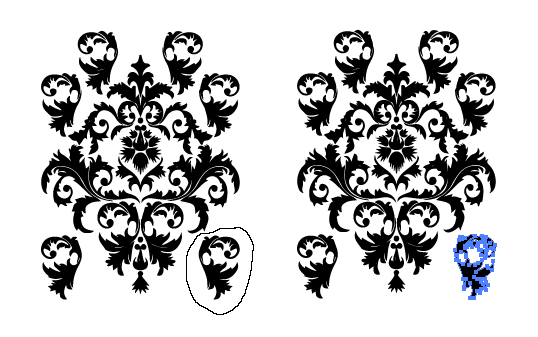
We just want one of the pattern components, so use the Lasso Tool (Q) to draw around one of the elements.

Group up the elements (Ctrl + G) and then lock it. Select All of the shapes (Ctrl + A) and then delete these shapes.
Then Object > Ungroup the shapes (Shift + Ctrl + G).

Step 4
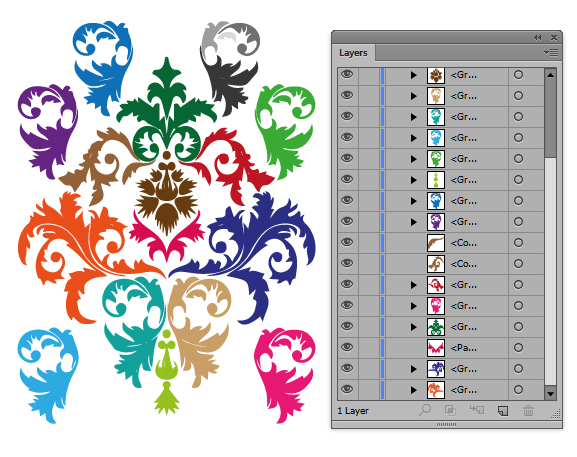
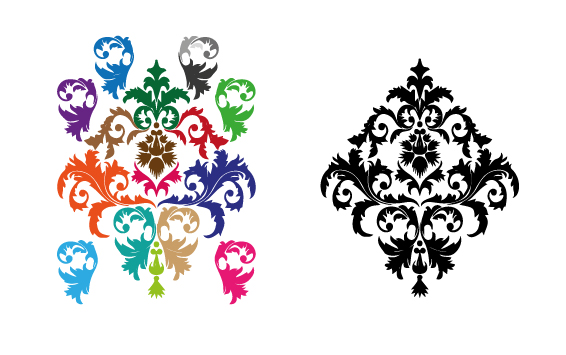
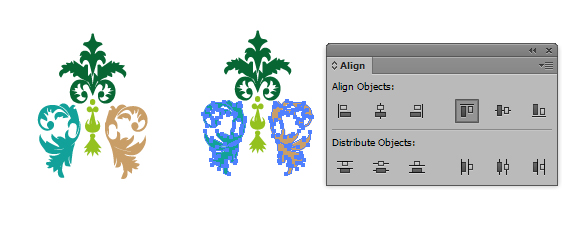
Use the Lasso Tool (Q) to then select and Group each part of the design (Ctrl + G).
Some parts I’ve left without a group and seen them as individual parts rather than a group. This is because they’ve been duplicated through-out. I’ve changed their colors here to show you briefly what groups I’ve made.
Step 5
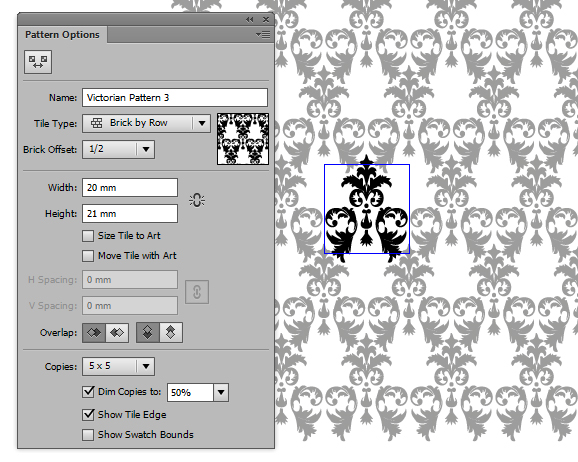
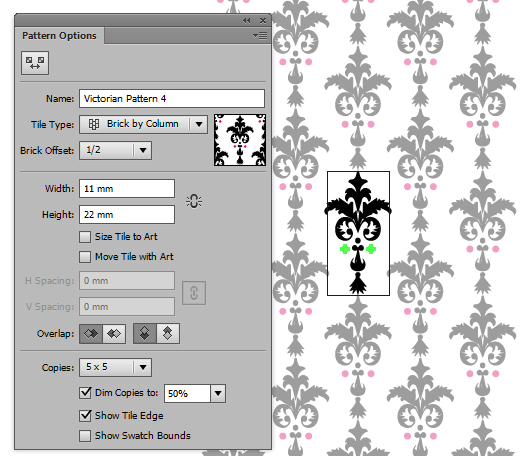
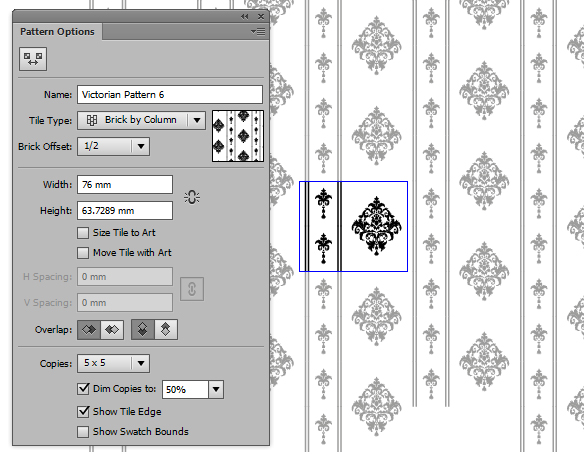
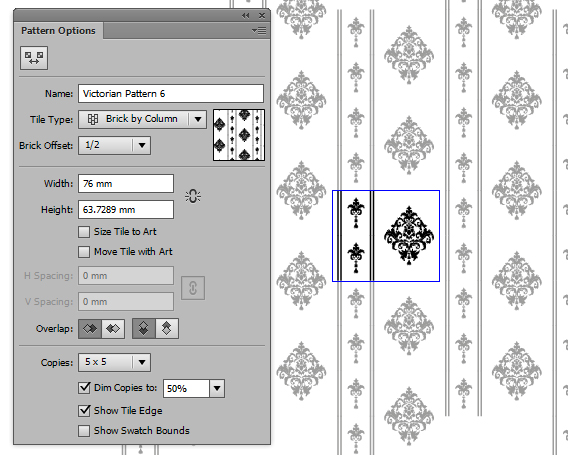
So we’re going to make a pattern first of all with the entire set of components from the Image Trace. This will more or less give us a duplicate of the original pattern, however this time it will be in vector and not a JPG. So to create a pattern, first select your group of shapes and then go to Object > Pattern > Make. You’ll get the Pattern Options panel below.
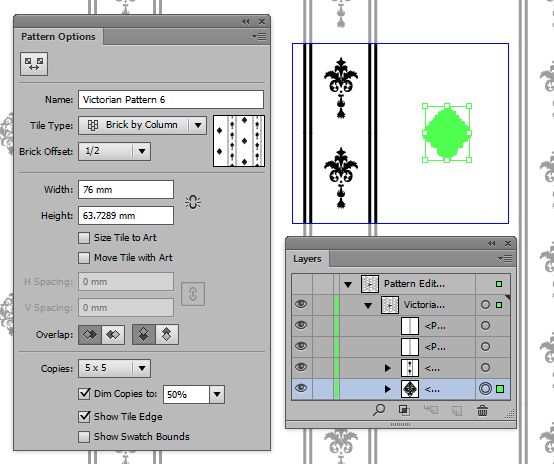
I’ve used the settings below. The options worth noting are the Tile Type set to Brick by Column and that it’s offset by a half. This dictates the placement of the other tiles compared to the original tile. I’ve also adjusted the Width and Height. Name your pattern and then click on “Done” to add it to your Swatch panel.
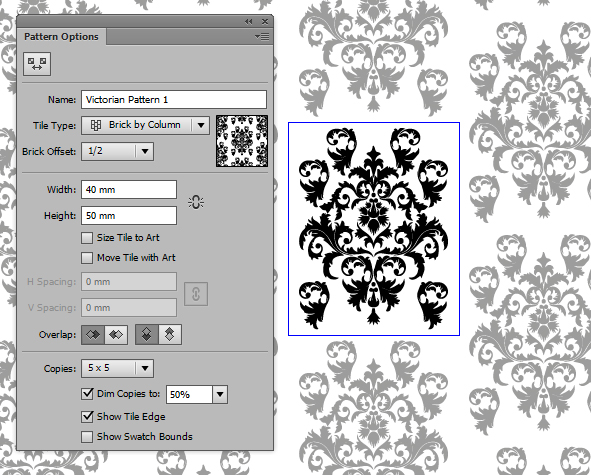
And below we have our first pattern which is a duplicate of our original JPG pattern.

Step 6
So I’m going to duplicate all my elements for the pattern and then delete the outer ornaments to produce the below diamond shape. Don’t forget to Group all the elements once you’re ready (Ctrl + G).
Step 7
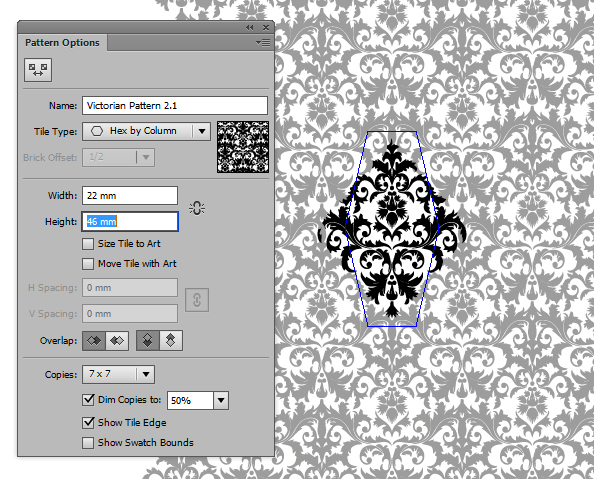
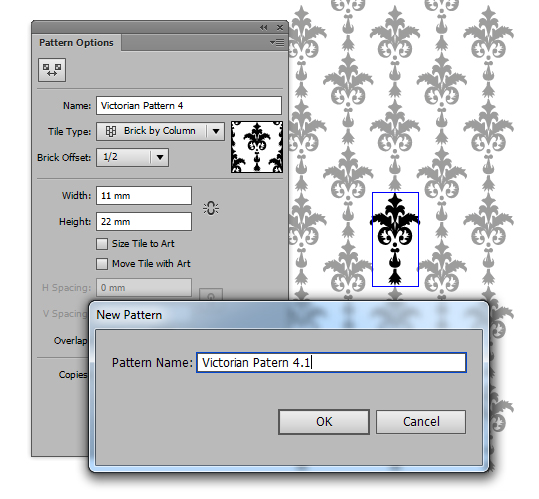
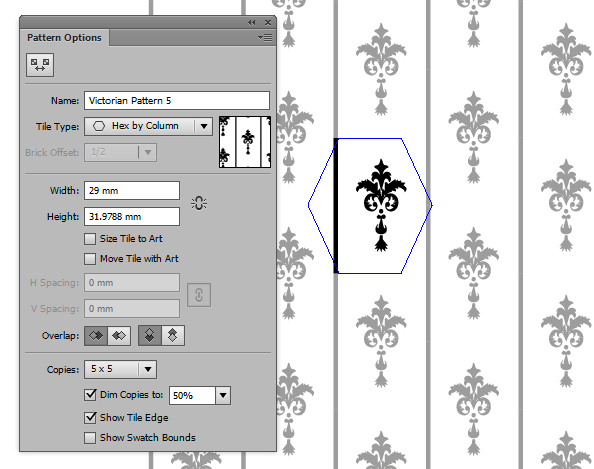
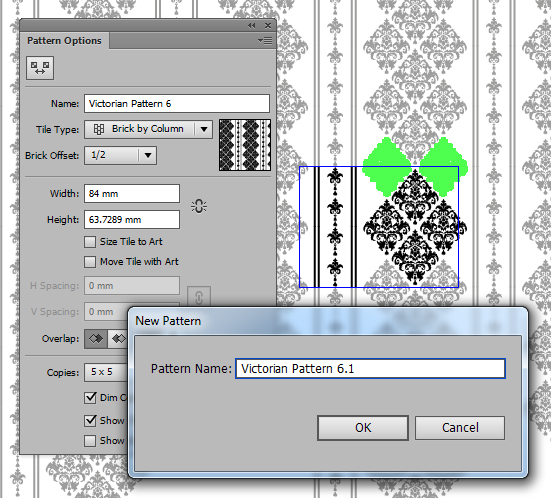
So this time around I’m going to use the Tile Type Hex by Column. However after I’ve modified the Width and Height, I’ve decided I want to create more than one pattern with this Group of shapes. So I’m going to “Save as Copy” and I’ve given it a name and clicked on Ok.

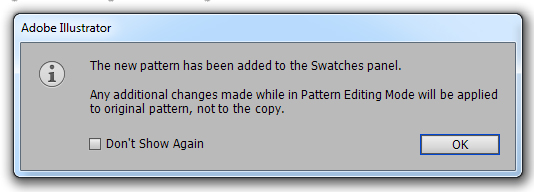
You’ll get the below dialogue box on the first time you do this. Not to worry, just click on Ok.
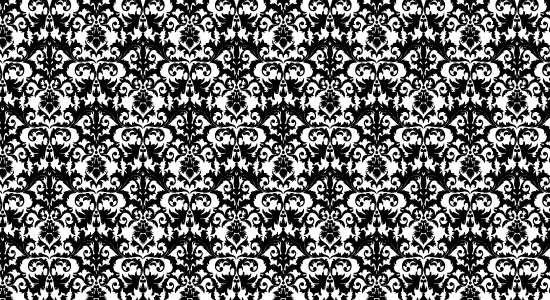
And below is the pattern we’ve created.

Step 8
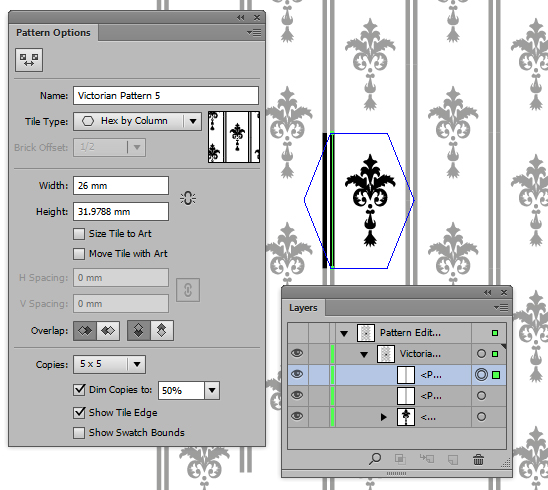
Even though you’ve created the one pattern with the diamond group, I’m going to create another and bring in the Width and Height values to give a more close up pattern.
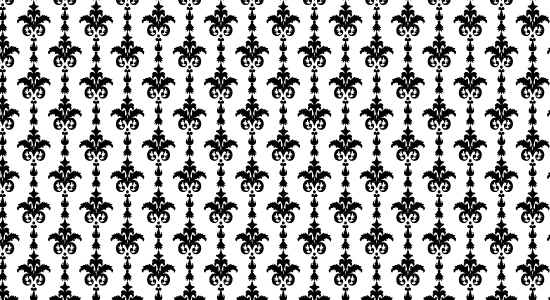
Give it a name different from the first pattern and click on Done. We’ve created two patterns, using the same group of flourishes just by changing the Width and Height settings. Now you may notice in your Illustrator that there are white gaps in between your seamless pattern. Don’t worry, this is because you’re previewing the vector, you’re not seeing it fully rendered. Just go to File > Save for Web and Devices to see the polished vector pattern.
Step 9
I’m going to create a little Frankenstein pattern now. So use the Selection Tool (V) to select and move groups of the larger ornament together. I’ve used Align > Vertical Align Top to ensure the side groups are aligned and so on. Little details to make sure your pattern is balanced will make the pattern look a lot tidier in the end.
Step 10
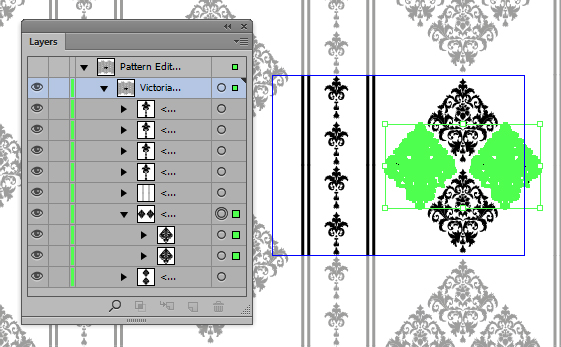
I have to admit as I’ve went along with these patterns, I’m just experimenting with what flourish groups and settings will produce what effects. So back using the Pattern Options, I’m using Tile Type “Brick by Row”. I’ve played around with the settings and I’m rather fond of this one. Click Done once you’re happy.
Accidentally, I think I’ve created some sort of Victorian Heart Shape Pattern just by playing around with the Pattern Options. That’s a pattern I’ll definitely use in the future!

Step 11
The shapes used previously, I rather liked so I’m going to just remove the flourishes on either side so I’m left with the central elements. I’m going to set the Tile Type as Brick by Column and use the below settings. I’m then going to Save as Copy.
This is the pattern I’ve created from those elements.
Step 12
While you’re in the Pattern Option mode, you can add new elements. Below I’m adding new elements by adding circles drawn with the Ellipse Tool (L). I’ve highlighted them in pink to show you and you can see how it affects the pattern as you add the new shapes.
You can also modify the elements you have, so I’m just going to use the Direct Selection Tool (A) to selecting two shapes to also fill with magenta.
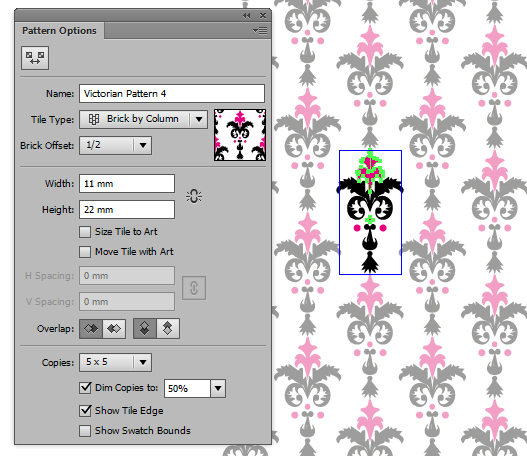
I’m going to save the pattern how it is like this. I rather like the black and magenta combo.
Step 13
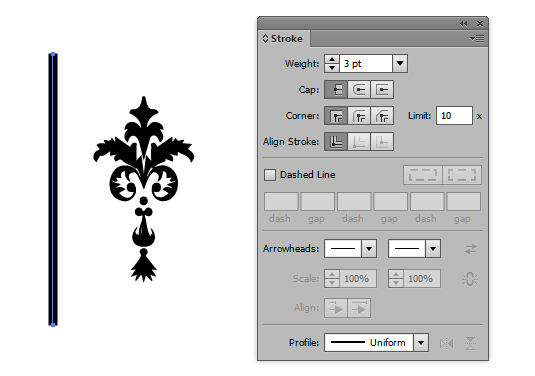
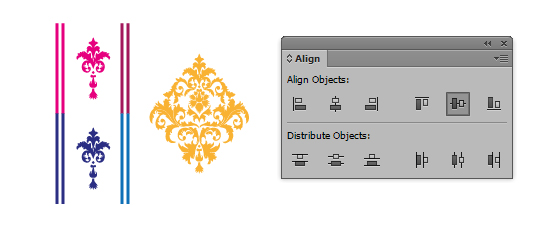
After adding new elements and changing elements during the Pattern Option mode, when you return back when finished, all these changes will be removed and you’ll return to your original collection of shapes. So I’m back with the flourishes we originally had and I’m going to add a 3pt vertical line with the Line Segment Tool (\). I’ve made sure it’s taller than our group of shapes. Use the Align > Vertical Align Center to ensure it’s tidy.
Step 14
This time around I’m going to use the Hex by Column Tile Type. When in the Pattern Options mode, I’ve left the Height the same. This height value is automatically generated by the height of your shapes. If I modify this it will create an overlapping of pixels when you save it and/or white gaps – depending on how you set the value. So I’m going to leave as is and increase the Width to make sure there is space equally either side of our flourish. Save as Copy for your first pattern.
Drill down into the Layers panel and select your line and then duplicate it. I’ve used the arrow keys on my keyboard to nudge the line to the right and then adjusted the Width accordingly. Click on Done when you’re finished.
Here are my two new patterns! You get into a bit of a trace when creating these as it’s so easy to create many different combinations just by duplicating shapes and playing with the settings.
Step 15
Let’s get a bit more complex. I’m going to use the previously created diamond shape and then two of the flourishes. Don’t forget to use your Align options to make things tidy and flush to each other.
Step 16
I’m using the Tile Type Brick by Column and as before, I’ve kept the Height value as the default. I’ve then altered the Width so there is equal space on either side of the diamond. Click Done when you’re finished.
This is a rather large pattern, so when I’ve used it as a fill you don’t really get to see the full effect. So I’m going to select the Rectangle (M) my pattern was in and go to Object > Transform > Scale. Make sure only the Transform Patterns Option is ticked and I’ve halved the scale of the pattern and clicked on Ok.
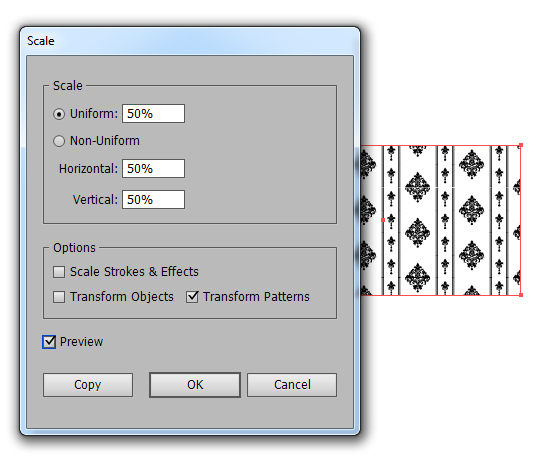
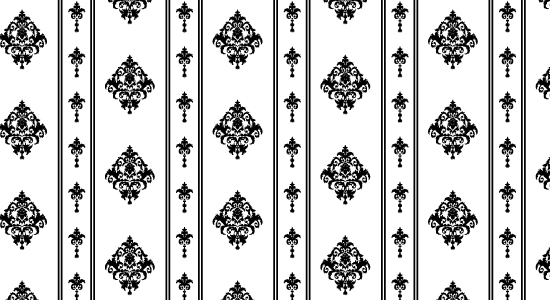
Now you can see my new pattern in all it’s glory. This one reminds me more so of a Victorian wallpaper pattern.
Step 17
Say I want to modify a pattern I already have or make a similar pattern to a one already created. You can just double click it in the Swatch panel which is what I’m doing here with the wallpaper looking pattern.
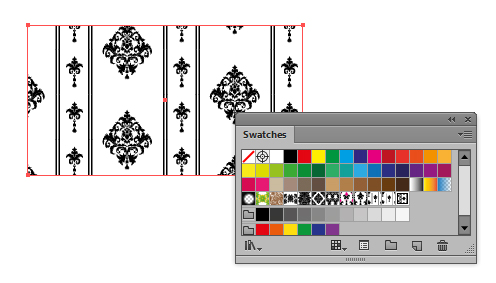
When you do this, it pops up with your Pattern options. You can go in here to modify the pattern as you like – click on Done or Save as Copy depending on which way you want to go.
Step 18
In this case, I’m going to drill down into the Layers panel. I’m going to use the Free Transform Tool (E) to reduce the size of the diamond group. As usual, the pattern will update as I go along.
Step 19
I’ve duplicated the diamond group to create another diamond shape. I’ve used the Align panel to make sure the vertical diamonds are center aligned to each other and the horizontal to each other. I’ve then selected both groups and make sure they are center aligned. I’ve duplicated the flourishes on the side and reduced them in size so four can fit along the side of our design.
I’ve then duplicated the horizontal diamond group and placed it along the top of the larger diamond. The shapes overlapping across the top of the boundary of the tile will appear along the bottom of the pattern as you’ll see in real time. I’m going to Save as Copy this time around, as I don’t want to change the original pattern.
Conclusion
I hope you’ve enjoyed today’s tutorial and learnt how to recycle one Victorian pattern into many. Experiment with the settings, shapes and colors and see what you can come up with yourself. The Pattern Tool is a lot of fun and you’ll end up creating a whole library of Victorian patterns, just from the one pattern.