At Vectortuts+ we love seeing new talent and encouraging readers to take part in a variety of design challenges. Last week we launched Tuts+ Workshop: Alphabet Design Challenge. It’s aim is to create illustrative letter designs, which will then be showcased in a series of articles. As part of the workshops series of tutorials, I’d like to share with you previously published illustration based vector text effect tutorials here on Vectortuts+.
![]()
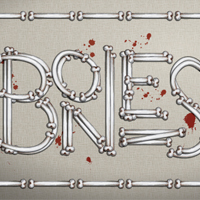
How to Create a Bone Calligram with Art Brushes
Perhaps try B is for Bone? We’re going to show you how to create a “Bones” calligram in Adobe Illustrator. We’ll show you how to create a bone Art Brush with a painted look and then finishing the composition with blood splatters and a textured background.
![]()
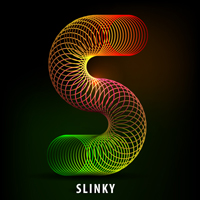
How to Create the Letter S in the Shape of a Slinky Toy
Why not S is for Slinky? In this tutorial we will create the letter S in the shape of a slinky toy. For these purposes we will be using the Blend Tool and simple circles.
![]()
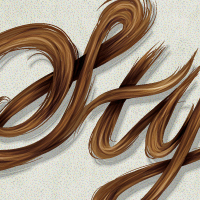
Create a Stylish, Vector Hair Typography Illustration
H is for Hair perhaps? We’re going to show you how to create this stylish piece of hair typography in Adobe Illustrator CS5. We’ve also finished it off with a quick aged coloring giving it a vintage design feel.
![]()
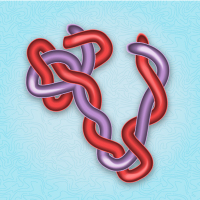
Quick Tip: How to Create a Tangled Text Effect
How about, T is for Tangled? Follow this quick tip and learn how to create a simple tangled text effect using Art brushes and Opacity masks in Illustrator. We will use two paths but the same techniques can be applied for three or even more.
![]()
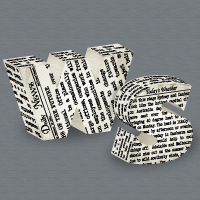
Create a 3D Newspaper, Text Effect in Adobe Illustrator
And how about, N is for Newspaper or M is for Magazine? Follow this tutorial and learn how to create a 3D newspaper text effect using the Extrude & Bevel effect and the Map Art option. We will create all the pieces of newspaper with the help of the Area Type Tool and save them as symbols. We’ll then give this effect a discreet old look by using the Note Paper effect. We will also work with graphic styles to speed up the workflow.
![]()
Quick Tip: How to Use Typography to Create a 3D Text Effect
Why not try T is for Text or Typography? Follow this quick tip and learn how to use typography to create a 3D text effect. It may seem complicated but it takes only a few fonts, the 3D options and some extra adjustments at the end.
![]()
Quick Tip: How to Create a Vector Grass Text EffectCheck out this fun tutorial for G is for Grass! Follow this quick tip and learn how to create a simple grass text effect. We will use the Note Paper effect then with the help of the Live Trace options to obtain the vector shapes that we need. The Pucker & Bloat effect can be used successfully in this case to create a pretty realistic grass look.
![]()
Create a Paint Roller Illustration with a Grungy, Paint Text Effect
How about P is for Paint or even R is for Roller? In the following tutorial you will learn how to create a paint roller illustration with a grungy, paint text effect. We’ll use proven pixel perfect vector build methods, add lighting and Opacity effects, and trace raster grunge effects into vector paths. Learn each step of how to create this paint roller text effect.
![]()
How to Create Smoky Brushes and Type In Illustrator CS4
Try out S is for Smoke or as an additional effect for C is for Cigar or Cigarette? We will explain how to create realistic smoke, make it into a brush and use it for type. Let’s light up our vector cigarettes and get started smokin’!
![]()
Quick Tip: How to Create a Mosaic Text Effect
How about M is for Mosaic? In the following quick tip you will learn how to create a Mosaic text effect. It all start with the background. A simple rectangle filled with a flat color, a radial gradient plus a Film Grain effect. For the text you will use a nice, free font. After you expand it you will add the final colors and some basic effect. Give it a try and you might learn some new tricks about Illustrator’s 3D options. The final effect is easily edited so you can add your favorite colors or effects.
![]()
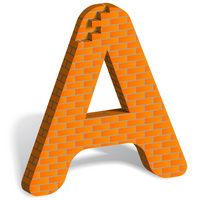
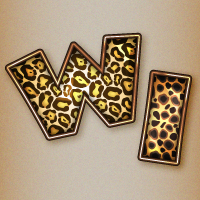
How to Build Letter Art From Bricks In Illustrator
And perhaps try out B is for Brick or W is for Wall? In this tutorial we’ll use 3D-rendering, Blends, and an Art Brush for creating the final brick art. The skills you will learn here can easily be transferred to creating various brick letters. Enhance your vector skills as a digital brick artist in today’s Illustrator tutorial.
![]()
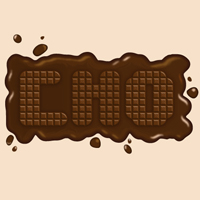
Quick Tip: How to Create a Delicious Chocolate Text Effect
You could try out C is for Chocolate? For all the chocolate lovers out there, here is how to create a delicious chocolate bar text effect in Illustrator. You will use the Blend Tool, effects like Roughen and Chrome, different Blending modes and also the 3D Extrude & Bevel effect to create perfect chocolate squares.
![]()
Playing with Stationery Art Brushes and the Live Paint Bucket
This one has so many possibilities, S is for Stationery, P is for Pencil, Paintbrush or Pen, C is for Crayon? We’re going to show you how to create some line art style stationery art brushes. You’ll then learn to combine them with the Live Paint Bucket to create a typography piece.
![]()
Creating Simple Origami Style Typography in Illustrator
And how about O is for Origami? In this tutorial you will learn how to create a simple Origami style piece of Typography. You will create a set of basic shapes to build letters from and see how to refine those into a more realistic look of your type. Gradients and the appearance panel will help us, to create the final completely custom type.
![]()
Create a Lace Text Effect in Adobe Illustrator
Jump into L is for Lace or get creatively naughty with U is for Underwear! Follow this tutorial and you will learn how to create a beautiful lace text effect. You will use many effects and you will define many personalized Art and Pattern Brushes that will help you create a Lace Pattern Brush that works with any color.
![]()
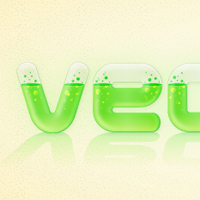
Create a Glassy Text Effect Filled with a Green, Acidic Substance
Get into the mix with C is for Chemistry, P is for Potion or A is for Acid. In the following tutorial you will learn how to create a glassy text effect filled with a green, acidic substance. You’ll use shape creation tools, Opacity Masks, and filters. This project could work well to add a mad scientist feel to your next creative design project.
![]()
Create a Stitched Type Effect in Adobe Illustrator
Perhaps P is for Patch or F is for Fabric? In this tutorial you will learn how to create a stitched type effect. You will create simple geometric patterns, a pattern brush and use the Appearance panel to create the final look.
![]()
Quick Tip: Create an Animal Print Text Effect with Adobe Illustrator Pattern Swatches
Try out W is for Wildlife, J is for Jaguar or C is for Cheetah. In the following tutorial you will learn how to create an easy animal print text effect using Adobe Illustrator’s default jaguar and cheetah patterns. You will also learn how to add with multiple fills and effects to further enhance the text.
![]()
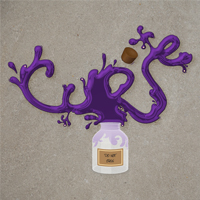
Create a Jar Illustration and Splashy, Purple Text Effect
Get creative with L is for Liquid, P is for Potion or even S is for Spill! In the following tutorial you will learn how to create a jar illustration and splashy, purple text effect. We’ll craft this with numerous, layered shapes and with various opacities. We’ll work with paths and the Pathfinder tools to enhance our text, give it dimension, and style. Let’s get started!
![]()
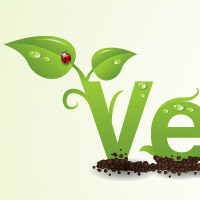
Creating an Environmentally Friendly Green Type Treatment
Try out L is for Leaf, G is for Growth, N is for Nature or even P is for Plant? With oil prices the way they are today, everybody is thinking Green. We have done many projects recently that require a Green style applied to the design. In the following Illustrator tutorial, we’ll teach you how to create a Green type treatment. It works great for logos and other design elements.
![]()
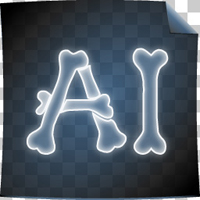
Quick Tip: How to Create an X-ray Print
Try a less attractive letter with X is for X-ray? In this tutorial you will learn to create a stylish x-ray print in just a few easy steps. It’s perfect for stylized typography or even an element for an illustration.
![]()
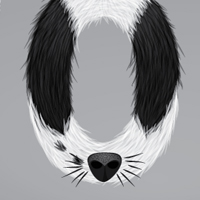
Create a Furry Calligram in Illustrator
More animal text effects, perhaps D is for Dog or F is for Fur? In this tutorial we will walk you through creating your own calligram inspired by a dog named Poppy. You’ll learn how to manipulate a typeface through to rendering fur, adding doggy features, and various details.
![]()
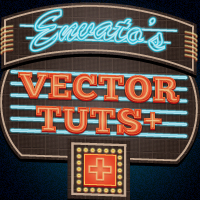
Create a Glowing Neon Sign using the Appearance Palette – Screencast
Get complex with N is for Neon? This tutorial shows the potential the Appearance Palette in Adobe Illustrator. We’ll be building an elaborate neon sign, utilizing the Appearance Palette to speed up the process and remove the need of drawing complex paths.
![]()
Create a Silky Ribbon Text Effect
Perhaps try R is for Ribbon or S is for Streamer? In the following tutorial you will use the Pen and Gradient tools to create a swirling ribbon text effect. Even though we’re applying the ribbon to text, you can use this this effect to make shapes and scrolls.
![]()
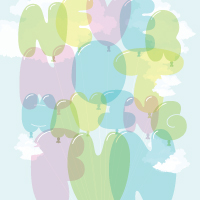
Getting Carried Away with Balloon Lettering
Add your ribbons to B is for Balloon to create P is for Party! If there are balloons near by, you’ve probably had or will be having some fun. We love balloons! So in this tutorial we will cover the process of creating some illustrative shiny balloon lettering. You will also learn how to create rounded, semi-transparent, bubble letters that will make up the basis of the balloon lettering. Let’s have some fun!


How to Get Involved!
Would you like to participate in the Tuts+ Workshop: Alphabet Design Challenge?
How to Enter this Tuts+ Workshop:
- Check out the launch article for more information and guidelines, then…
- Upload your design to the Vectortuts+ Facebook Group with a short description of the design.
- Add your name, website (if any) and a short bio about you.
- That’s it! We’ll do the rest and collate all alphabet designs into a series of showcasing articles!