In this tutorial we’re going to illustrate a not so scary vampire in a geometric style. We’ll be using basic shape tools and the Pathfinder panel as well as a great method of creating a unique color palette. Let’s get started… mwahahaha!
Step 1
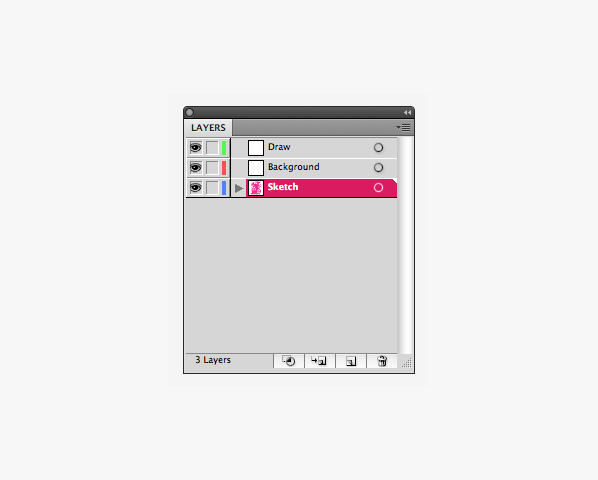
First create a New document (Cmd + N) in this case the size is 600 x 800 px. Add two new layers in the Layers panel in this order: on top its the "Draw" layer (in this layer we going to draw our vampire), then the "Background" layer and last, rename "Layer 1" to "Sketch" layer.
Step 2
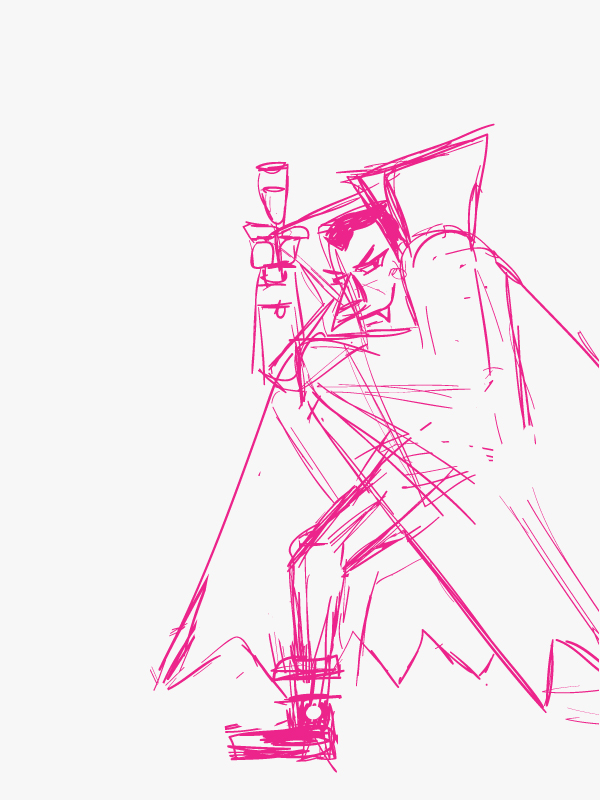
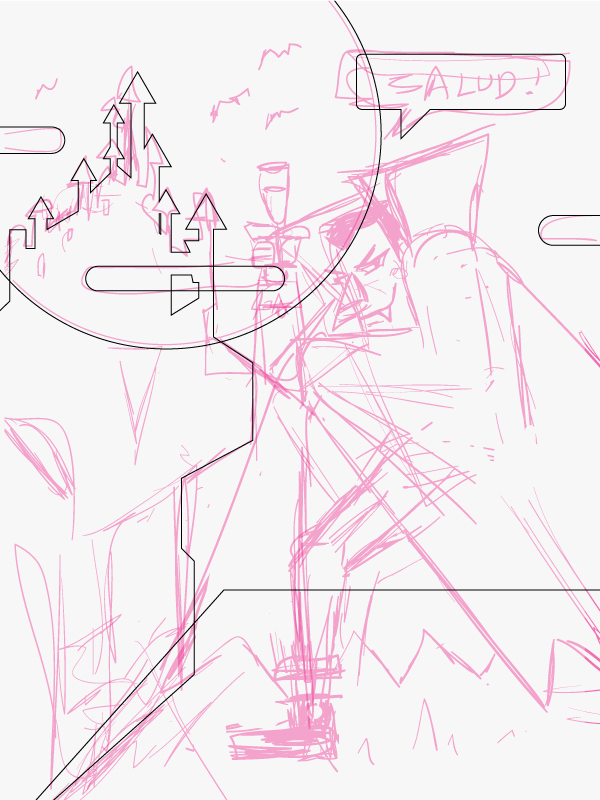
In the "Sketch" layer use the Blob Brush Tool (Shift + B) and draw the base of the illustration. Don’t focus on details, just the composition and shapes.
Step 3
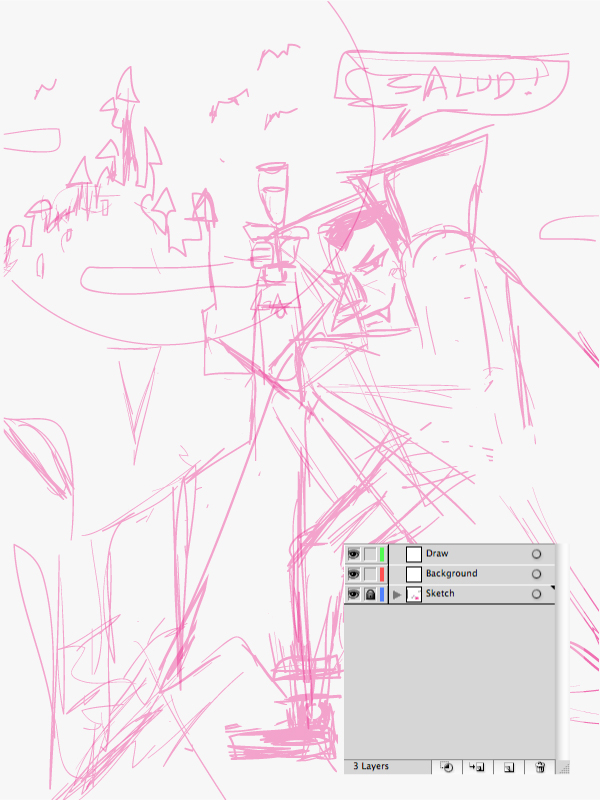
When you finish your sketch Select All of the drawing and give them an Opacity of 40%. This will make it easier to trace from. Then lock the "Sketch" layer.
Step 4
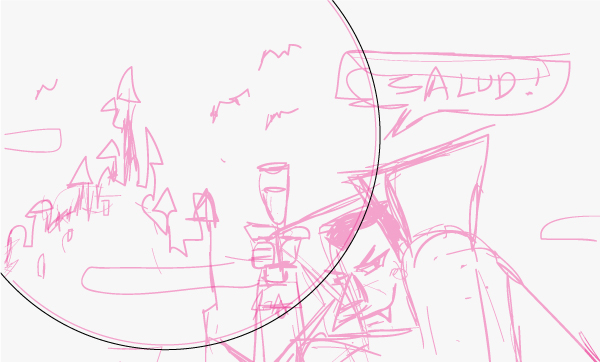
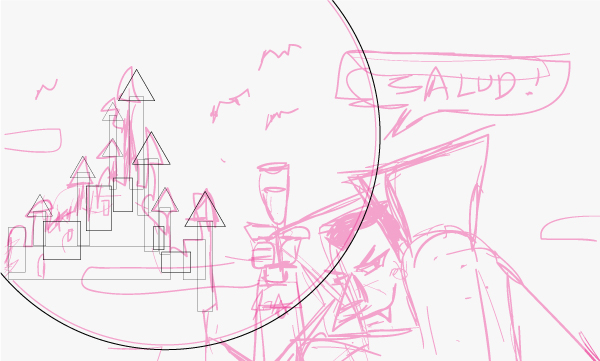
Now in the layer "Background" we are going to illustrate the moon. To draw it use a black line with a 1pt Stroke Weight and no fill, draw a simple circle with the Ellipse Tool (L).
The castle is made from rectangles drawn with the Rectangle Tool (M) and triangles drawn with the Polygon Tool. To draw a triangle quickly, select the Polygon Tool and click once on the artboard and select 3 sides. Then duplicate the triangles and resize with the Free Transform Tool (E). Align the rectangles and the triangles to the Horizontal Align Center in the Align panel, this will create the towers.
Step 5
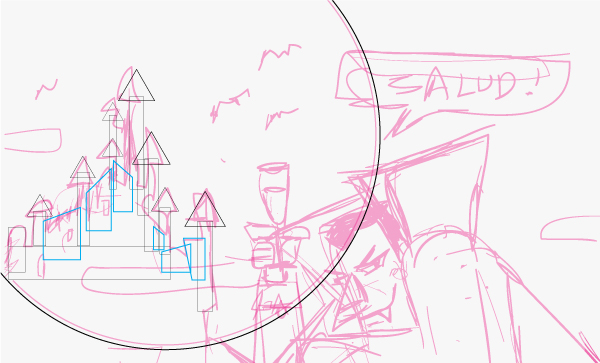
Using the Direct Selection Tool (A), select points at the top of some of the rectangles and move them downwards to give them some variety and character.
Step 6
When you’re done with the castle basic shape select all the figures and use Unite in the Pathfinder panel to combine all the geometry. Your castle should look something like the below.
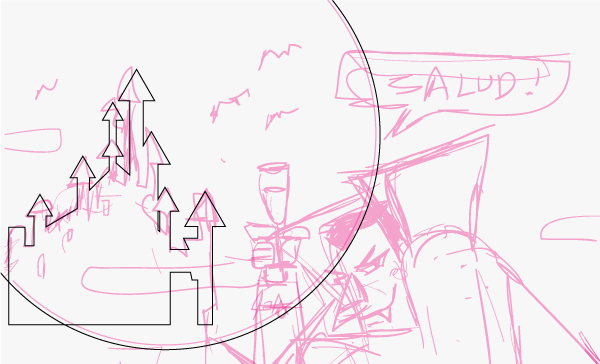
With the Pen Tool (P) you can draw the rest of the castle or you can use rectangles and move their anchor points where ever you feel is best for your composition.
Step 7
To draw the clouds you can use the Round Rectangle Tool. If you hold-Click you can change the roundness from the edges with the arrow keys.
Step 8
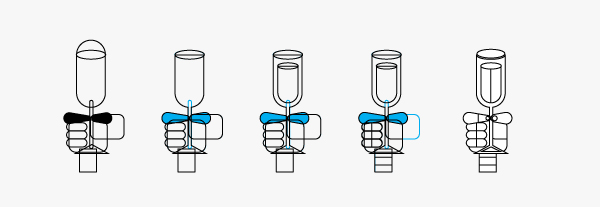
To draw the bats you can start with some triangles. Select your triangle and drag it by pressing Alt + Shift to duplicate it in the same line. Then Cmnd + D to repeat that step and duplicate another triangle in the same direction. Then you flip them and join them with the Pathfinder panel, duplicate the wing and use the Reflect Tool (O) to mirror the wing. Add some triangles to make the ears and finally adjust some nodes. Smart Guides (Cmnd + U) will help you align and plot points more neatly here.
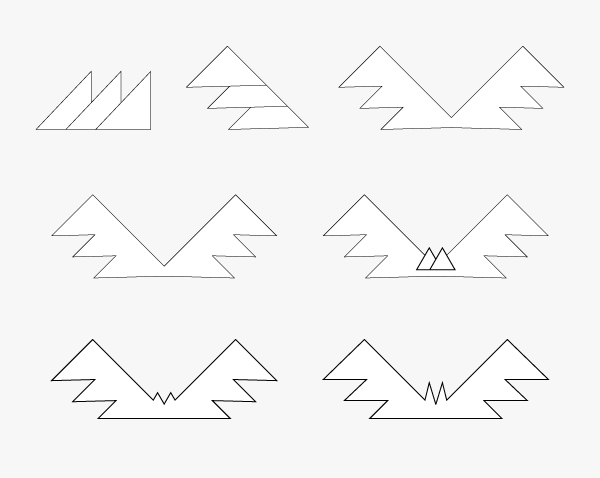
Your background should look something like this.
Step 9
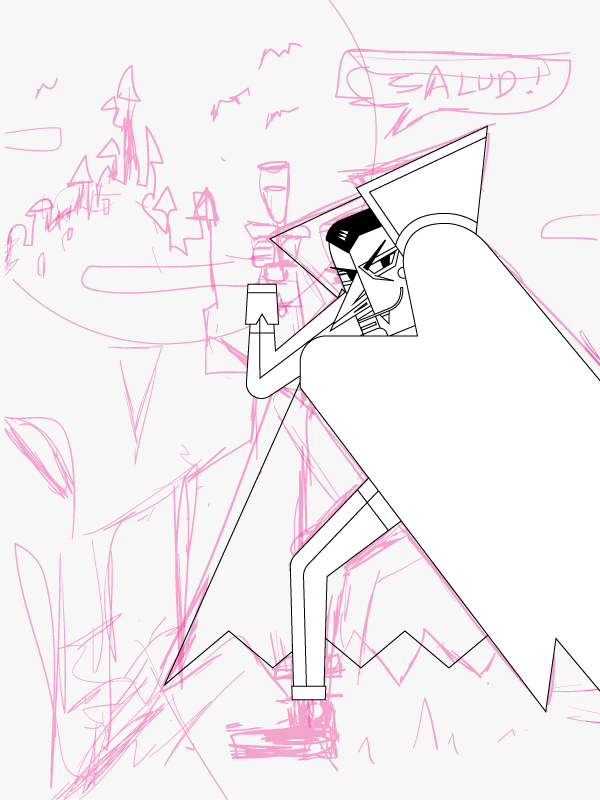
Now we are going to draw our vampire. You can hide your "Background" layer and now go to the "Draw" layer and start our vampire.
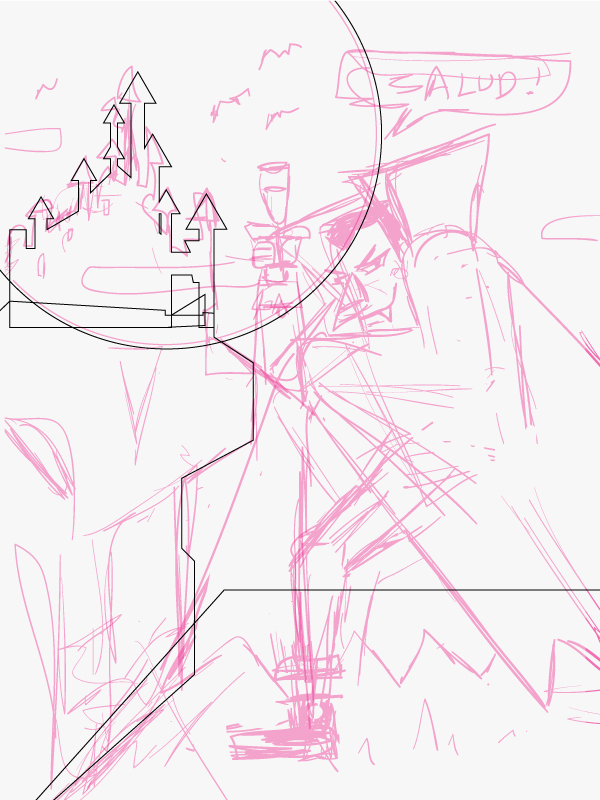
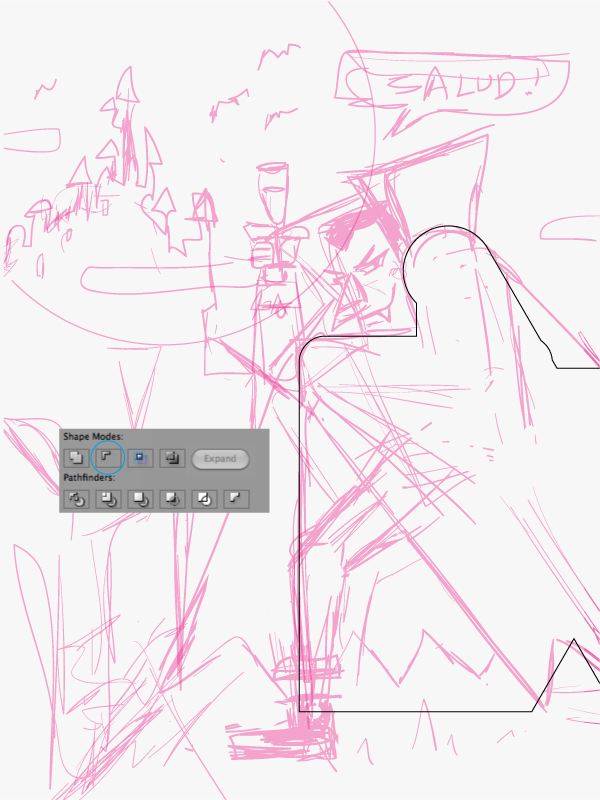
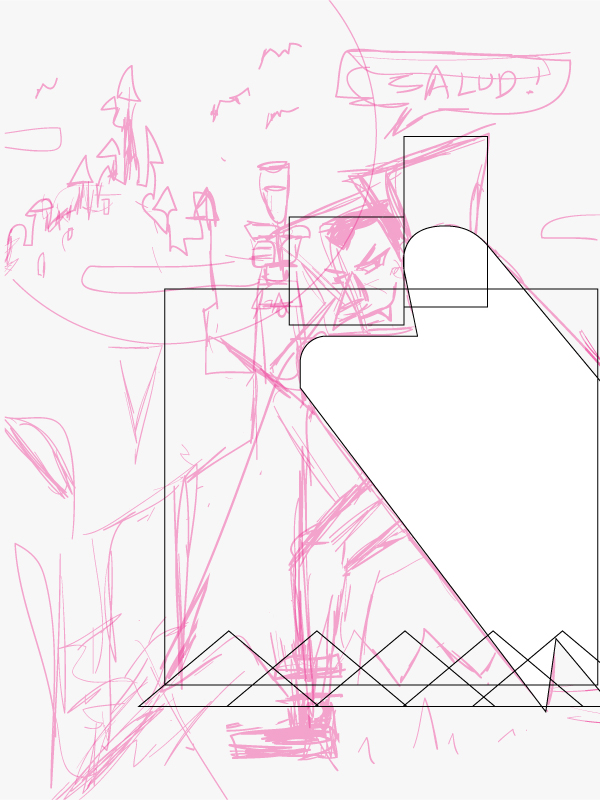
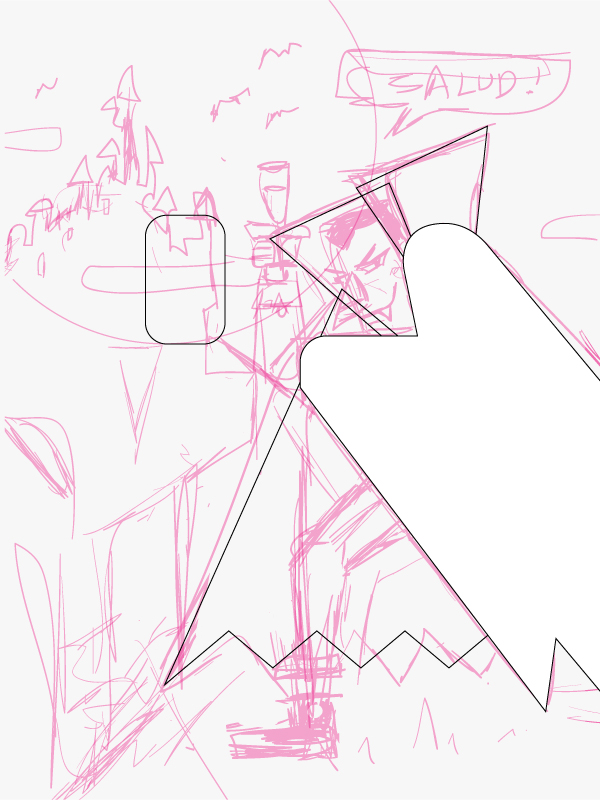
We can begin with our vampires cape. To draw it you can do it with pure geometric shapes such as Circles (L), Rectangles (M) and triangles just as you see in the image.
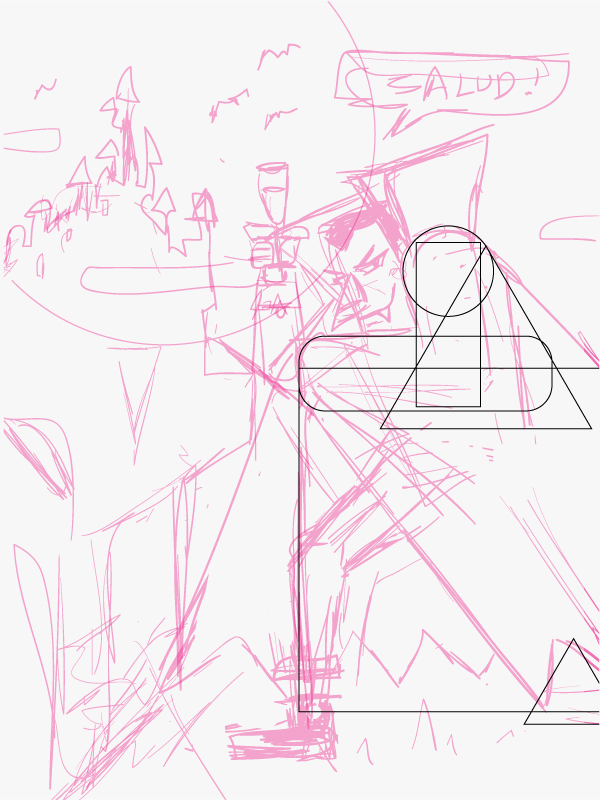
Use Unite in the Pathfinder panel with every shape except the triangle below. That triangle will be used with Minus Front in the Pathfinder panel to subtract from the cape.
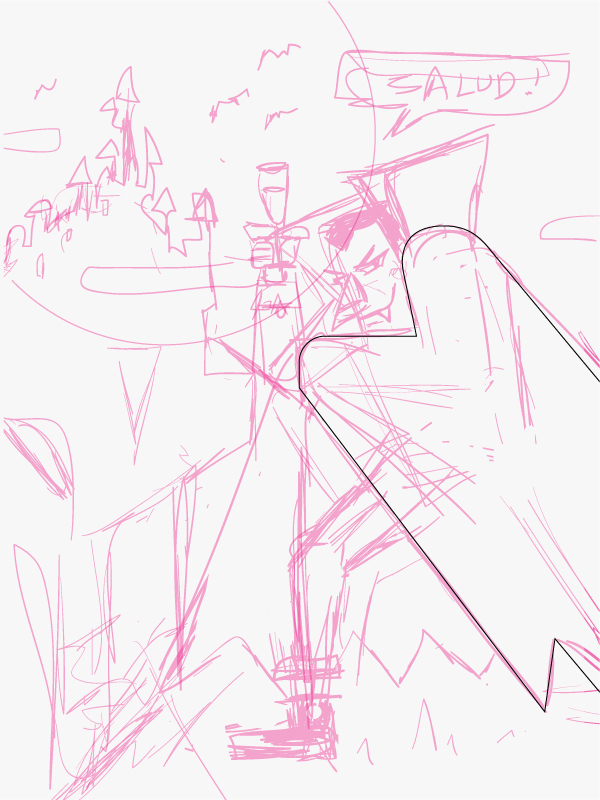
Adjust and clear some anchor points with the Direct Selection Tool (A) and remove the unnecessary anchor points with the Pen Tool (P) by clicking on them. This will help create a smoother line along the back of our vampire.
Step 10
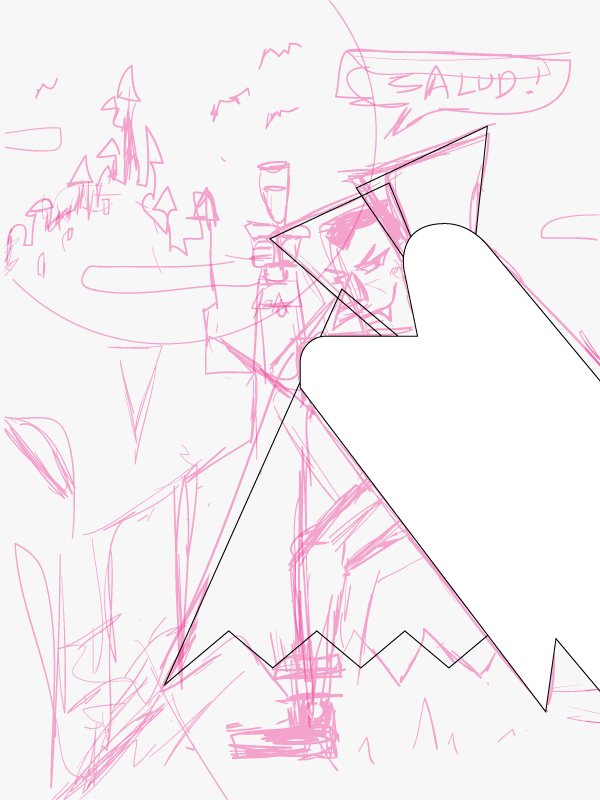
Repeat the same to complete the whole cape and collar.
Your vampire cape should look something like this.
Step 11
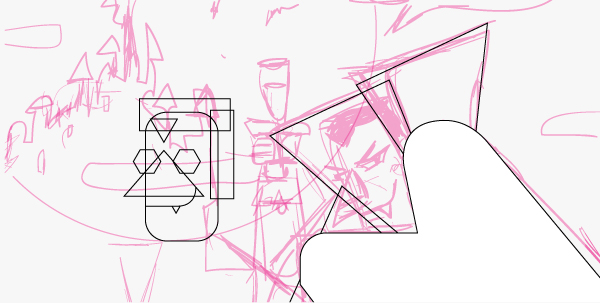
To draw the vampire head we are going to follow the sketch, however we’ll draw it in the vertical position as it will be easier. The base of the head is a Rounded Rectangle.
The eyes are a Polygon of 6 sides, the nose is a triangle, the mouth is a simple line and the tooth is a triangle.
Step 12
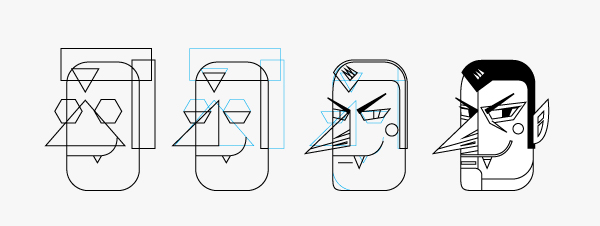
To edit the shape you can use the Eraser Tool (Shift + E) and clear by pressing Alt to do straight clears. Also you can use the Pathfinder panel to Minus Front on some of the shapes. For example here we clear with a straight erase the eyes and we use the Pathfinder for the hair. To the nose we add detail by duplicating the some shapes and moving anchor points.
Step 13
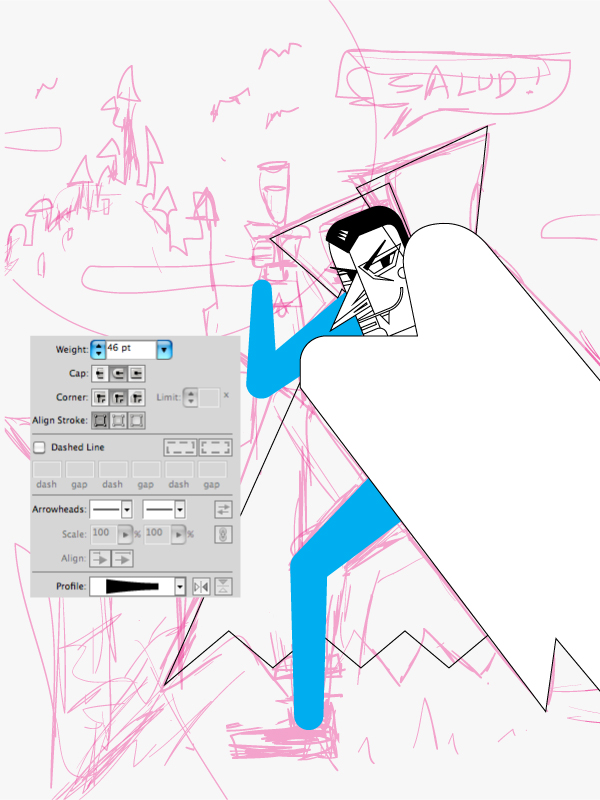
We will draw our vampires arms and legs with the Pen Tool (P), to draw lines in a V-shape.
Now with the Width Tool (Shift + W) give some volume to the lines and when you are done with this, select them and apply Outline Stroke (Object > Path > Outline Stroke). Remember to arrange your objects were they belong. In this case the arm its behind of the head to do it you can select it, then cut it with Cmd + X and select the head and Paste to Back (Cmd + B). Do the same with the objects that you see are not in their place.
Step 14
To eliminate those unnecessary anchor points in our legs and arms you can use Merge in the Pathfinder panel.
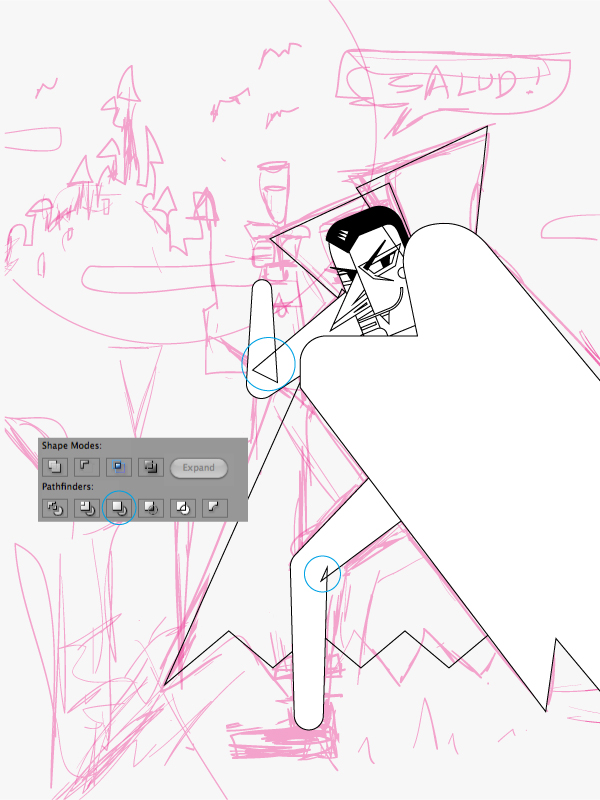
To add detail to the legs first you can do some straight cuts by selecting the object and using the Eraser Tool (Shift + E).
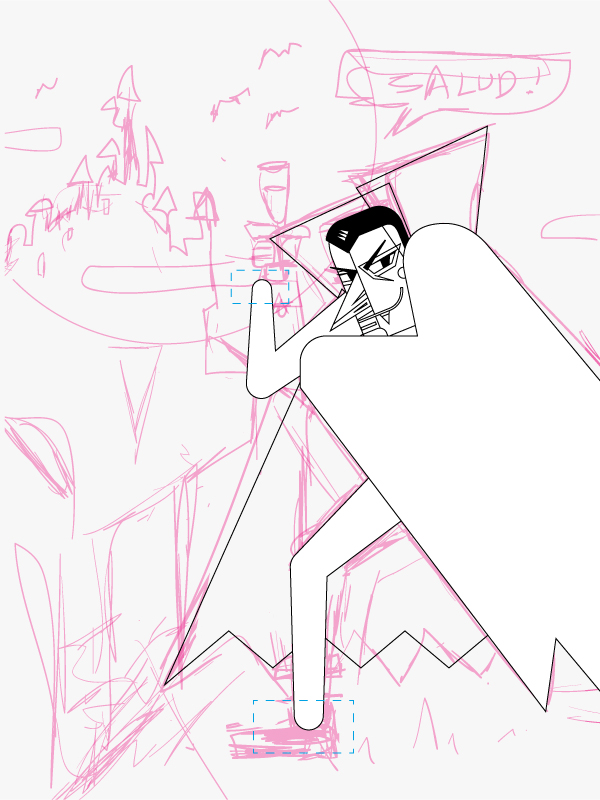
To add more detail you can duplicate your objects with Paste in Front (Cmd + F) and start editing them with the Eraser Tool (Shift + E) to create some details on the pants and shirt or drag them to create a shadow. You can take advantage of all the geometry that you already have, just remember if you are going to use the Pathfinder panel, duplicate your base object first.
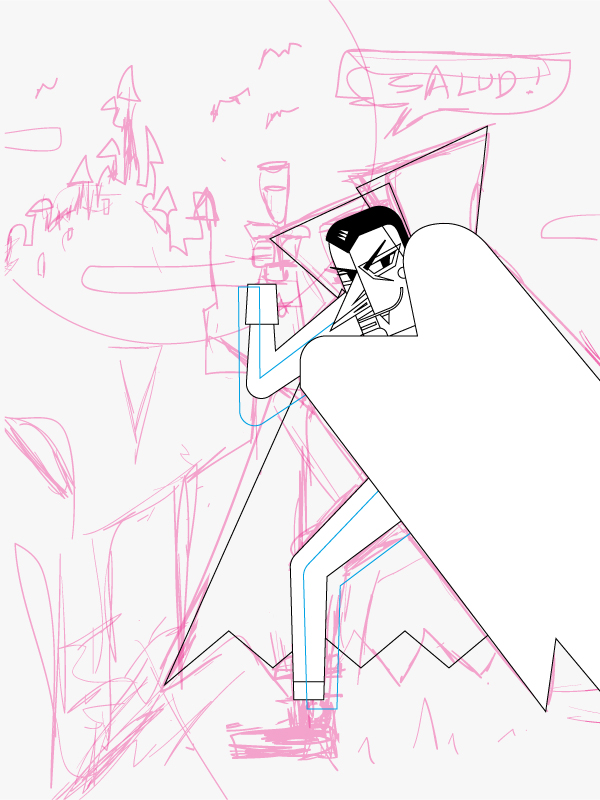
Step 15
Our vampire should look something like the below.
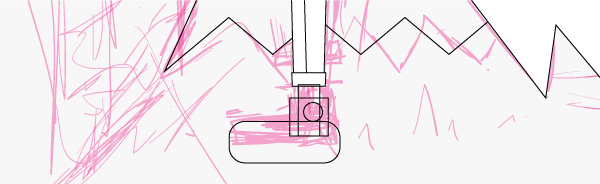
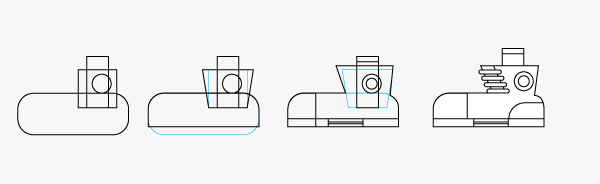
To draw the foot you can use some Rectangles (M) and Rounded Rectangles. Let’s begin to edit them.
To make the shoe you can first erase a part of the Rounded Rectangle and adjusting some anchor points of the rectangle. Then use Unite in the Pathfinder panel to combine the sides and tongue of the boot. Add further detailing with the Pen Tool (P) and shape tools, remembering to use the Pathfinder panel to Unite and Minus Front where required.
Step 16
To draw the cup and the hand it is the same process of creating basic shapes and using the Pathfinder panel.
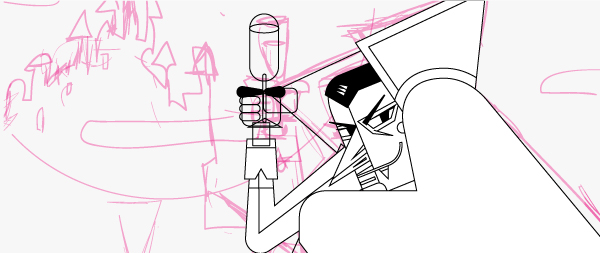
The hand is made mostly of Rounded Rectangles and the fingers that are holding the cup were made the same way as the arm and leg. With a simple line and the Width Tool (Shift + W) we apply outline stroke and start editing our figures with Pathfinder and moving some anchor points, duplicating and erasing straight on objects.
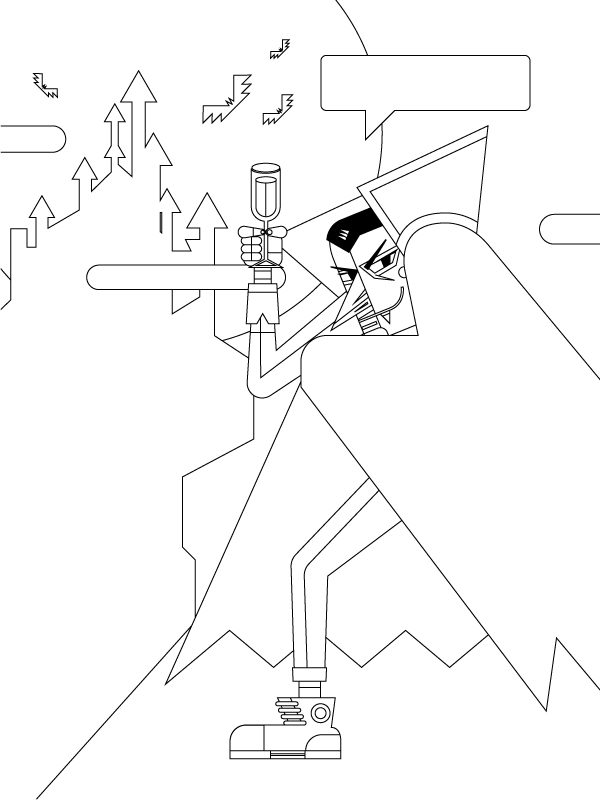
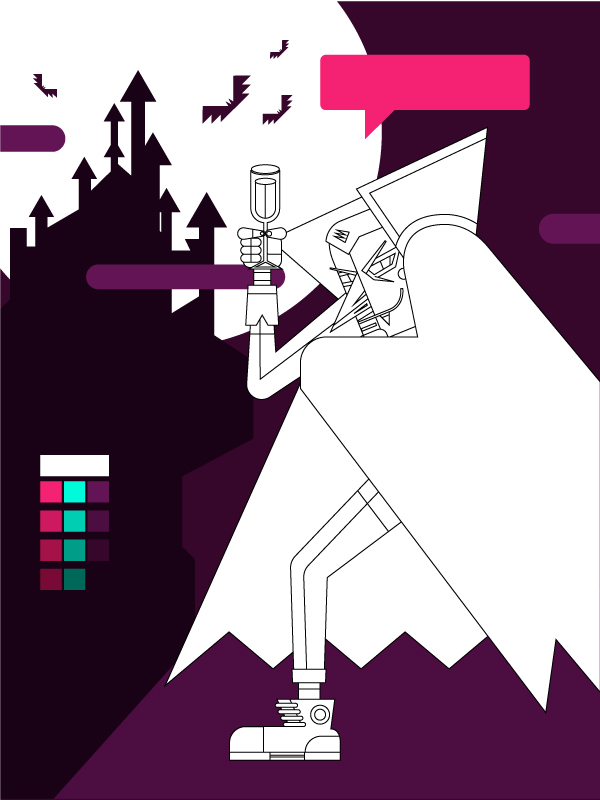
Step 17
You can now delete your "Sketch" layer, our illustration at this point would look something like the below. To maintain a more organized drawing you can Group (Cmd + G) the vampire in parts as the leg, the arm, the front cape the head, and the cape from the back the same with the background.
Step 18
Now we are going to generate our color palette, the colors from this illustration are:
- Pink: #E80061
- Dark Pink: #610028
- Mint: #23FDD1
- Dark Mint: #0C5748
- Purple: #4D0B42
- Dark Purple: #140311
To generate more tones in this palette we can use the Blend Tool (W) and use it in every color making a blend from the normal tone to the darker.
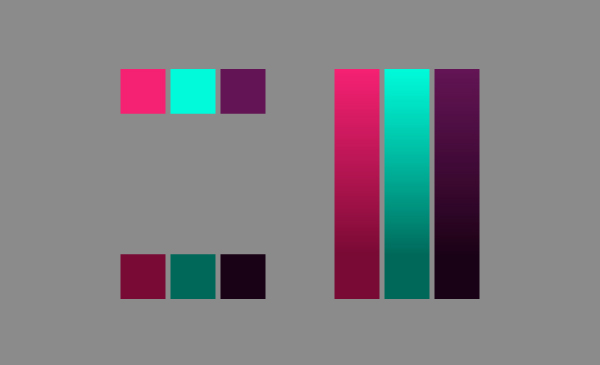
Between the darker and lighter colors, set the Blend Options to 2 Specified Steps.

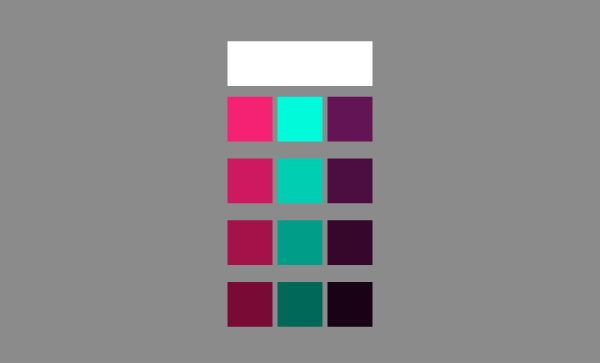
This is our palette for the illustration. You will need to Expand the Blends by selecting them and going to Object > Expand by clicking OK now you can use the colors. One way to color fast is to use the Eyedropper Tool (I) by clicking you grab the color and when you press the Alt key you can paint with the color you select.
Step 19
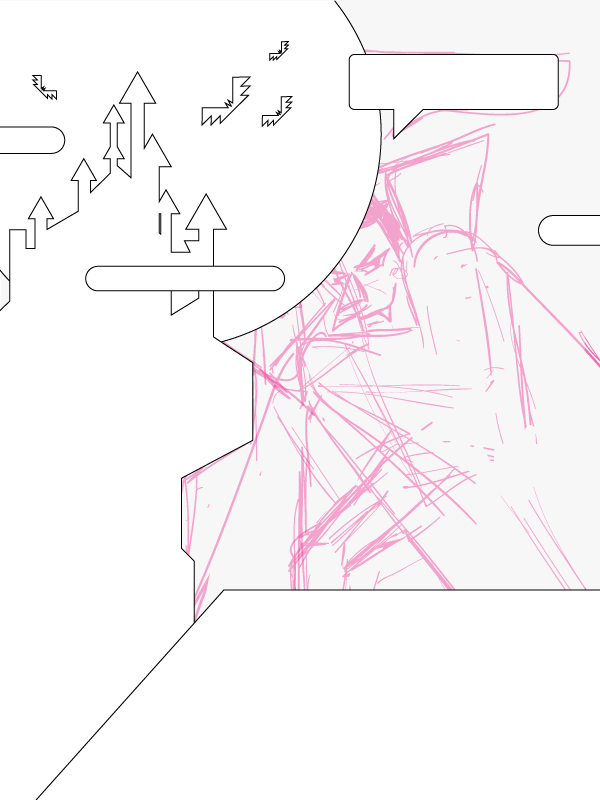
First we can begin by adding some color to the background, try to place close to your drawing the color palette to grab and paint more easily. We apply some purple colors to the background and pink to the dialogue box
Step 20
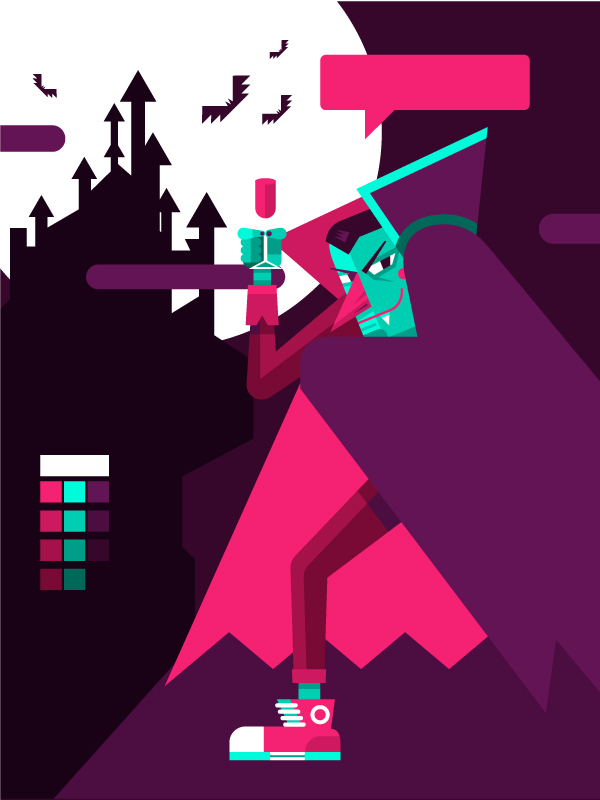
For the vampire we are going to use the mint colors for the skin and the purple and pink for the clothes. At last our illustration is coming to life. The next step is to put more detail in the background and on vampire.
Step 21
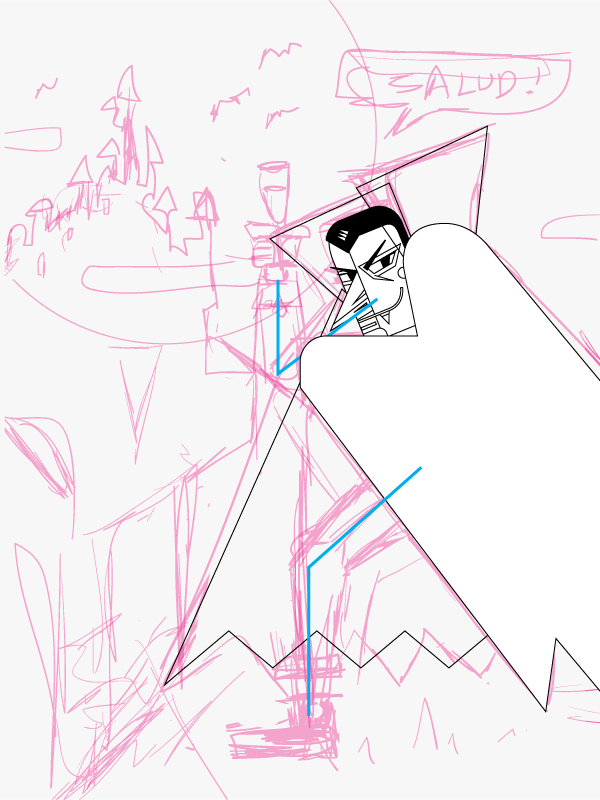
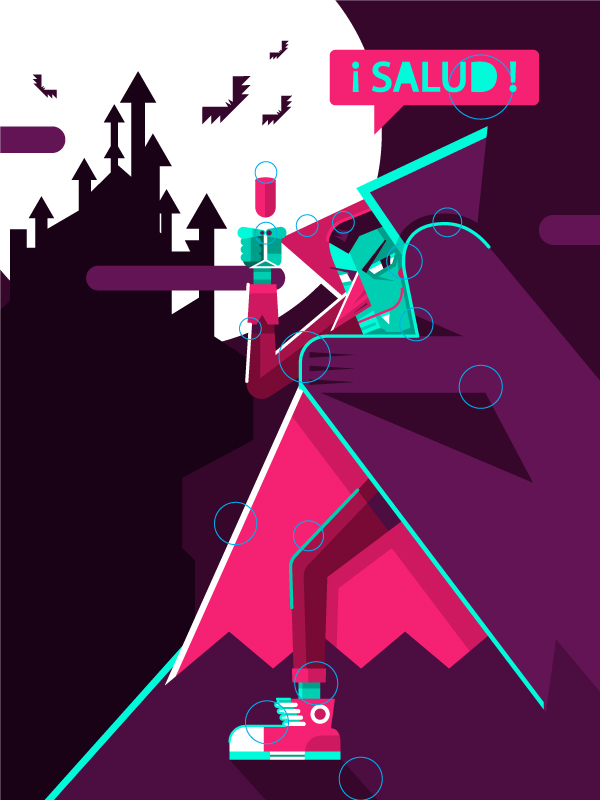
To add details in the vampire we’re going to use processes we’ve already used. Use your shapes and have fun, to the lights. We can duplicate the object and do it pure line, then cut with the Scissors Tool (C) the area you don’t need and that’s how you can do some lights another way of do it its by duplicating the shapes with drag + Alt and using the Pathfinder panel. The circles in the image are the areas that we add more detail.
Step 22
Finally add some detail to the background, our illustration is finished.

Conclusion
Here is our finished vampire! I hope you have enjoyed this tutorial. Remember to keep on drawing and practising, saludos!
