In this tutorial you will learn how to create a glass button using simple shapes, pathfinder box, clipping and opacity masks, and Blending Modes. You will also learn how to optimize your vector work as a web graphic and how to quickly replace the colors of the required elements.
Step 1
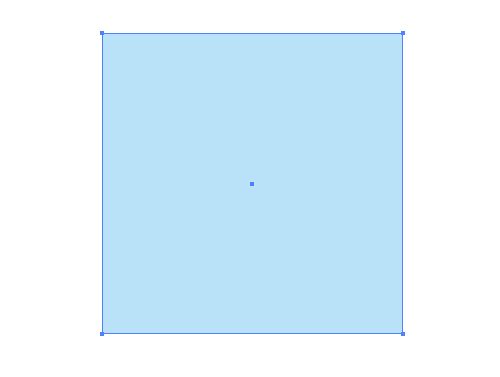
Take the Rectangle Tool (M) and create a square with a blue filling (C = 25, M = 2, Y = 0 and K = 0)
Step 2
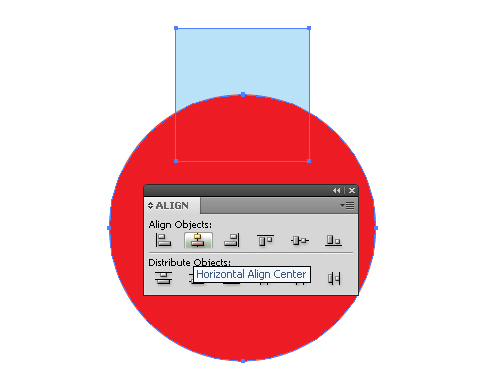
Take the Ellipse Tool (L) and create a circle. Select the square and the circle, align them toward the center and horizontal lines, using the Align palette.
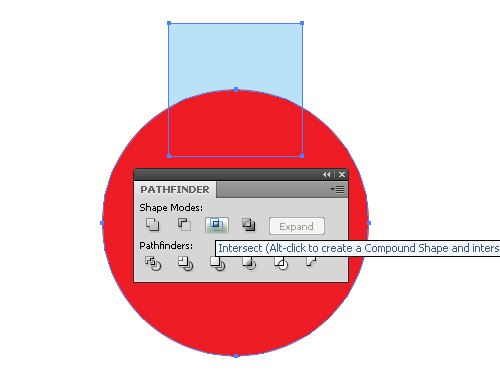
Now trim the circle to square shape. Copy the square and paste it in front, select the circle and the upper square and hit the Intersect button from the Pathfinder palette.
Step 3
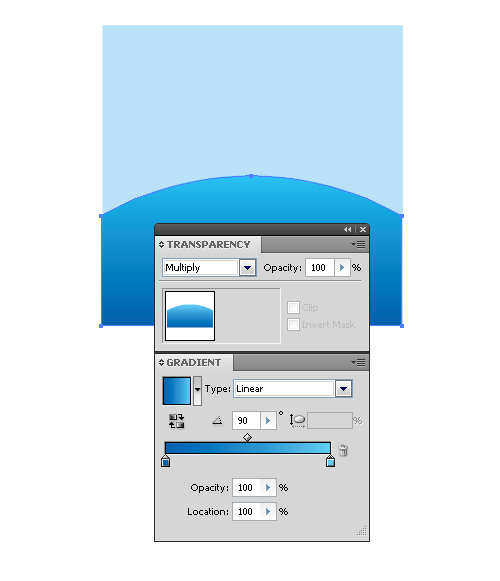
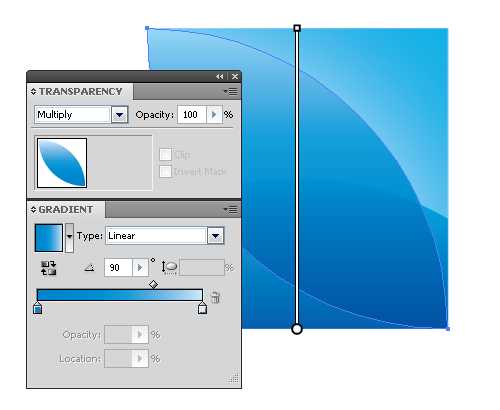
Fill the resulting shape with a linear gradient from blue (C = 100, M = 65, Y = 0 and K = 0) to light-blue (C = 53, M = 0, Y = 0 and K = 0), and set the Blending Mode to Multiply in the Transparency palette.
Step 4
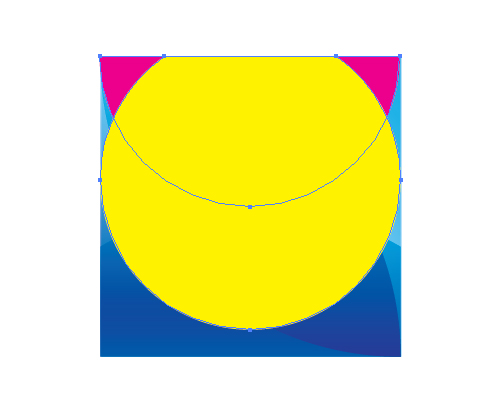
Create two more circles. The radius of these circles equal to the value of the square’s side, and their centers lie in the lower left and upper right corners of the square.
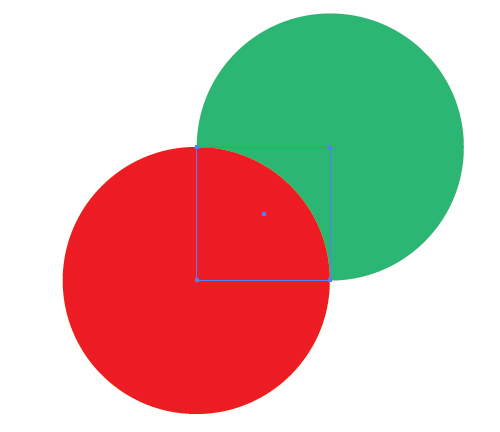
Applying the technique described in step 2 trim these circles to the square shape.
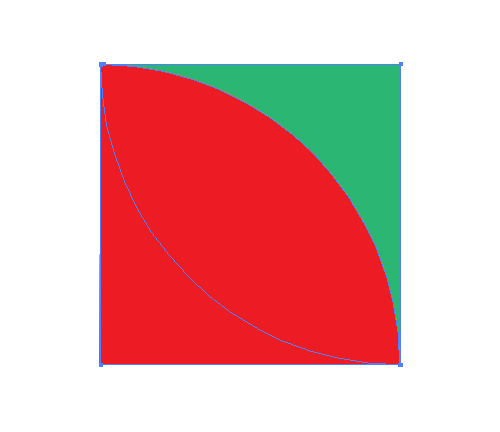
Step 5
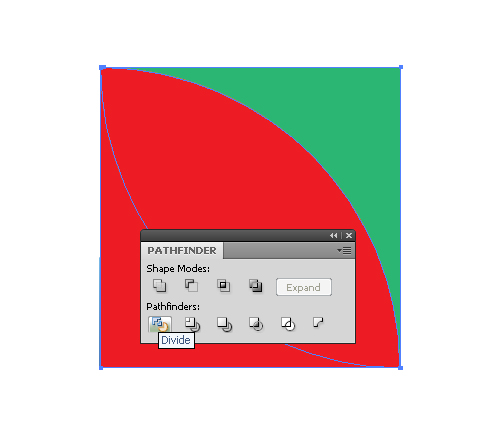
Select the two resulting shapes and hit the Divide button from the Pathfinder palette. Ungroup the resulting objects. As a result, you should have three shapes.
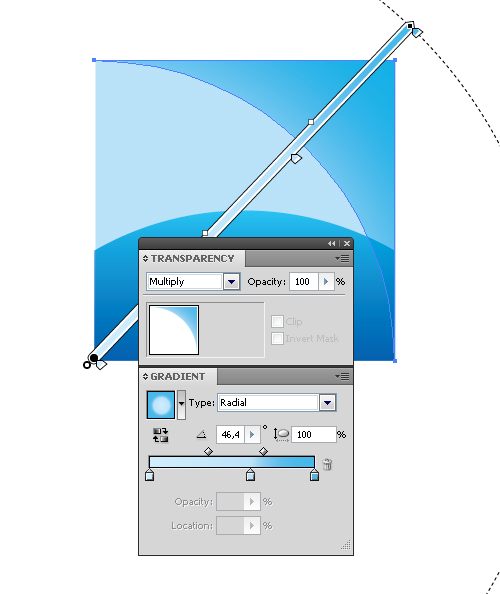
Fill them with different gradients and set the Blending Mode – Multiply for each of them. Fill the first shape with a radial gradient consisting of three colors: 1 (C = 17, M = 0, Y = 0 and K = 0); 2 (C = 25, M = 2, Y = 0 and K = 0); 3 (C = 62, M = 9, Y = 0 and K = 0).
Fill the second shape with linear gradient consisting of two colors 1 (C = 100, M = 33, Y = 0 and K = 0); 2 (C = 17, M = 0, Y = 0 and K = 0).
Fill the third shape with linear gradient consisting of three colors: 1 (C = 38, M = 4, Y = 0 and K = 0); 2 (C = 100, M = 65, Y = 0 and K = 0), and 3 (C = 34, M = 0, Y = 0 and K = 0).

Copy the shape in the middle and paste it in front, replace the colors of its gradient with: 1 (C = 100, M = 72, Y = 0 and K = 0) and 2 (C = 33, M = 0, Y = 0 and K = 0).

Step 6
Create two more shapes using the circle and the Pathfinder palette, applying the techniques mentioned above.
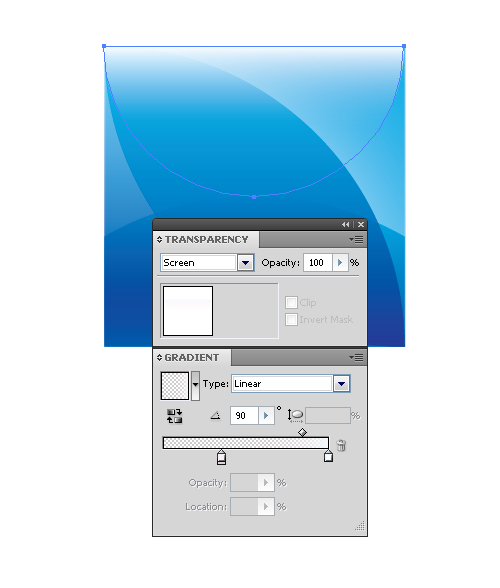
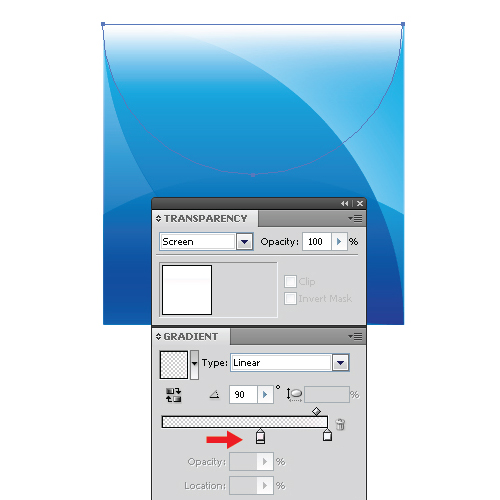
Fill the first shape with a linear gradient from white to white with 0% opacity and set the Blending Mode to Screen in the Transparency palette.
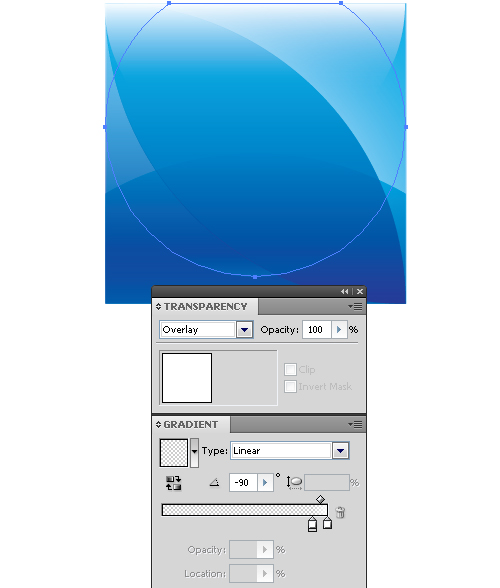
Fill the second shape with linear gradient from white to white with 0% opacity and set the Blending Mode – Overlay in the Transparency palette.
Copy the first shape and paste it above all the objects, moving it up in the Layers palette. Change the gradient of this shape, moving the left slider a littler bit to the right.
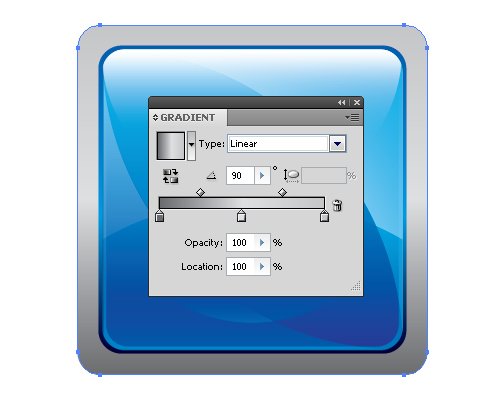
Step 7
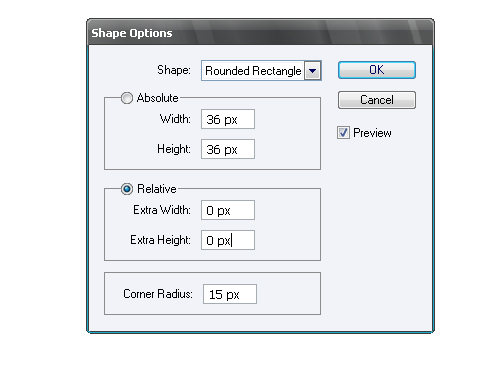
Put the button into a square shape with rounded corners. Copy the bottom square and paste it in front above all the objects. Keep the square selected, go to Effect > Convert to Shape > Rounded Rectangle and set the values indicated in the figure below. The curvature radius depends on the size of your button, so I will let you make your own choice.
Copy this shape and paste it in front, we will need it for further build-up. Lock the underlayer with this shape in the Layers palette and make it invisible. Select all the objects (command + A) and go to Object > Clipping Mask > Make.

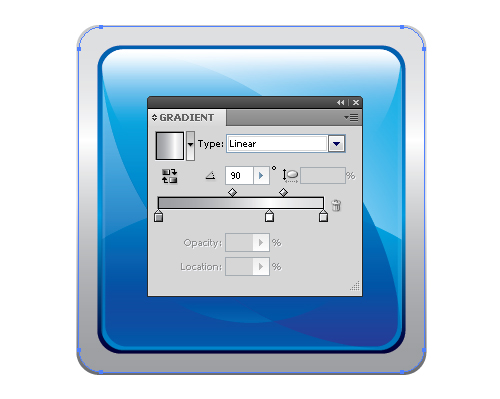
Step 8
Unlock the underlayer with the shape of a rounded square and make it visible. Copy this shape and paste it in front. Now decrease the size of this shape – just a little bit – by using the Selection Tool (V) and holding down Alt and Shift.
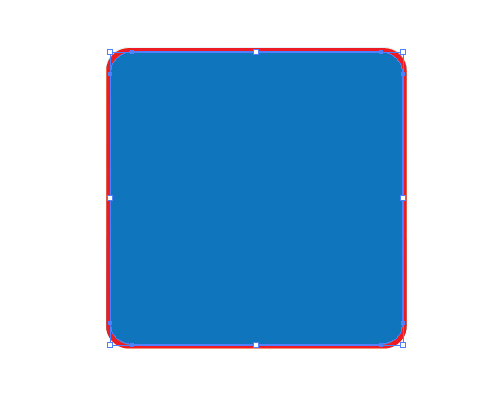
Select the two rounded squares and hit the Minus Front button from the Pathfinder palette.

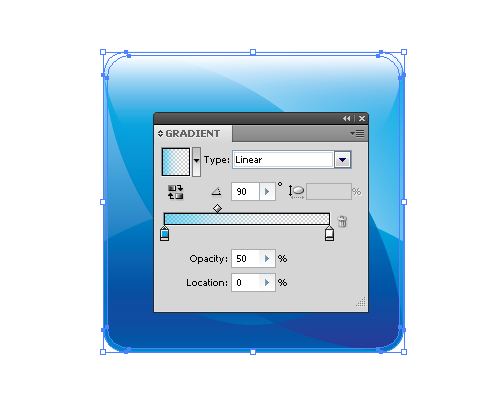
Fill the obtained shape with linear gradient from blue (C = 100, M = 0, Y = 0 and K = 0) with Opacity 50% to white color with Opacity 0%.
Step 9
Create another rounded rectangle using the Rounded Rectangle Tool of a slightly larger size than the one of the button. Place the created figure below all the underlayers and fill it with a linear gradient consisting of three colors: 1 (C = 100, M = 100, Y = 0 and K = 77); 2 (C = 100, M = 16, Y = 0 and K = 0); 3 (C = 100, M = 66, Y = 0 and K = 0).

Step 10
Now create the metal part of the button. It will consist of two rounded squares. The first one is filled with linear gradient consisting of three shades of grey color: 1 (K = 71), 2 (K = 14), and 3 (K = 26).
The second one is slightly smaller than the first one and is filled with linear gradient consisting of three shades of grey color: 1 (K = 45), 2 (K = 0) and 3 (K = 14). Once your button is ready, group up all its elements.
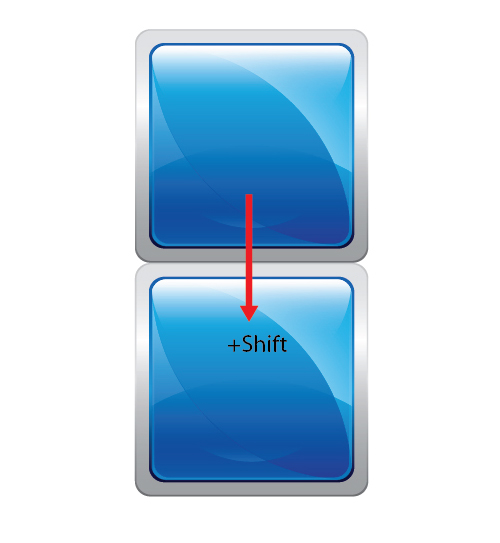
Step 11
Create a reflection of the button. Copy the button and paste it in front. Move the button vertically down, holding down the Shift key. It will become the reflection of the button.
Select the reflection and go to Object > Transform > Reflect and set the parameters in the dialog box shown in the figure below.

Now take the Rectangle Tool (M) and create a rectangle with a black and white gradient fill. The size of the rectangle should be such that they could completely hide the reflection of the button.
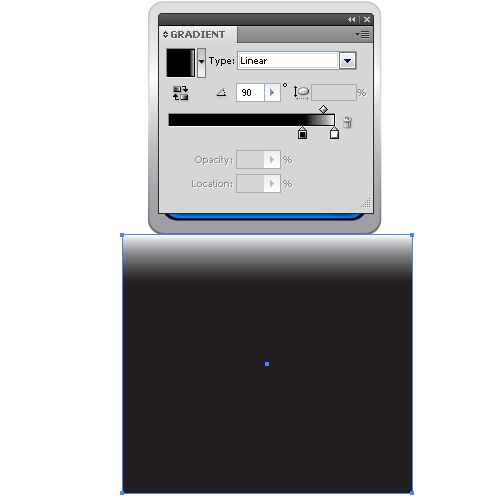
Select the reflection of the button and the top rectangle, choose Make Opacity Mask from the menu of the Transparency palette.
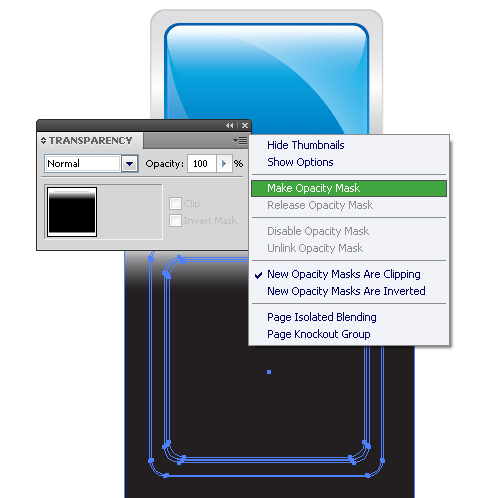
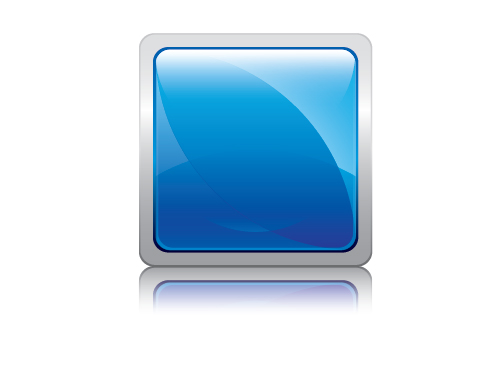
The button with reflection is ready.
Step 12
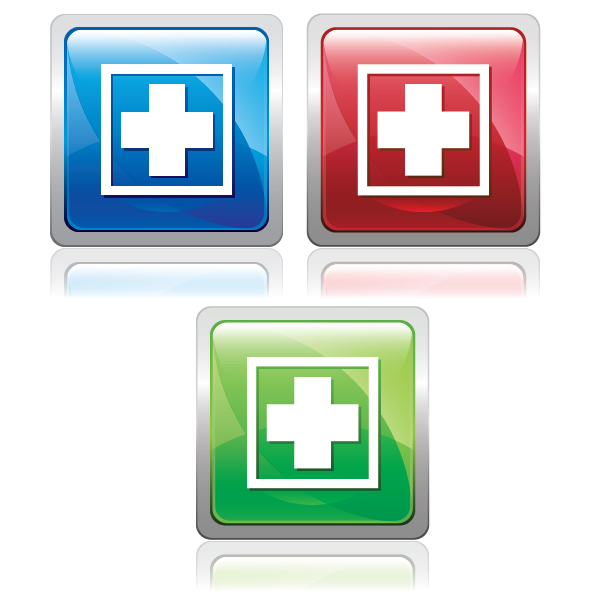
Often you need to have several identical elements in different colors. Let’s see how to quick it is to replace the color of a button.
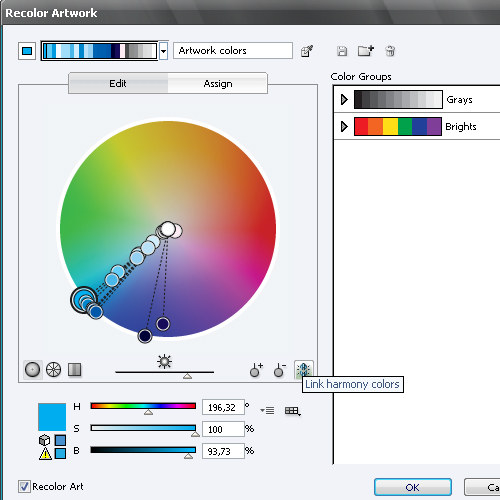
Select all the elements you want to replace the color of, and go to Edit > Edit Colors > Recolor Artwork, then click on the Edit tab in the open dialog box. Finally click on the Link harmony colors button.
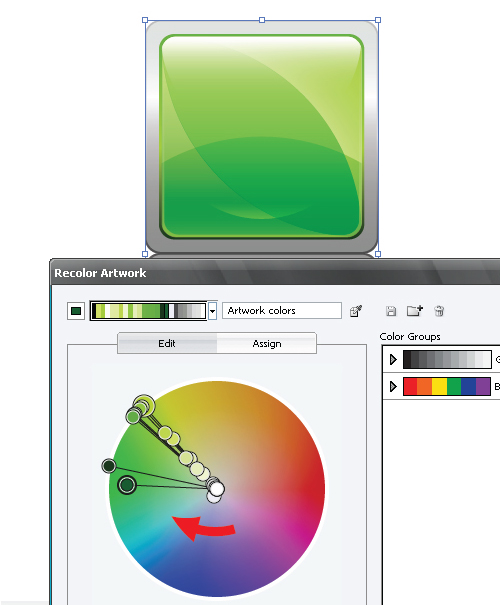
Now you can make all the available color rotations into the required color section while watching color changes of our artwork.
Step 13
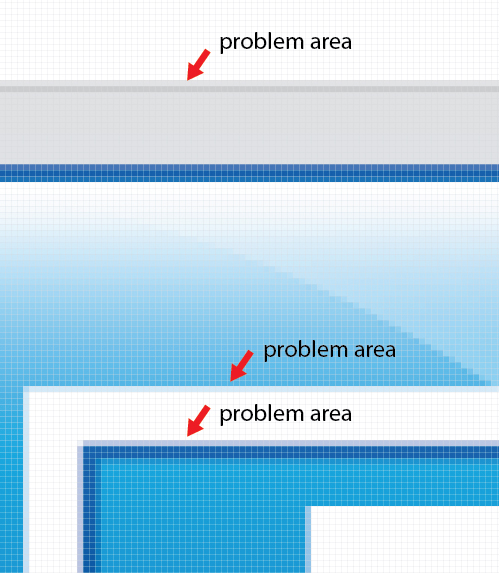
When making images for web and devices, the vector image is not the end product, you need to use raster images. Therefore, you will need to see the vector as a raster. To do this, go to View > Pixel Preview. As you can see, there’s a lot of problem areas when you zoom in. They appear since the image isn’t rendering within the Pixel Grid, and that is why the lines look blurred when it’s a raster.
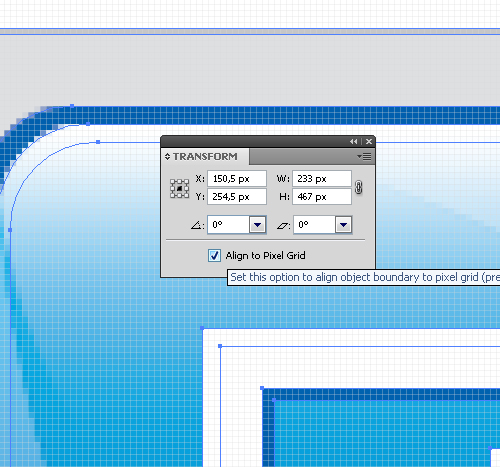
Adobe Illustrator CS5 enables us to make the image look sharper. Select your button graphic and open the Transform palette (Window > Transform), now click on Align to Pixel Grid in this palette.
Now your image is ready to be saved as a raster type such as PNG or JPG (File > Save for Web and Devices).
Conclusion
Once you possess this knowledge and the necessary software you will be able to easily create web interface elements that not only look good, but render perfectly.
This Quick Tip is available as a Free Download to all Vectortuts+ visitors, and is just a fraction of the content you can access via our Premium Membership System and Tuts+ Marketplace!
Tuts+ run a Premium membership system that costs $9 a month (or $22 for 3 months!). Members have full access to the hundreds of full length tutorials, professional source files and periodic extra tutorials available from all our Premium Program sites!
We also have a new Tuts+ Marketplace that’s bursting with Premium quality tutorials – both from our Tuts+ Premium program and from unaffiliated authors – now, non-members will be able to purchase selected Premium tutorials on a one-off basis, without a Premium membership.
To begin downloading High Quality Vector Resources and Tutorials visit Vector Premium or the Tuts+ Marketplace today!