Before you think Inkscape doesn't have something, check the Extensions menu. You'll be surprised to see that there are a bunch of these additional dialog menus - and they're pretty helpful most of the time. Let's look at Visualize Path in this Inkscape quick tip.
1. What Is It?
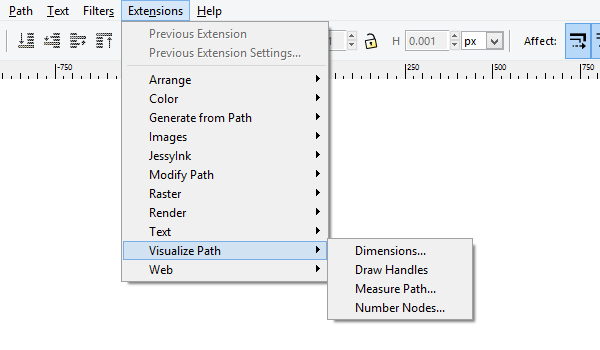
Visualize Path is an Inkscape extension that creatively alters the way a path looks using four different menus. Let's go over these and how they can be useful.
2. Dimensions
Step 1
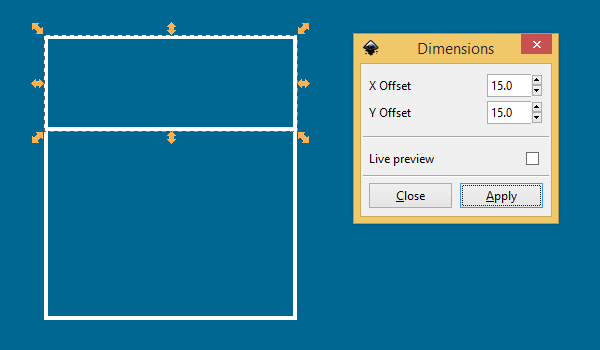
This is a cool way to visualize the dimensions of a selected object. Go ahead and select something and click Dimensions. The dialog menu will pop up and the only options are Offsets. Play around with those, check Live Preview to see, and click Apply.
Step 2
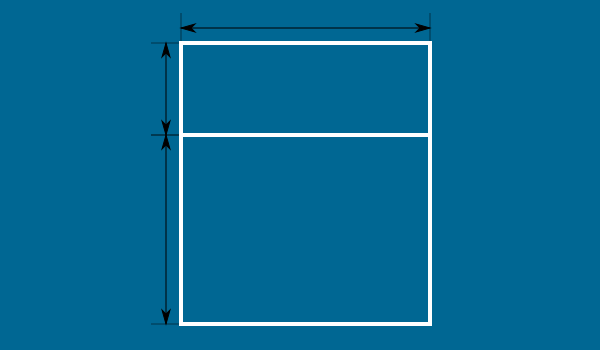
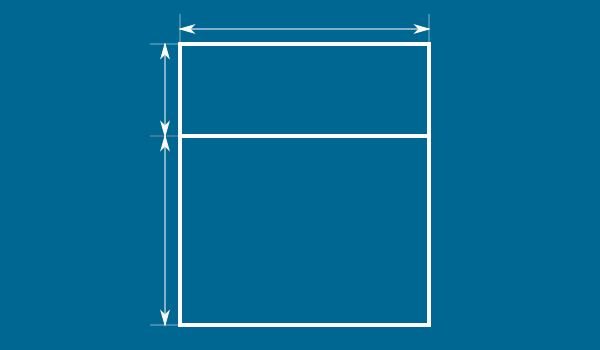
You'll get some black arrowed lines like this. I went ahead and did the rectangle below it as well. Also note that when you do this, it'll group these new lines with your object. You can go ahead and Ungroup these to change colors, delete, move, etc.
Step 3
So, I did just that. I changed all of the lines to white, and I even did Extensions > Modify Path > Color Markers to Match Stroke for the arrows.
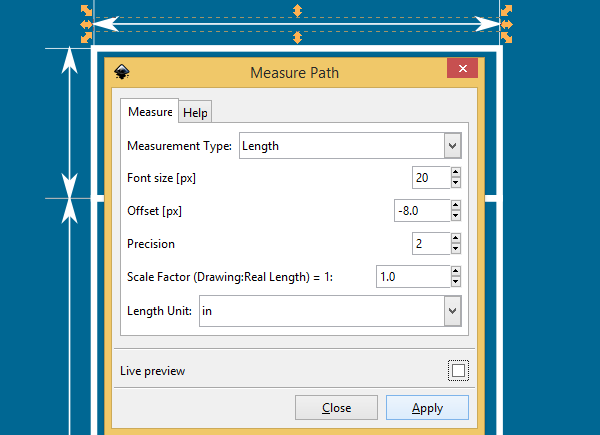
3. Measure Path
Step 1
While we're here, let's actually measure these new visualized dimensions! Select one of the arrowed lines and head up to Extensions > Visualize Path > Measure Path to bring up the dialog box. There's a bunch of fun options here, so for the fun of it, I'm going to measure these paths in Inches.
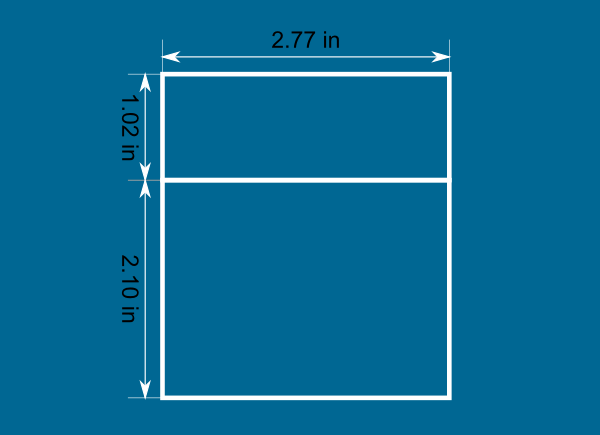
Step 2
Below, I did all of the lines. You'll notice I also adjusted the font size and offset to make it look decent.
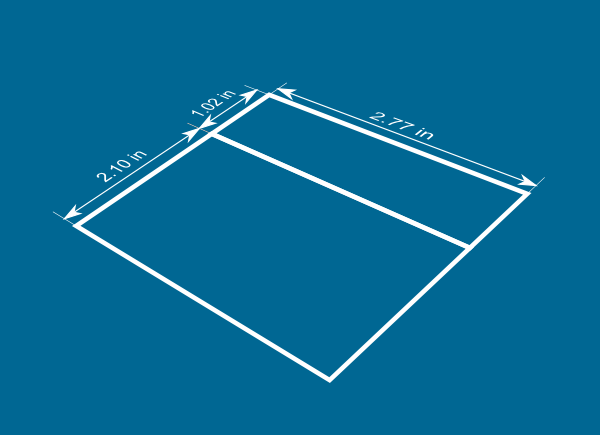
Step 3
And of course, you can change the color of this new text, group all of these paths, apply effects, etc.
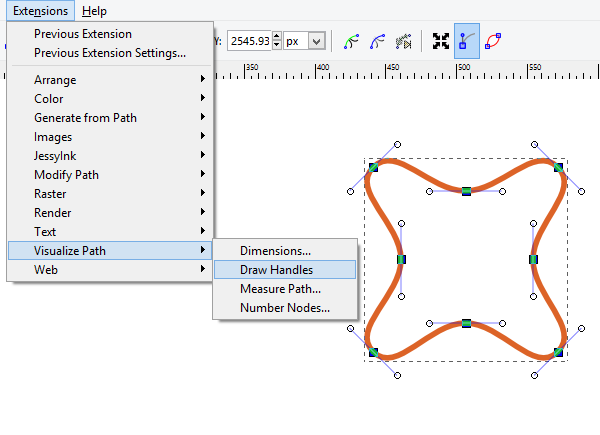
4. Draw Handles
Step 1
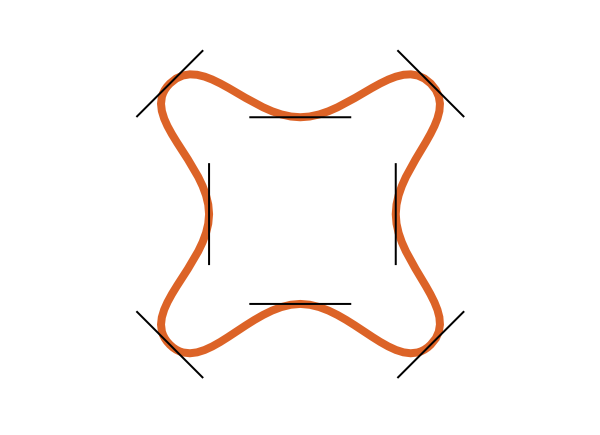
Next up, we have Draw Handles. Let's select any object with handles on the nodes and click Draw Handles.
Step 2
We end up with a rather simple and inelegant result, but it is certainly straight to the point.
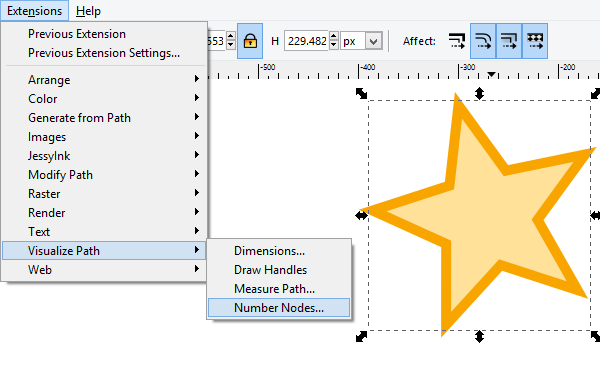
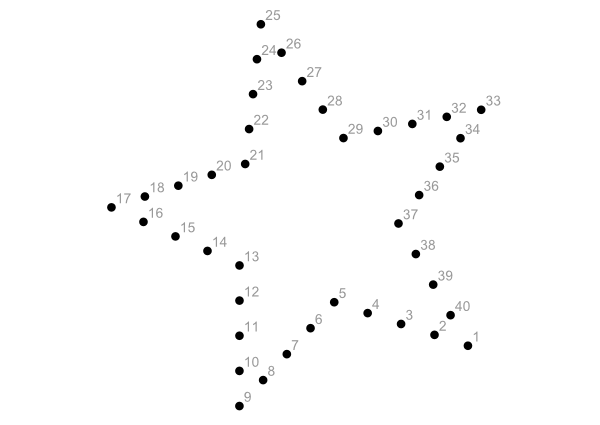
5. Connect the Dots
Step 1
Wait...connect the dots? That's right! Grab any sort of single path object and let's go to Extensions > Visualize Path > Number Nodes.
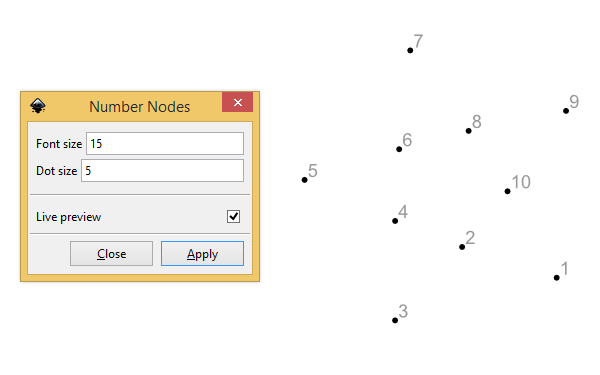
Step 2
You'll notice that this star only has a few nodes, so the results are a little underwhelming. Let's go back to the drawing board.
Step 3
I'm going to select all of the original nodes on the star with the nodes tool and then head up to the nodes menu and click "Insert new nodes". I clicked it three times to really cram it full of these nodes, which will be better for a connect the dots scenario.
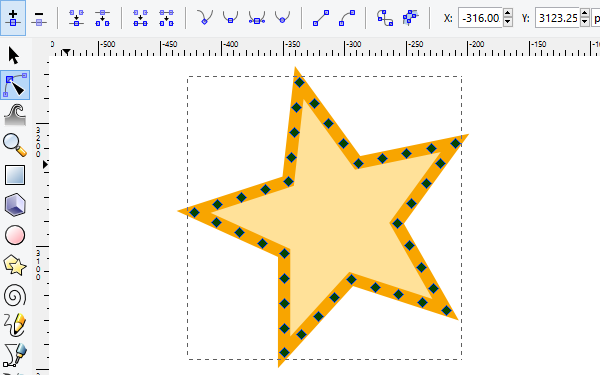
Step 4
Let's click Number Nodes again. There we go, much better! Obviously, you can use a much more sophisticated design if you'd like.
That's All!
That's everything in Inkscape's Visualize Path. It's certainly a unique extension and I've actually found it very useful on occasion. So, hopefully you've learned something about this nifty menu to use in your designs. Thanks for reading!