
1. Create the Petals and Stamens
Step 1
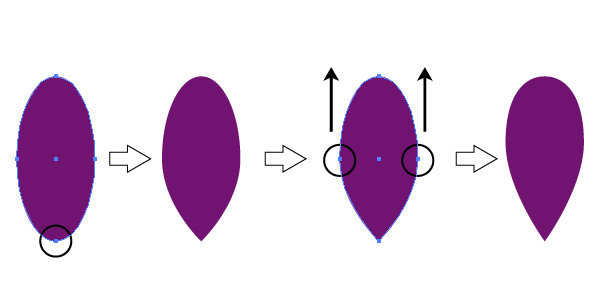
First, we are going to create the petal. Using the Ellipse Tool (L) create an oval and apply the fill color R=113, G=20, B=113. Take the Convert Anchor Point Tool (Shift-C) and simply click on the bottom anchor point of the oval. Using the Direct Selection Tool (A), shift the left and right anchor points slightly upwards.
Step 2
Let’s create the bud. Copy-paste the petal created in the previous step to make two more petals. Set the fill color of these new petals to R=101, G=3, B=96. Place the new, slightly darker petals on the back (right-click > Arrange > Send Backward).

Step 3
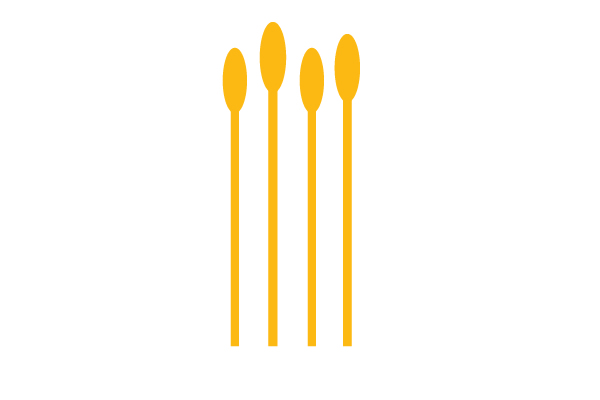
Now the stamens. Create a small oval using the Ellipse Tool (L) and a long vertical rectangle using the Rectangle Tool (M). Set the fill color of these shapes to R=253, G=185, B=19. Group two shapes together to form stamen (right-click > Group) and copy-paste it to make four stamens.
Step 4
Place the stamens behind the petals made in Step 2.

Step 5
Duplicate all the petals and send them to the back. Set the fill color to R=73, G=3, B=73 for these new copies. Now you have the whole bud.

2. Create the Stem and the Leaves
Step 1
On to the stem now. Take the Rectangle Tool (M) and draw a long vertical rectangle. Fill it with two-colored Linear Gradient from violet (R=101, G=3, B=96) to green (R=141, G=139, B=0). Look at the Gradient panel and make the Angle -90 degrees. Then move the Gradient Slider Location to 20%. After that, place the stem on the back (right-click > Arrange > Send to Back).
Step 2
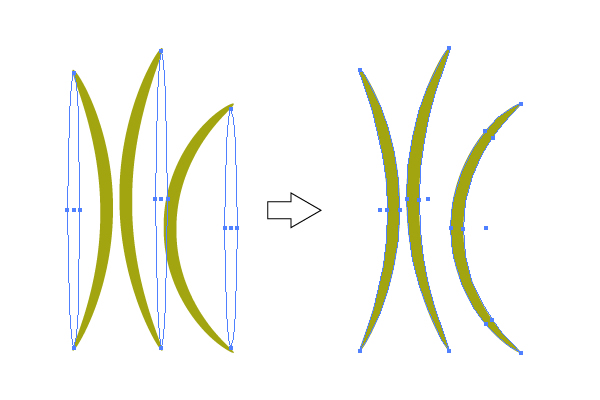
Let’s create the leaves. Pick the Ellipse Tool (L) and draw three different length ovals. Set the fill color to R=163, G=165, B=16. Make sure that the first one is selected and go to Effect > Warp > Arc. In the options window, set the Arc type to Vertical, then set the Bend to -30%, Horizontal Distortion to 0% and Vertical Distortion to -15%.
Then, select the second oval and go to Effect > Warp > Arc. In the options window, set the Arc type to Vertical, then set the Bend to 30%, Horizontal Distortion to 0% and Vertical Distortion to -15%.
Select the third oval and go to Effect > Warp > Arc. In the options window, set the Arc type to Vertical, then set the Bend to 60%, Horizontal Distortion to 0% and VerticalDistortion to -15%. Now the very important step — select the three ovals and go to Object > Expand Appearance.
Step 3
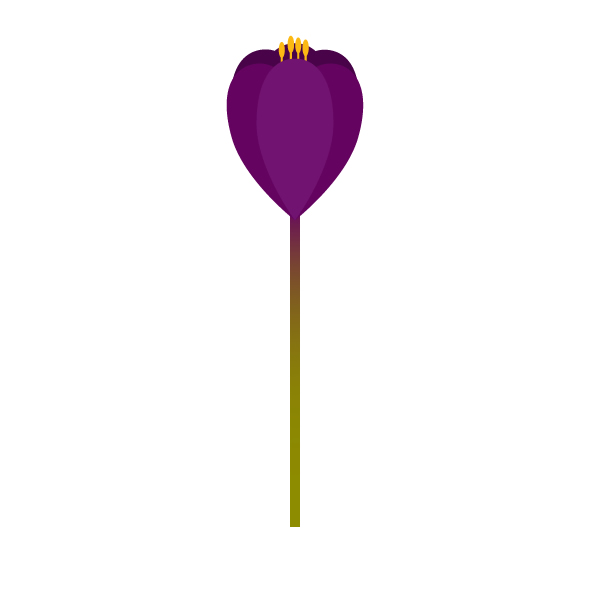
As shown in the image below, place the leaves on its place. Now you have a crocus!

3. Create a Different Flower
Step 1
Take the entire flower you created in the previous steps and duplicate it. Now, unleash your creativity! Make few changes to the leaves. For example, delete one leaf and leave just two of them, as shown in the image below. Select the lightest petal and change the color to R=87, G=2, B=89. Then select two darker petals and change their color to R=73, G=3, B=73. After that select three darkest petals and change their color to R=50, G=2, B=51.

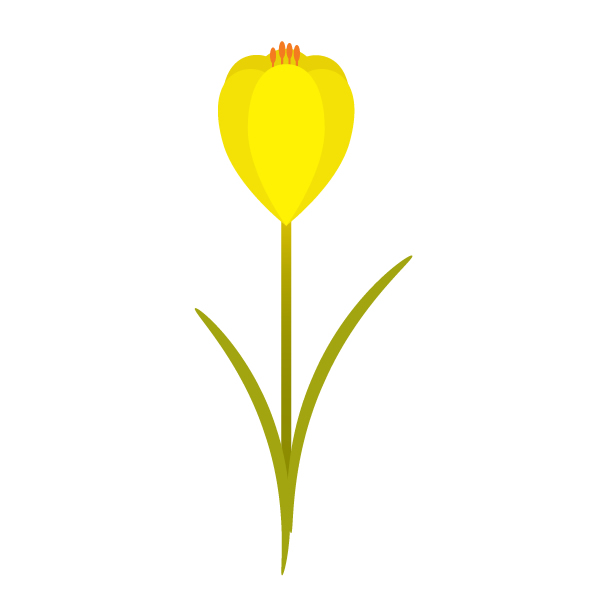
4. Create a Yellow Flower
Step 1
Again, as we did in the previous step, take the entire flower you created and duplicate it. We will now change the leaves. Select the lightest petal and change its color to R=255, G=242, B=3. Then select two darker petals and change their color to R=244, G=226, B=6. After that select three darkest petals and change their color to R=232, G=210, B=5. Then select the stamens and change their color to R=244, G=123, B=32. Lastly, we will change the stem. Look at the Gradient panel and change the color of the Gradient Slider from violet to yellow (R=224, G=197, B=3).
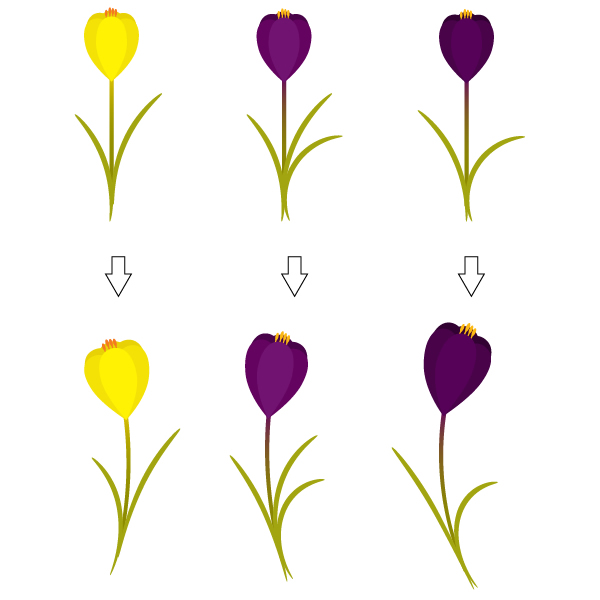
5. Add Curvature to the Flowers
Step 1
Group every flower (right-click > Group). Select the first flower and go to Effect > Warp > Arc. In the options window, set the Arc type to Vertical, then set the Bend to -20%, Horizontal Distortion to 0% and Vertical Distortion to -25%. Select the second flower. Go to Effect > Warp > Arc. In the options window, set the Arc type to Vertical, then set the Bend to 20%, Horizontal Distortion to 0% and Vertical Distortion to -20%. Select the third flower, go to Effect > Warp > Arc. In the options window, set the Arc type to Vertical, then set the Bend to 30%, Horizontal Distortion to 0% and Vertical Distortion to -30%.
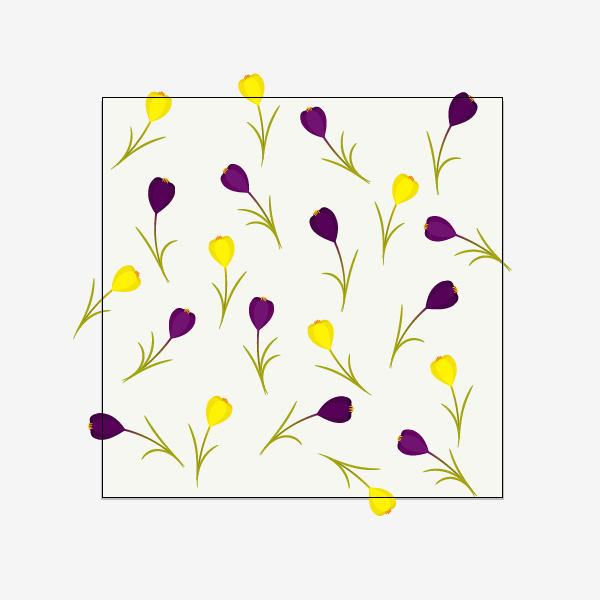
6. Create the Background
Step 1
Let’s draw a large square by using the Rectangle Tool (M) and holding down the Shift key at the same time. Set the fill color to R=247, G=247, B=241.

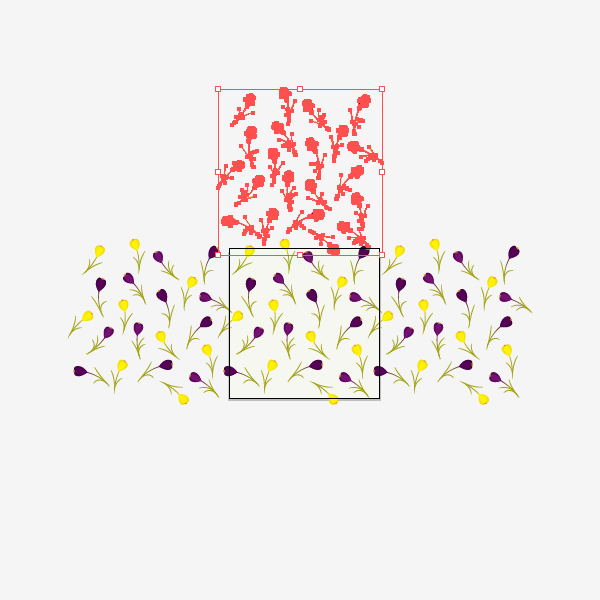
Step 2
Place the flowers scattered randomly all over the square created in the previous step.
7. Create a Seamless Pattern
Step 1
Pick the Selection Tool (V) and select all the flowers, but without the background. Group them together (right-click > Group). Press the Enter key and the Move window should pop up. Enter in Horizontal Position 600 px, Vertical Position 0 px, Distance 600 px and the Angle 0 degrees. Now, press the Copy button.

Step 2
Select again all the flowers inside the art board and press the Enter key. In the Move window make Horizontal Position -600 px, Vertical Position 0 px, Distance 600 px and Angle 0 degrees. Press the Copy button.
Step 3
Select all the flowers inside the art board once again and press the Enter key. In the Move window make Horizontal Position 0 px, Vertical Position 600 px, Distance 600 px and the Angle 90 degrees. Press the Copy button.
Step 4
Select all the flowers inside the art board again and press the Enter key. In the Move window make Horizontal Position 0 px, Vertical Position -600 px, Distance 600 px and the Angle -90 degrees. Press the Copy button.

Step 5
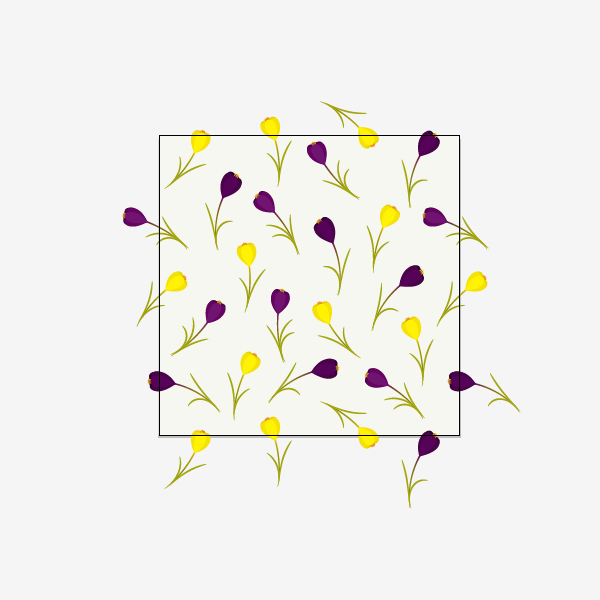
Now, you need to ungroup everything. Select all the elements (Control-A) and ungroup them (right-click > Ungroup). You need to delete all the flowers that do not cross the background. Your result should look like the image below:
Step 6
Group all the flowers without the background. For this, you can select everything (Control-A) and while holding the Shift key, uncheck the background. Now you have selected all the flowers. Group them together. Make another copy of the background (Control-C, Control-F) and send it to the front (Control-X, Control-F). Keep the new copy of the background selected and while holding the Shift key, select the grouped flowers. Go to Pathfinder panel and press the Crop button.
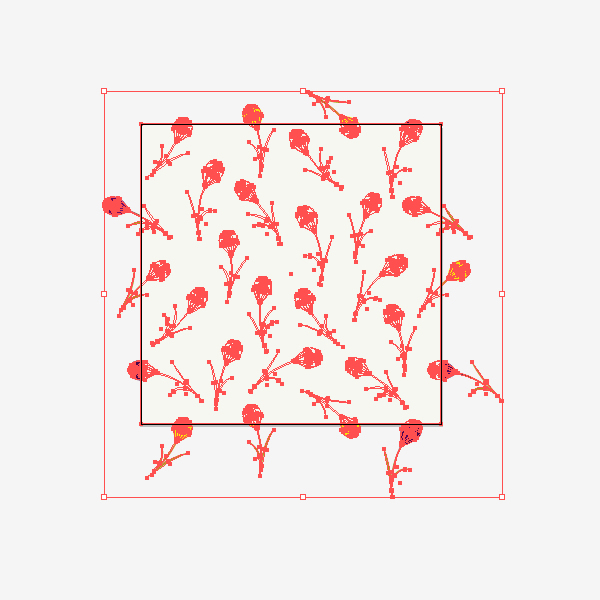
Step 7
We’re almost there! You should now have something like the image below:
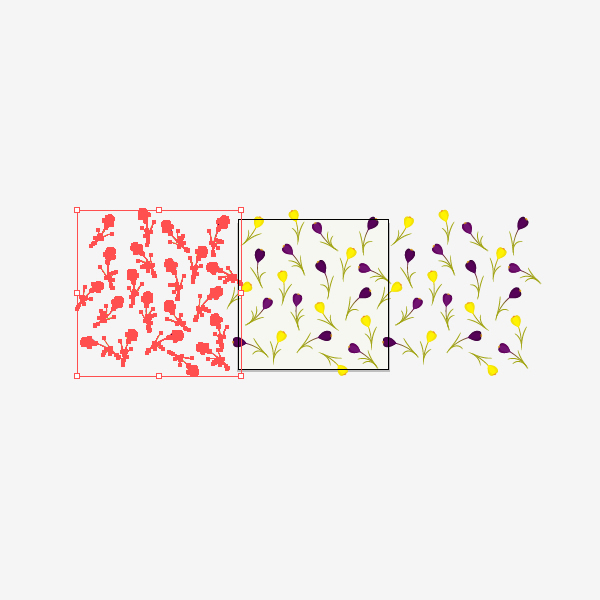
8. Play With Your Pattern
Step 1
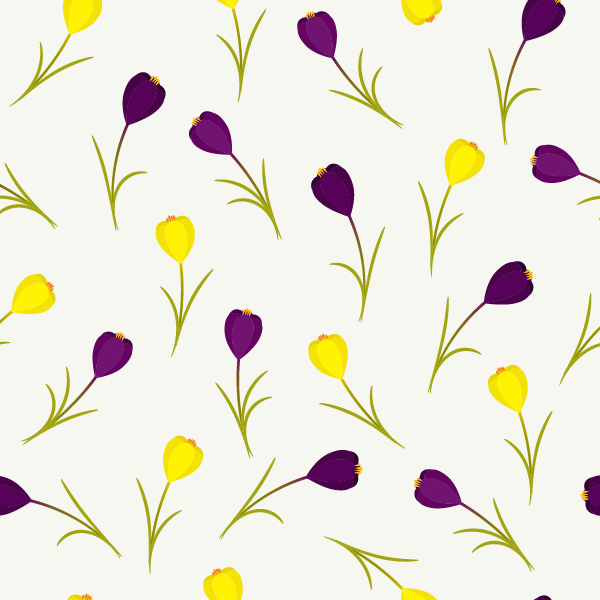
Select everything (Control-A) and for easier management, let’s make it smaller. Then simply drag it to the Swatches panel. Now draw any shape from the Tools panel and apply the new created pattern. Watch and enjoy the spring unfold in front of you!
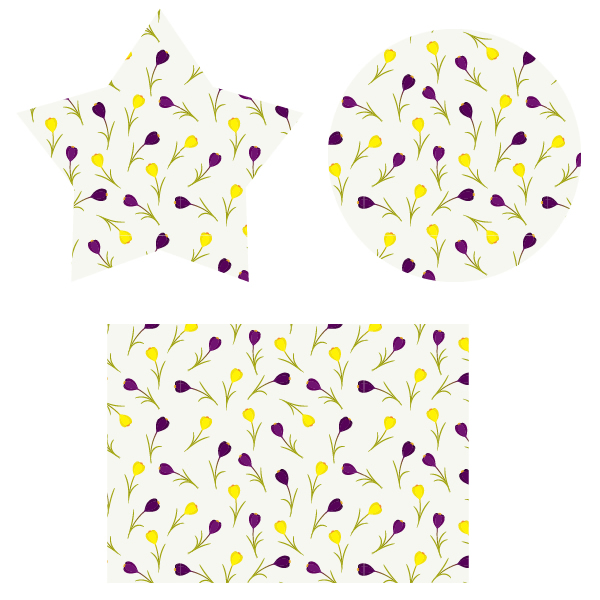
Conclusion
Congratulations, you made beautiful spring floral pattern! Now you can apply these steps to create any seamless patterns. Good luck!