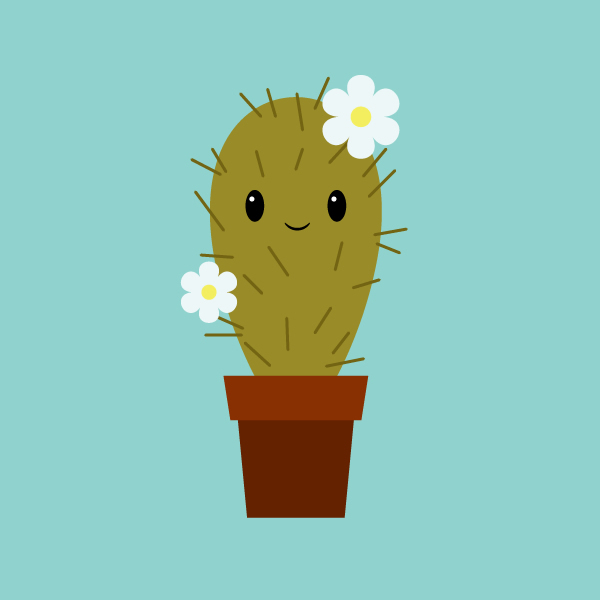
Hi kids! Today, I prepared a fun little character in vector—Cactus. This will be an easy tutorial, especially for those who already know Adobe Illustrator and vector. Let me tell you, you're a very cool kid, if you know this already. We will use basic shapes, the Line Segment Tool and a Warp Effect to create a cute cartoon character.
1. Create the Flower Pot
Step 1
To create a New Document in your Adobe Illustrator, go to File > New and enter the following options:

Step 2
On the Tools panel, you can find the Rectangle Tool (M), which you will use to create the flower pot.

Step 3
Take the Rectangle Tool (M), and on the middle of your art board, draw a rectangle similar to this one:

Step 4
Then delete the stroke color and set the fill color which you see in the second image below.

Here you can see where to set the color (Window > Color):

Changing the rectangle will make it look like this:

Step 5
While keeping it selected, go to Effect > Warp > Arc. In the new dialogue window, adjust the options as you see in the image below:

Step 6
Draw one more rectangle pretty close to this one:

Step 7
While keeping it selected, go to Effect > Warp > Arc. In the new dialogue window, adjust the options:

Step 8
Combine the two warped rectangles together. Just grab one rectangle and move to another while holding the left mouse button.

2. Create the Cactus Shape
Step 1
Using the Ellipse Tool (L), draw an ellipse.

Step 2
Now, go to Effect > Warp > Arc and in the new window, adjust the options as you see in the image below:

Step 3
Take your cactus shape and place it in the flower pot. For this press Control-X, Control-B.

3. Create the Eyes
Step 1
We're going to use the Ellipse Tool (L) again to draw an ellipse.

Step 2
Add a small white circle. That's the eye.

Step 3
Create another copy of the eye by copying and pasting (Control-C, Control-V).

Step 4
Now, let's position the eyes where they belong.

4. Create the Mouth
Step 1
Create a black ellipse.

Step 2
Go to Effect > Warp > Arc and adjust the options:

Step 3
Place the mouth between the eyes.

5. Draw the Prickles
Step 1
Delete the fill color and set the stroke color.

Step 2
On the Stroke panel, adjust the settings:

Step 3
Using the Line Segment Tool (/), draw in the prickles.

6. Create the Flowers
Step 1
Take the Polygon Tool and click on your workspace. A new dialogue window will ask you how many sides and what radius you want. Make 6 Sides, and for the Radius, it doesn't really matter—just not too big. Once you're done, press OK.

Step 2
Delete the stroke color and set the fill color, which you see in the image below:

Step 3
To make the flower from it, go to Effect > Distort & Transform > Pucker & Bloat.

Step 4
Using the Ellipse Tool (L) add a yellow circle in the middle of the flower.

Step 5
Make another copy of this flower (Control-C, Control-V) and place it on the cactus.

7. Create the Background
Step 1
Using the Rectangle Tool (M), create a square that is 600 px in width and height.

Step 2
Place this square behind everything (Control-X, Control-B). Voila! That's it!

Conclusion
Congrats, kids, you completed a huge job! Hope you got the most out of it and learned something new from this tutorial. If you have any questions, please ask me in the comments section below—I'm happy to help you!
