Cities, skylines, and urban landscapes make great sources of inspiration for design and illustration projects, with their interesting shapes and architecture. Today, we'll be looking at Amsterdam, the capital city of the Netherlands.
Amsterdam’s canal district (or Canal Ring, known locally as the Grachtengordel) was a feat of city planning and engineering back in the 17th century. Many of the area’s iconic row houses that line the canals were built in the 17th and 18th centuries by merchants who had profited from Amsterdam’s growth as a port city. But as they were refurbished or rebuilt through the years, the canal houses reflected the architectural styles popular at the time—resulting in the eclectic collection of buildings we see today. In 2010, the district was added to UNESCO’s World Heritage List.
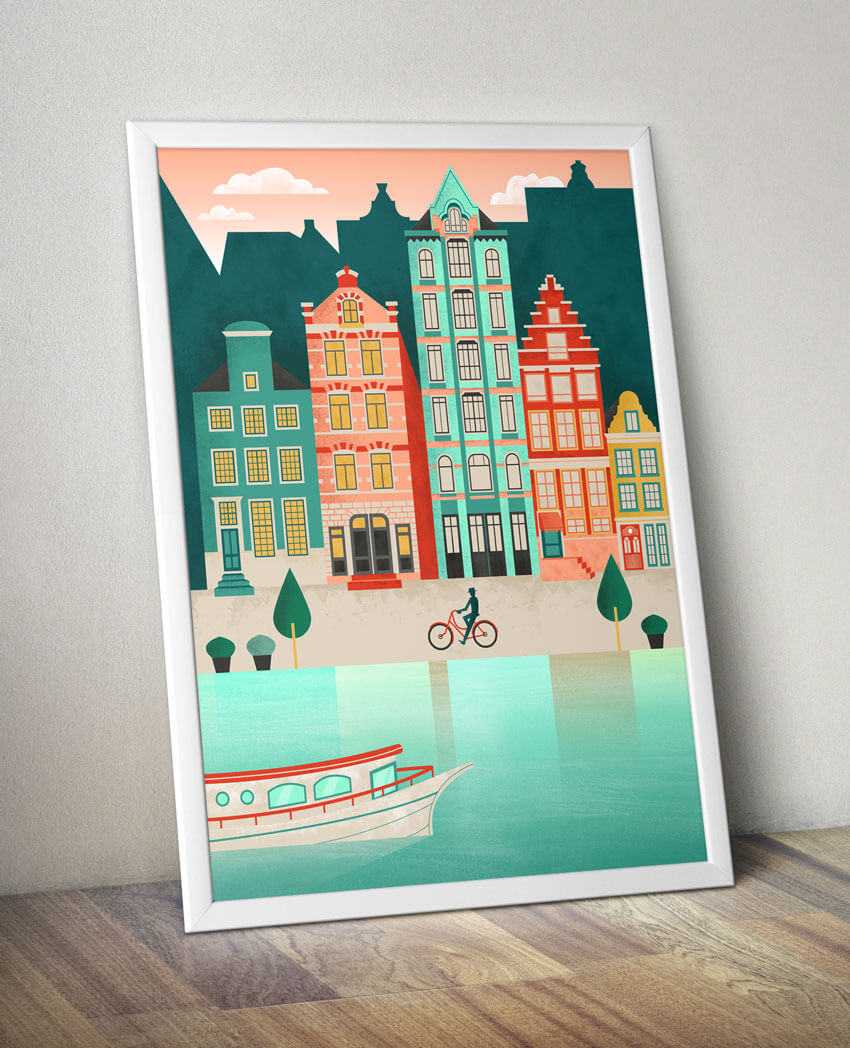
In this tutorial, we’ll be doing a fun, colorful take on Amsterdam’s canal houses by designing a flat cityscape. We’ll use a visual style sometimes referred to as “Flat 2.0”—starting with simple, flat shapes in bright colors, but adding depth, detail, and texture to take the flat design trend a step further.
Let’s get started! But before we do, make sure to check out Envato Market’s selection of ready-made flat city graphics for all your own design and illustration projects.
What You'll Need
The following resources were used to complete this tutorial:
- Photo reference: Houses #1
- Photo reference: Houses #2
- Photo reference: Boat
- Photoshop texture brushes
- Bicycle vector graphic (attached)
1. Set Up Your Document and Color Palette
Step 1
Open a new document in Illustrator. The dimensions aren’t especially important, but the A3 size works well with our primary reference photo.

Step 2
If you’d like to use the same color palette you see here, you’ll find the hex codes below. Just enter each code into the Color Picker window, hit OK, and drag the color from the Fill box in your toolbar over to your open Swatches panel.

2. Create the Background
The background will be composed of four parts: the water, sidewalk, house silhouettes, and sky. We’ll start at the bottom and work our way up. Start by creating a new layer in the Layers panel and naming it Background.
Step 1
Use the Rectangle Tool to place a rectangle at the bottom of your document. Now open the Gradient panel (Window > Gradient) and apply the settings you see below. The two colors used are the light and medium shades of aqua from the color palette given in the previous section. Follow that up with a skinnier rectangle (no gradient this time) for the sidewalk; the two together should fill up a little less than half the artboard.

Step 2
Place the first reference image (03.jpg from this photo set) in the blank space off to the side of your artboard. Reduce the image’s Opacity to about 30%. Use the Pen Tool to trace the outline of several of the houses; it doesn’t have to be very detailed. We’ll turn this into a silhouette in the background that suggests a second row of houses behind our main ones.

Step 3
Replace the outline you just drew with a fill color. A darker color will work better here; I’m using the darkest aqua hue from our color palette. Place the shape near the top of your artboard and flip its orientation (Object > Transform > Reflect > Vertical). Use the Rectangle Tool in the same color to fill in any empty space remaining between the outline and the sidewalk.

Step 4
The last part of our background is the sky, for which we’ll be applying another gradient. First, draw a rectangle that extends from the top of the artboard down past any of the nooks and crannies created by your house silhouettes, and select Send to Back (found under Object > Arrange).
Now open the Gradientpanel and apply another gradient (using white and our lightest pink color). If you like, you can draw a few fluffy white clouds with the Pen Tool as a finishing touch. Lock theBackground layer.

A Tip on Gradients
Gradients in Illustrator start with two colors by default, but you can add more by hovering your cursor near the bottom of the color spectrum until it turns white and displays a plus sign; just click to add another color option (called a “Gradient Slider”). The new gradient slider will automatically be a shade halfway between the two existing colors, but you can change it by double-clicking it.
3. Build the Base Shapes of the Houses
Step 1
Create a new layer and name it Photo. Place the second reference photo and adjust the size so it’s the same width as your artboard. Lower the Opacity to about 35% and drag the image so the bottom edge of the houses in the photo align with the top of your sidewalk. This will look something like this:

Lock the Photo layer.
Step 2
Create a new layer and call it House Shapes. Zoom in to about 200%so you can see the details of the architecture in the photo.
Using the photo as a guide, use shape tools like the Rectangle Tool and the Ellipse Tool to start blocking out the basic shapes of each house. For irregular shapes, use the Pen Tool. Do one house at a time so each has its own set of shapes.

I’ve done the outlines in yellow so you can see them a little better, but the color doesn’t matter, as we’ll be replacing the outlines with fill colors in the next step. For now, you can ignore details like windows; just focus on outlining the parts that affect the overall outer shape of each house.
Step 3
Make the Photo layer invisible (click the small eye icon next to the layer name in the Layers panel) and replace the outlines with fill colors of your choice. Once you see everything in color, you may need to make some small adjustments to make sure the edges of shapes meet up or to align certain elements.

A Tip on Alignment
Using the Align panel (Window > Align), you can align objects to the artboard or another object of your choice. To try the second method, simply select the element you want to align, and then, while holding down Shift, also select the second object you want to use as a guide for the alignment.
With both selected, click on the second object to designate it as the guide; you’ll know this has worked when an extra-thick outline appears around the object. Then just select the type of alignment you’d like to apply (center, left, top, etc.) from the first row of buttons in the panel.
Step 4
Before we’re done with this layer, let’s repurpose parts of the house shapes to create a reflection in the water. First, select all the main rectangular pieces (holding down Shiftto select them all at once). Copy and paste to duplicate them, and then go Object > Transform > Reflect and select Horizontal.
Finally, with all the shapes still selected, open the Transparencypanel (Window > Transparency) and select Hard Light from the drop-down menu, changing the Opacity to 60%.

Step 5
To finish the reflection effect, we want it to fade as it moves further away from its source. To achieve this, we’ll use a gradient option called Fade to Black (which is the second option under the Gradient Fill drop-down menu).
Despite its name, I like to think of this effect as “Fade to Clear”: instead of two or more colors blending into each other (like the gradients we used for the sky and water), this type of gradient involves one or more colors fading to complete transparency on one end of the gradient.

You’ll need to apply the same gradient settings to each house shape, one at a time. Note that you can click on the second gradient slider and type in its Location (I have mine at 60) to ensure that you have a consistent look for each shape.
4. Add Details to the Houses
Now it’s time for the fun part: decorating your houses. I recommend continuing to use the reference photo to get ideas for placing windows and other embellishments. Of course, that’s totally up to you. If you’re feeling creative, go ahead and do something completely different. Make it as simple or complex as you like.
Adding the windows are a good place to start, as you can build the rest of the details around them. Keeping a couple techniques in mind will help you along in the process:
- Don’t forget to copy and paste. It’s likely you’ll be using at least some repeating elements in your house details. Don’t forget to copy and paste those to save yourself time.
- Take advantage of the Align panel. Amsterdam’s canal houses are very symmetrical, with lots of geometric shapes. To replicate that look, the Align panel will be your friend in getting everything lined up just right. Don’t forget that this panel also has tools for spacing out objects or lines evenly, which can help you get that orderly, symmetrical look. Check out our 60-second video guide to the Align panel to get up to speed on all its features.
Above all, have fun with it! Here’s what I ended up with:

5. Draw a Boat
Next up, we’ll draw a boat to cruise on the canal. We’ll use the same method as we did for the houses: start with a basic outline, and then add color and detail.
Step 1
Place the reference photo off to the side of your artboard. We won’t be drawing directly on top of it as we did for the houses, but it will be helpful to have it there to look at as you form your shapes. Use the Pen Tool and Ellipse Tool to layer the various shapes of the boat.

I only drew a portion of the boat because I want it emerging from the left side of the composition. If you’d like to feature the full length of the boat in your version, feel free to keep going.
Step 2
As before, change the outlines to fill colors and add as little or as much detail as you desire. If you’re adding any details that go to the very edge of the shapes (say, the lines on the hull of the boat you see below), you’ll want to use clipping masks to get a perfect fit. If you need a fast reminder of how clipping masks work, check out our Quick Tip on the subject.

As a finishing touch, you can add a reflection in the water by using a Fade to Black gradient, just as we did earlier for the houses’ reflections.
6. Add Any Final Details
Take a look at your cityscape and see if there’s anything else you’d like to add—maybe an extra boat, some more details on the houses, or some people walking down the street. I chose to add some trees, potted plants, and a bicyclist, as you can see below.

Step 1
The main shapes of the trees and plants are simply circles and ovals with one slight change: the topmost anchor point has been converted to a corner. Follow this process to create the trees:
- Use the Ellipse Tool to draw a circle.
- Select the Convert Anchor Point Tool (access it with a click-hold on the Pen Tool) and click on the circle’s topmost anchor point (the little squares that appear on the edges of a shape when you select it are called anchor points). This converts the smooth point to a corner—in other words, makes it pointy.
- Switch to the Direct Selection Tool and drag that converted point upwards.

And there you have it. The process is exactly the same for the plants, just starting with an oval instead.
Step 2
If you’d also like to feature a cyclist in your cityscape, this tutorial’s attachment contains the same graphic you see here. You can place it as is, or customize the colors to your liking. If you do want to change the colors of the bicycle, make sure to ungroup it first (Object > Ungroup) so you can select its individual shapes. If you’d prefer to draw your own, please do!
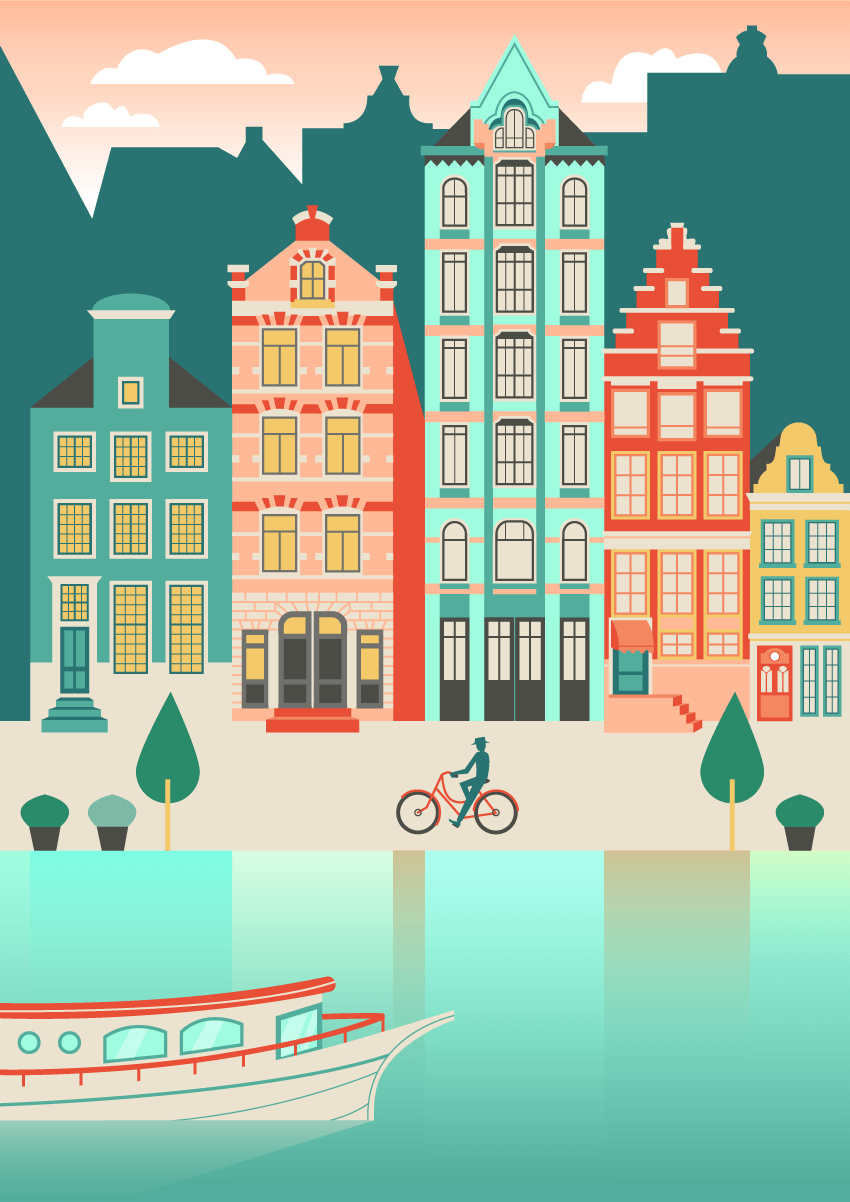
Here’s what my finished cityscape looks like:
7. Switch Over to Photoshop to Add Texture
Good work! I’ll bet your cityscape is looking great at this point. And you can stop here if you like, but if you want to take your illustration a little bit further and give it a little extra pizzazz, there’s one more thing to do: add texture in Photoshop. This will give your illustration even more depth and visual interest.
Step 1
Launch Photoshop and open up a new document the same size as your Illustrator document. Don’t close Illustrator just yet.

Go back to Illustrator and unlock all your layers (except the Photo one). Drag your cursor around the artboard to select everything on it and hit Command/Control-C to copy.
Step 2
Now we’re done with Illustrator and you can return to Photoshop. Hit Command/Control-V to paste your illustration into your Photoshop document. In the dialog box that pops up with Paste As options, make sure Smart Object is selected. This will keep your artwork in vector format and allow you to open it back up in Illustrator right from Photoshop should you decide anything needs to be changed. If necessary, size the pasted artwork to fill the canvas.

Step 3
The Photoshop brush collection we’ll be using comes with five sets. The files you’ll need to load are labeled ink_washes, dirt_smudges,and gritty_borders. To install them, open up the Brushes panel and click on the button in the top right corner.

From the menu that appears, choose Load Brushes and locate the files on your computer. Select the files (you can do all three at once) and click Load; all the brushes will be added into your panel.
Step 4
Let’s start by adding some texture to the house silhouettes. Create a new layer; you’ll want to this each time you add texture to a new section to make it easier to erase anything you don’t like.
Choose the Magic Wand Tool and select Sample All Layers in the toolbar that appears at the top of your screen. Now click on the silhouettes to select the whole shape. Since the silhouette is divided by the tallest house, you’ll need to hold down Shiftand click on the other side to add that to your selected area (holding downOption lets you remove selected areas). You’ll see that the silhouettes are selected by the flashing dashed line that appears around the shapes.

Step 5
Now that we have the area selected where we want to add texture, the brush will only be applied within that outlined area—no need to worry about “coloring inside the lines”. So to start, choose one of the dirt smudge or ink wash brushes.For the color, select the Eyedropper Tool and click on the silhouette shape to select that color. Then go to the Color panel and move the sliders to get a darker version of that color.
Apply the texture brush with single clicks rather than clicking and dragging; this will preserve the rough quality of the brush instead of making it look smudged. Experiment with layering different brushes; you can always erase anything you don’t like. And if any of the brushes are oriented in a direction other than how you’d like, you can flip them or change their angle by selecting Brush Tip Shapein the Brushes panel.

Step 6
Now let’s repeat the process to add some texture to the sidewalk to help differentiate it from the bottom edges of the houses. To select the sidewalk area, first use the Rectangular Marquee Tool to select the whole sidewalk, and then switch to the Magic Wand Tool (remembering to hold downOption) to deselect any areas that overlap with the sidewalk (such as the houses’ front steps, the trees, and the cyclist).
This time, apply one of the gritty border brushes. They have one straight edge that we can line up to the top edge of the sidewalk.

Step 7
Next, let’s use one of the ink wash brushes to add some watery texture to the canal. To make sure you have only the water area selected and don’t get any texture on the boat, we’ll use a different selection method, since the Magic Wand Tool doesn’t work very well with multi-colored objects.
Choose the Quick Selection Tool (accessed with a click-hold on the Magic Wand Tool) and drag it around the water area, moving in towards the edges of the boat but not going over them. The selection should snap to the rectangular water area, excluding the boat.

I chose the seventh ink wash brush, using it at full size. Because the effect was a little stronger than I wanted, I also changed the Opacity of the brush to around 60%.
Step 8
Repeat these selection and brushing methods anywhere else you’d like to add some texture, remembering to create a new layer for each new area. Here are a few up-close screenshots so you can see some examples:


When you're happy with the amount of texturing, zoom out and admire your finished work!

Awesome Work, You're Done!
I hope you've enjoyed using tools in both Illustrator and Photoshop to create a cityscape in a flat design style. Features like the Align panel in Illustrator and selection tools in Photoshop can come in handy for almost any project—so stick those in your design toolbox for future use.
As always, feel free to share how your project turned out or ask questions in the comments section. Happy designing!