Image may be NSFW.
Clik here to view.
Image may be NSFW.
Clik here to view.
Clik here to view.
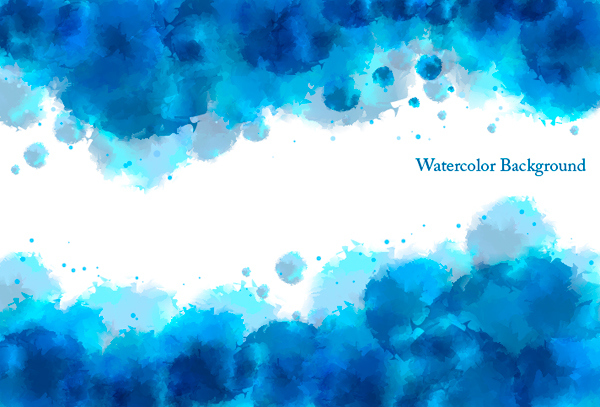
In this tutorial we will learn how to create Watercolor Background using a Gradient Mesh, tools of deformation and Blending Modes. The techniques which are described here allow the creation of complex textural backgrounds in a simple and effective way.
Step 1
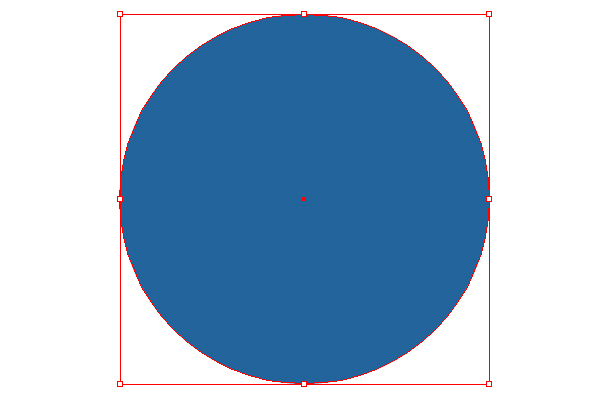
Take the Ellipse Tool (L) and create a circle with blue fill.
Clik here to view.
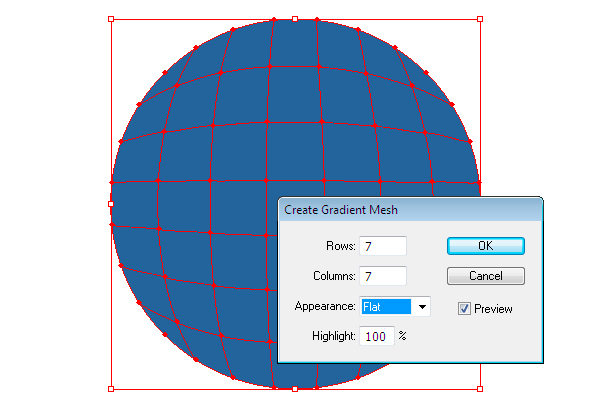
Keep the circle selected and go to Object > Create Gradient Mesh and set the number of rows and columns in the dialog box.
Clik here to view.
Step 2
Select mesh nodes with the help of the Direct Selection Tool (A) or Lasso Tool (Q) and recolor them in different tints of blue.
Clik here to view.
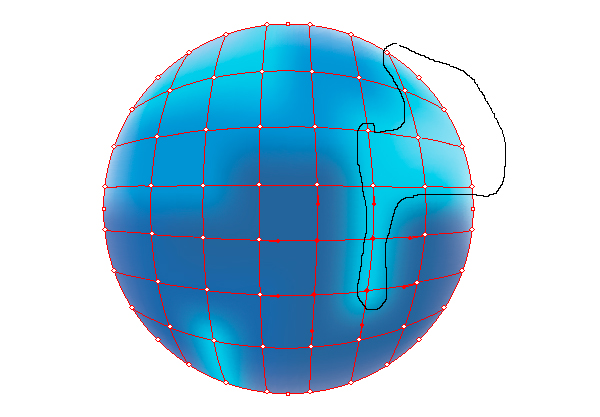
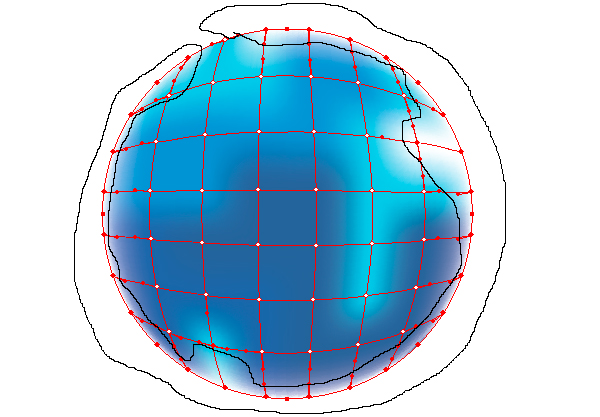
Select the nodes on the edge of the circle with the help of the Lasso Tool (Q) along the trajectory which is shown on the picture below and fill them in white.
Clik here to view.
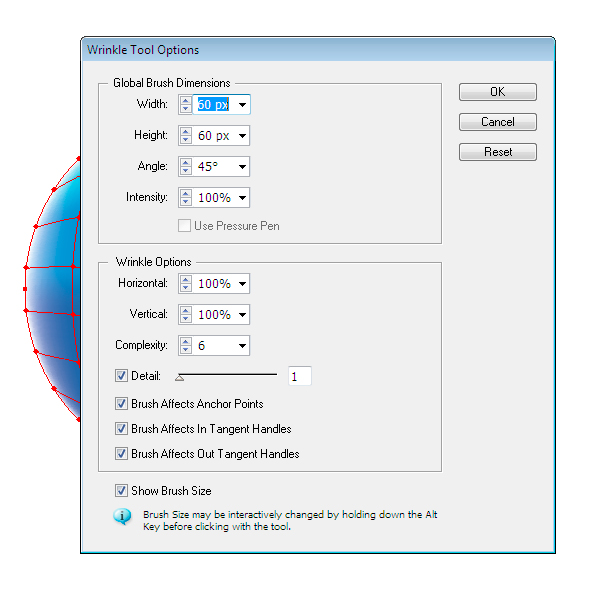
Step 3
Now, click twice on the Wrinkle Tool icon on the Toolbar. This action opens the dialog box with the settings of this tool. Set the parameters which are indicated on the picture below.
Clik here to view.
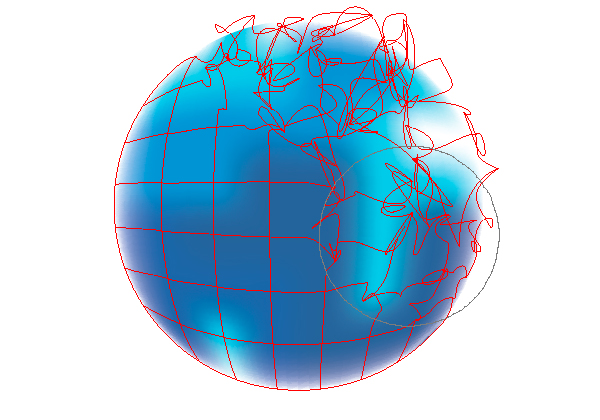
Make circular movements on the object with the help of the Wrinkle Tool to distort the lines of Gradient Mesh.
Clik here to view.
Clik here to view.

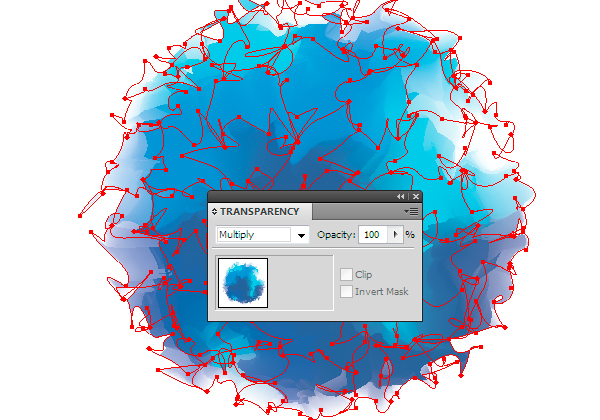
Now set up Multiply Blending Mode in the Transparency palette.
Clik here to view.
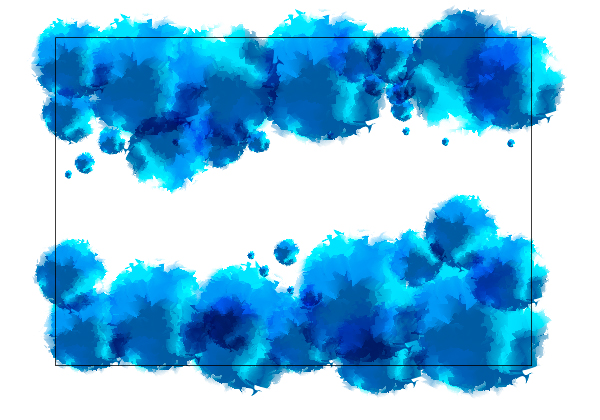
Step 4
Take the Rectangle Tool (M) and create a rectangle to be the background.
Clik here to view.

Duplicate the mesh object (Option key while dragging), change the size of the copies, rotate them on their axis (with the help of the Selection Tool (V)) and create something like waves above and below the background.
Clik here to view.
Step 5
Select and group up the created waves (Command + G). Set 40% opacity for this group in the Transparency palette.
Clik here to view.
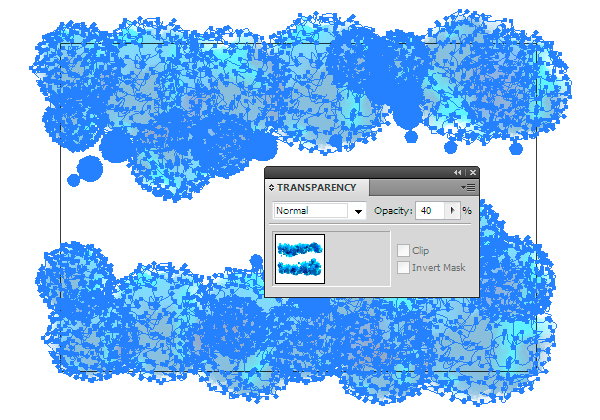
The created waves are the background of the composition.
Step 6
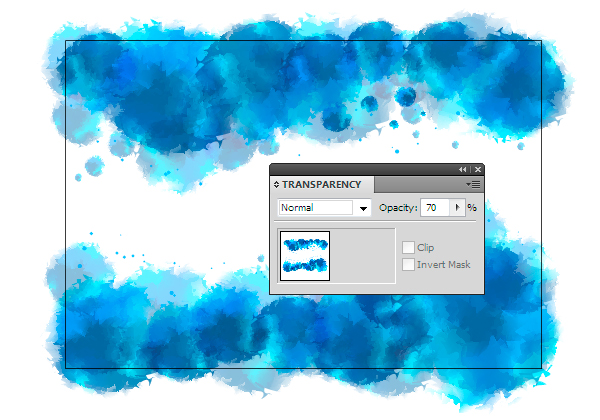
Using the same techniques create the middle ground of our composition. For this group set 70% opacity in the Transparency palette. The elements of this group shouldn’t totally cover up the first group.
Clik here to view.
Step 7
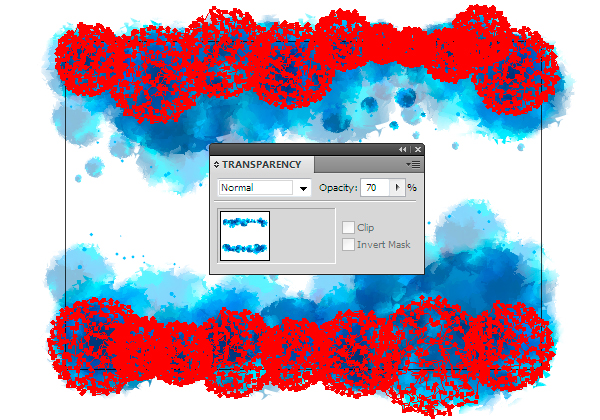
Now create the foreground, the opacity of this group is also 70%. The elements of this group shouldn’t cover up the first and the second groups.
Clik here to view.
Step 8
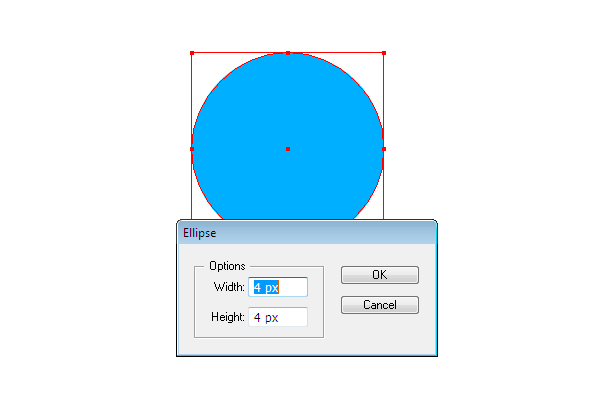
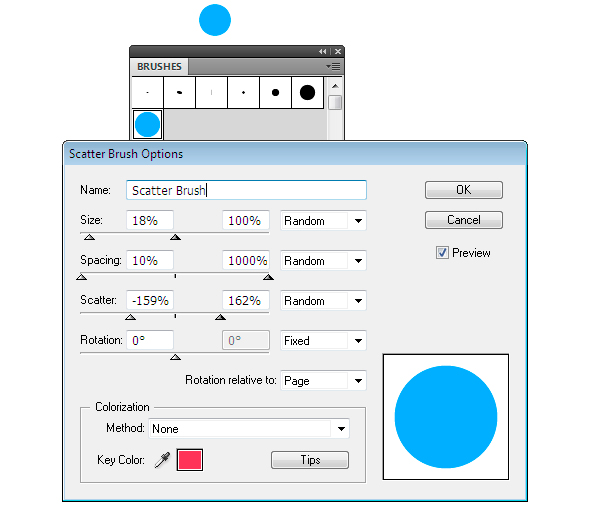
Take the Ellipse Tool (L) and create a circle with blue fill, the diameter of this circle in my case is 4px.
Clik here to view.
Drag this circle into the Brushes palette and save new brush as Scatter Brush. Set its parameters in the dialog box.
Clik here to view.
Step 9
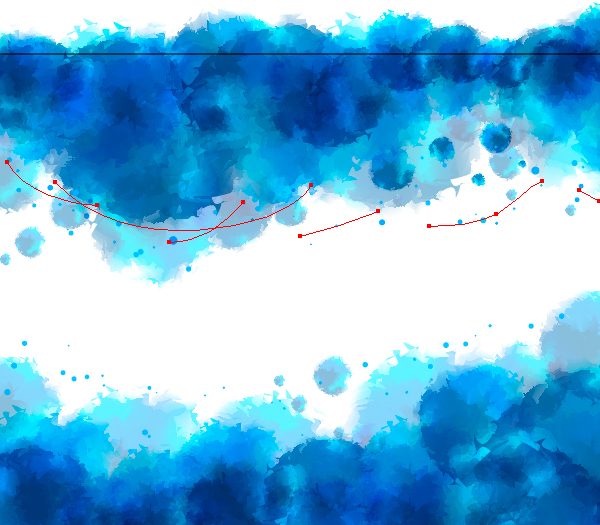
Take the Paint Brush Tool (B) and create some strokes with the help of this brush.
Clik here to view.
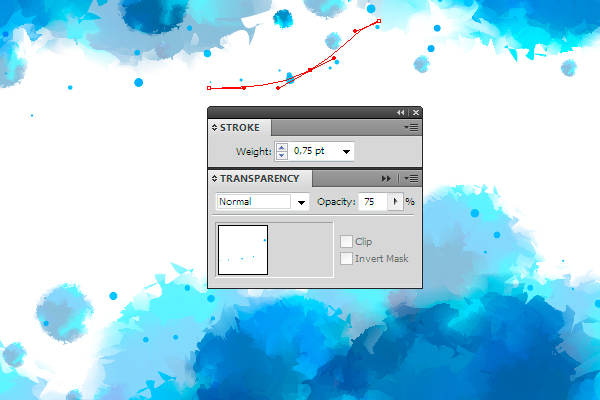
You may change the opacity of these strokes in the Transparency palette and the size of the elements by changing the thickness of strokes in the Stroke palette.
Clik here to view.
Step 10
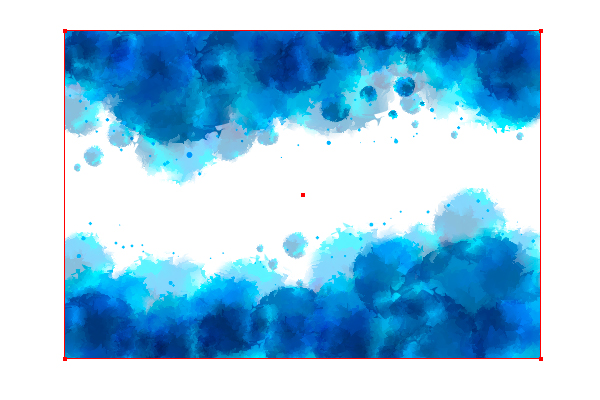
Select rectangle and go to Object > Arrange > Bring to Front. Now select all the created elements and press the shortcut Command + 7, creating the Clipping Mask.
Clik here to view.
Conclusion
I hope you like this tutorial and you will use these techniques in your vector works.
Clik here to view.
Clik here to view.
Clik here to view.
Clik here to view.
Clik here to view.
Clik here to view.
Clik here to view.