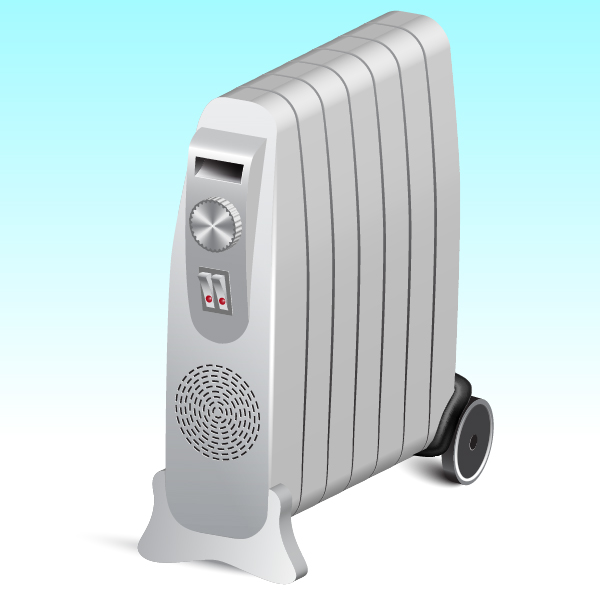
You will use 3D-rendering, Blends, as well as other Illustrator tools and professional vector techniques for creating an oil filled, vector radiator. The skills you will learn here can easily be transferred to creating various illustration stock art objects or graphics for your next relevant design project. So let’s get started!
Step 1
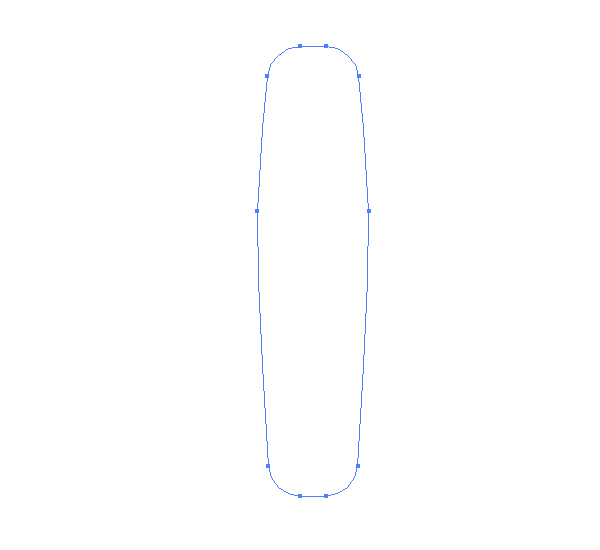
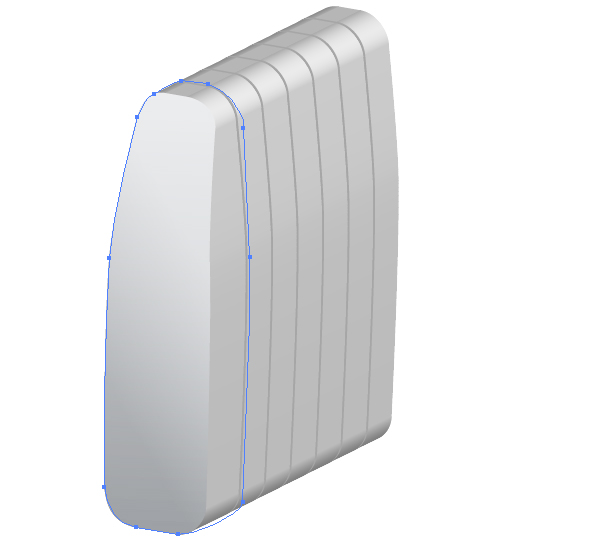
Take the Pen Tool (P) and draw the following path filled with white. Let’s name it “Big path.”
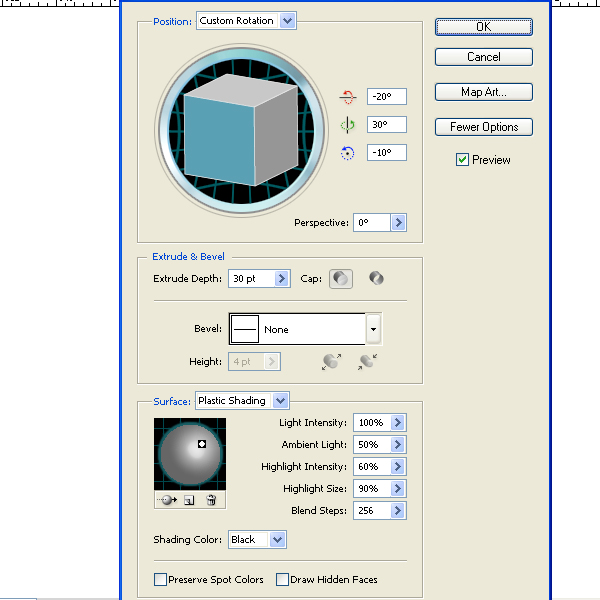
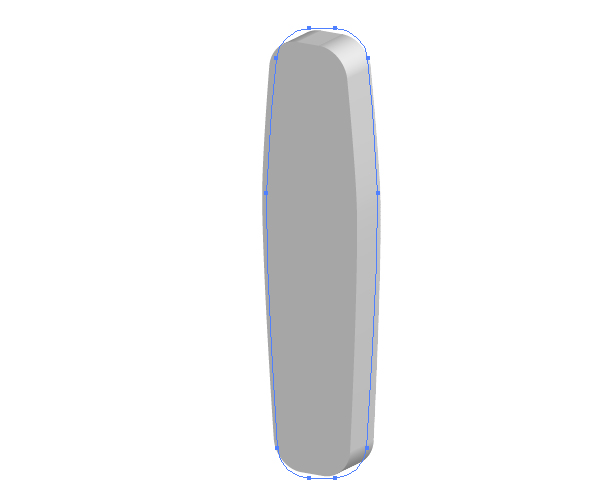
In order to create a 3D object let’s go to Effect > 3D > Extrude & Bevel and set there values shown, which gives us the first part of the radiator.
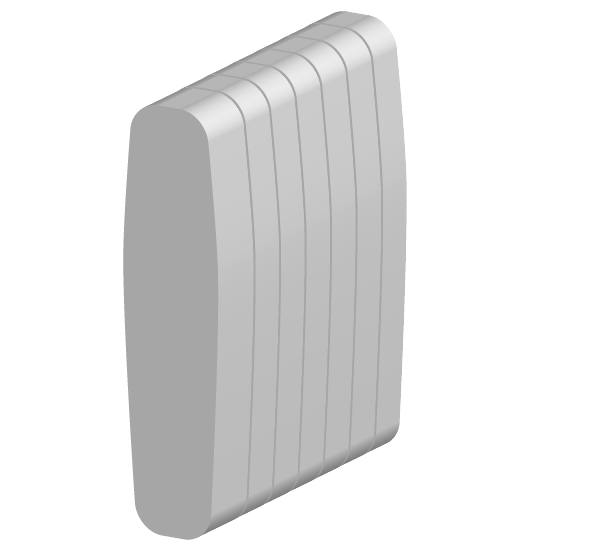
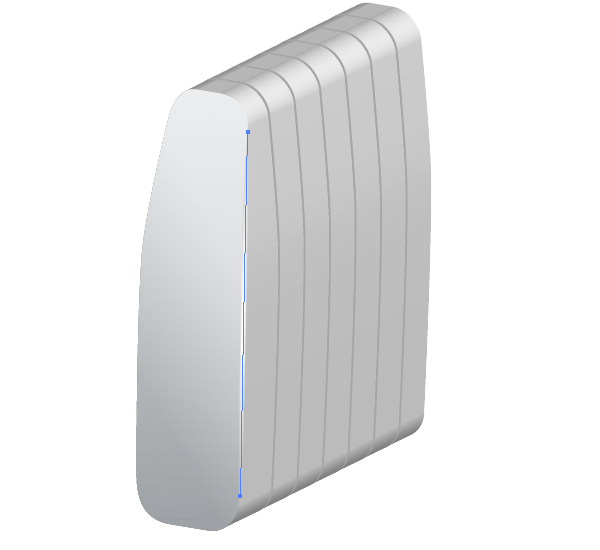
Produce as many radiator’s parts as you want. Place them so as to represent a radiator panel.
Step 2
Sketch the face board of the radiator and fill it with the Linear gradient.
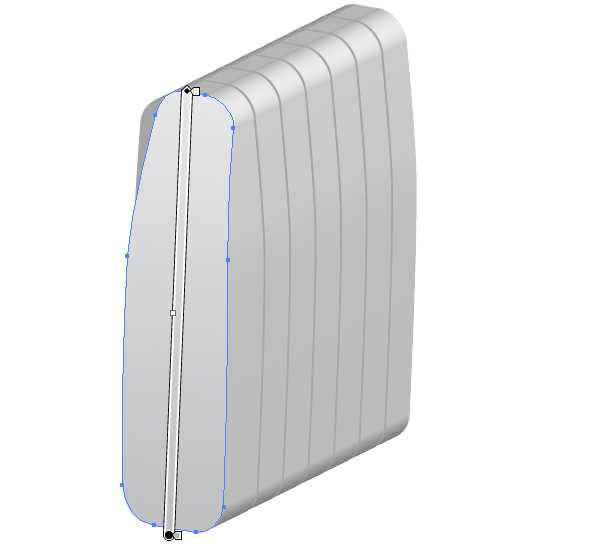
Copy it and paste in front (Command + C then Command + F), then fill it with the darker Linear gradient.
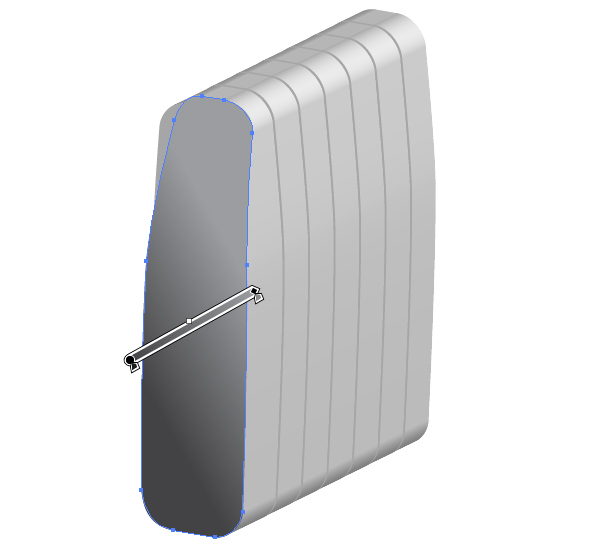
Now change the Blending Mode of the copy to Overlay in the Transparency palette.
Step 3
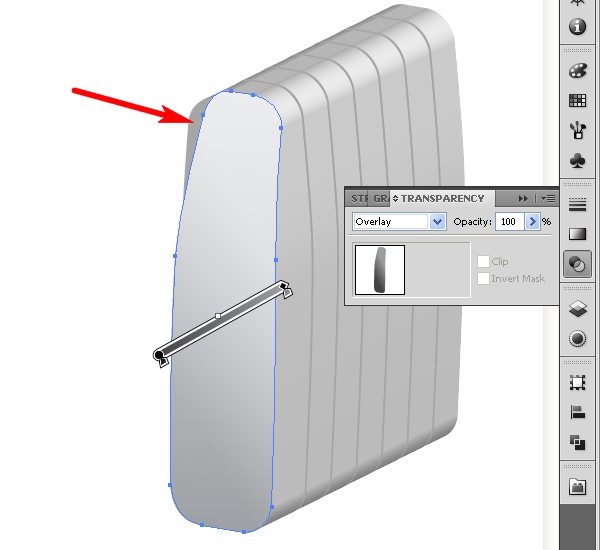
Delete now the unwanted gray part (pointed by an arrow on the diagram above) using the Clipping Mask. Follow the diagram below.
Now make two concentric elliptical paths. Fill both of them with white.
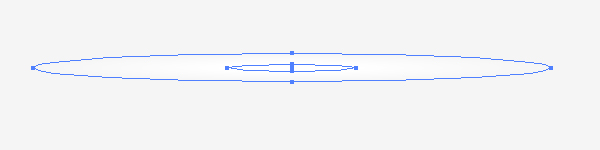
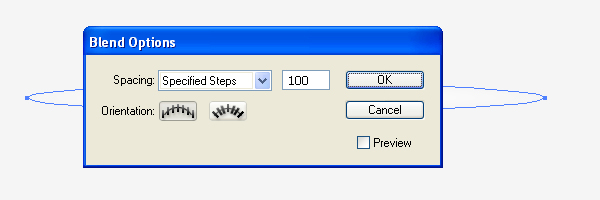
Change the Opacity of the big ellipse to zero. Then go to Object > Blend > Blend Options and set the Spacing to “Specified steps” and the quantity of steps to 100.
Select both ellipses and go to Object > Blend > Make (Command + Alt + B).
Step 4
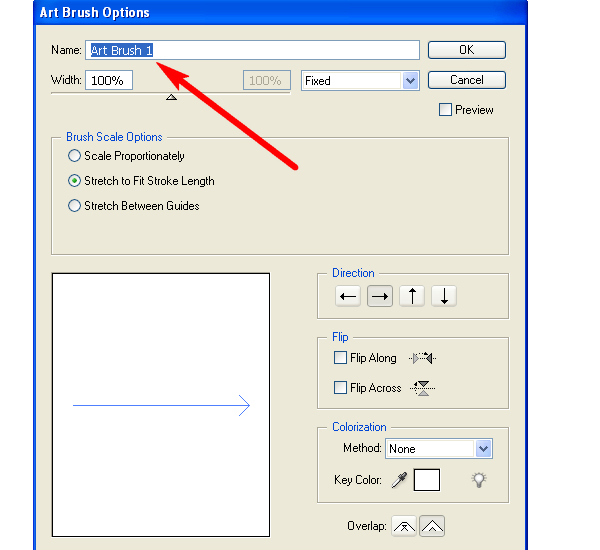
Drag and drop it into the Brushes palette. Select the Art Brush option in the dialog box.
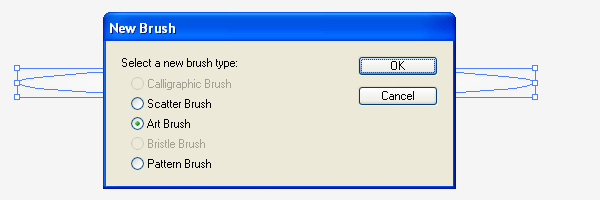
Set the items for the brush as shown below. Fix the name of the brush, in this case use “Art Brush 1″.
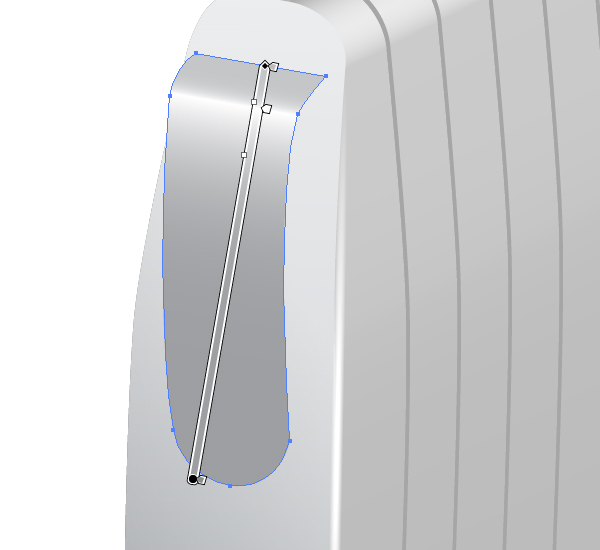
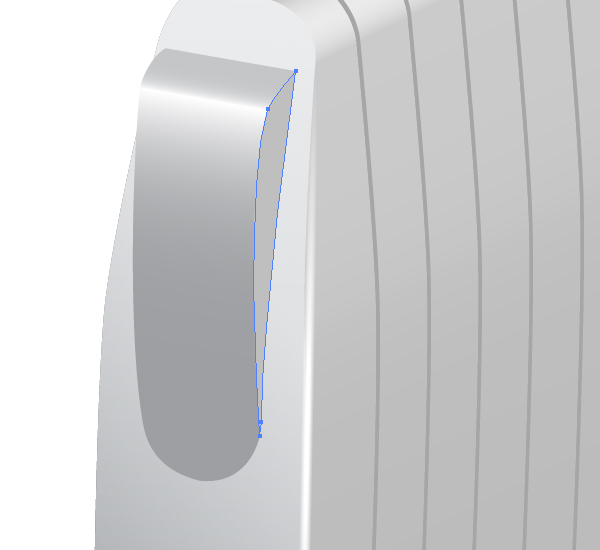
Illustrate the following path and apply this brush to it. Change the Stroke Weight if necessary. You need to do this in order to impart the smoothness of the radiator’s surface joining.
Step 5
Make the instrument panel of the radiator and fill it with the Linear gradient.
Sketch the following contour of the lateral surface of the instrument panel.
Step 6
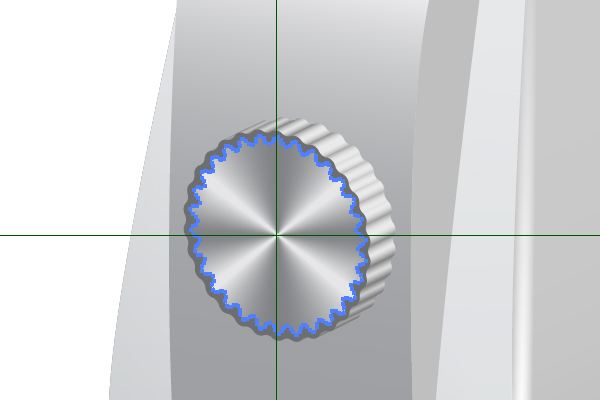
Let’s now grab the Star Tool and click on the workspace of your document. Set the number of Points to 30, and the first Radius slightly different from the second one.
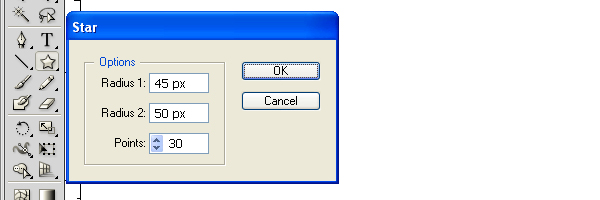
Fill the star with white and set the Stroke to None.

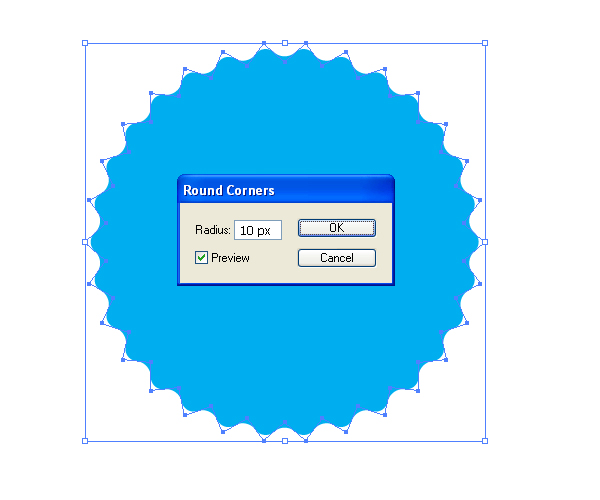
Go to Effect > Stylize > Round Corners. (The star is filled with blue in the diagram below in order to show the effect only).
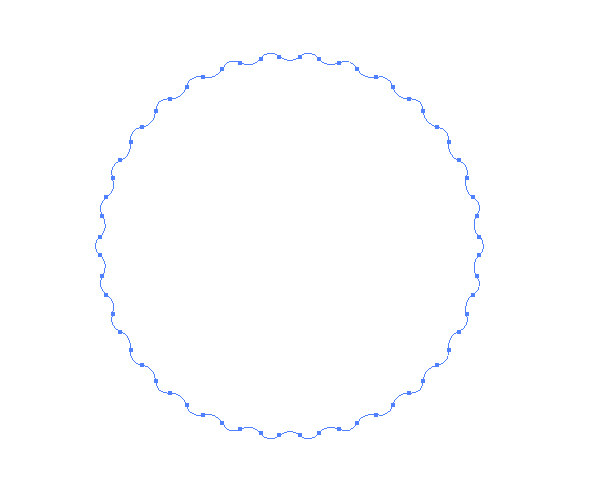
Then go to Object > Expand Appearance.
Step 7
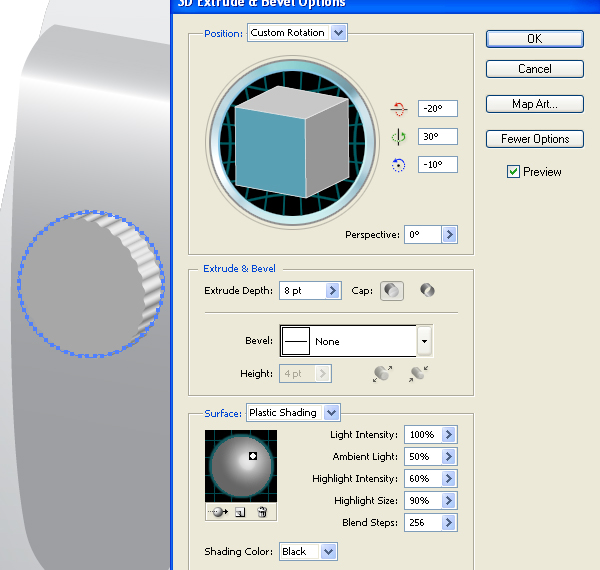
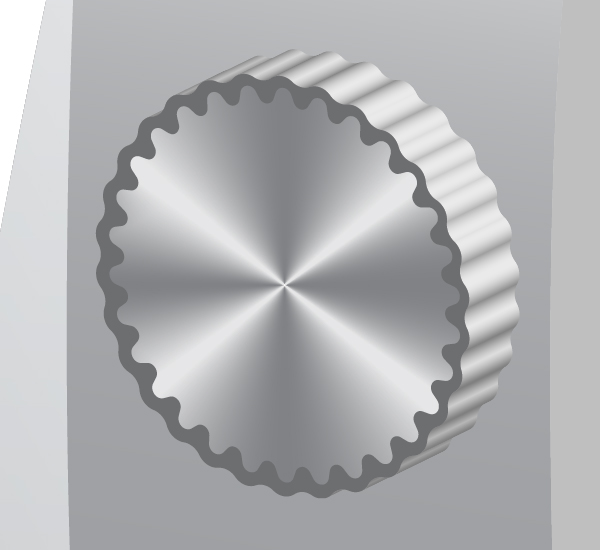
After that apply 3D Extruding to this path and place the received component in the center of the instrument panel.
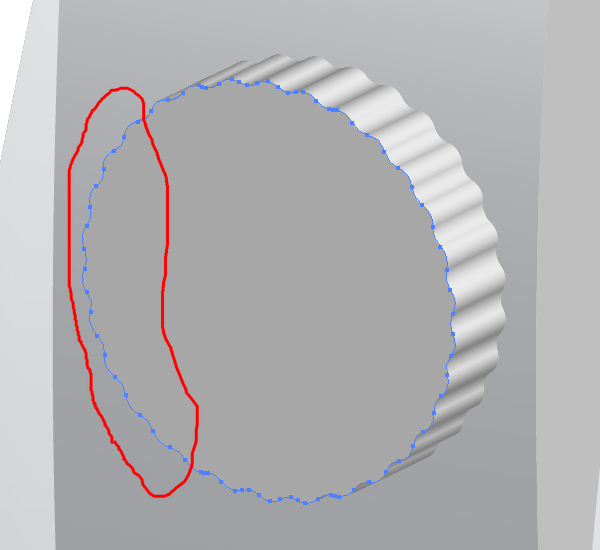
As you can see in the image below we have a problem area (shown with red) where the color of the 3D object coincides with the color of the instrument panel.
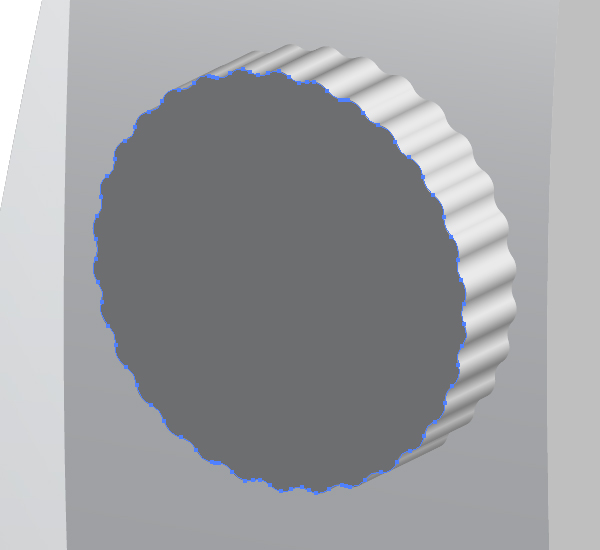
In order to fix it, copy this 3D round detail and paste it in front (Command + C then Command + F). Go to Object > Expand Appearance. Then find the selected path (seen in the image below) in the embedded groups in the Layers palette.
Now drag and drop it into the top of the Layers palette. After that delete all the groups formed after expanding the copy of the 3D object. In other words, you need to receive both:
- 3D object
- The front side of this object over it
Fill the front side with dark gray.
Step 8
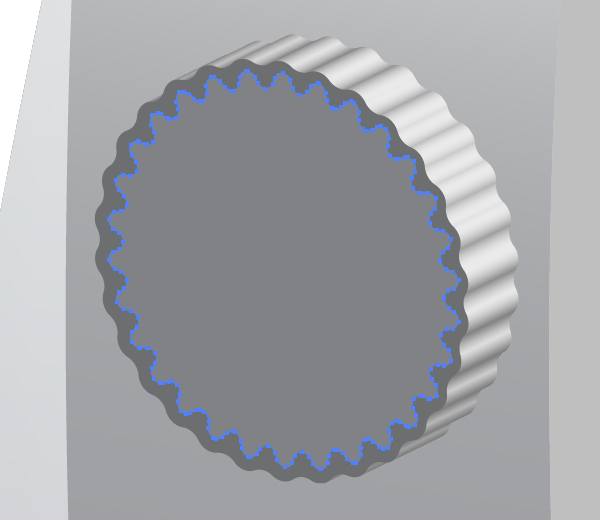
Illustrate the next path in the center of the 3D round object. Fill it with mid gray. Let’s name this color as the “Main color.”
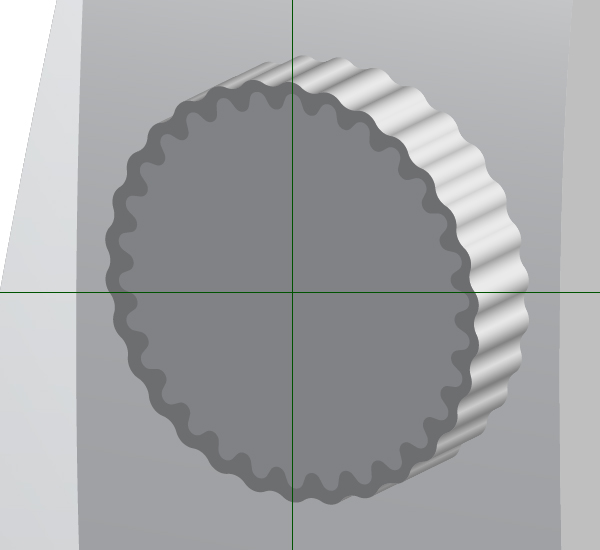
Draw the vertical and horizontal guidelines, which intersect with each other in the center of the 3D round object. See the diagram below for reference.
Take the Pen Tool (P) and draw two triangular paths using the intersection point of the guides as a mutual apex of both triangles. Besides, the biggest triangle must lie under the smallest one and must be filled with the “Main color.”
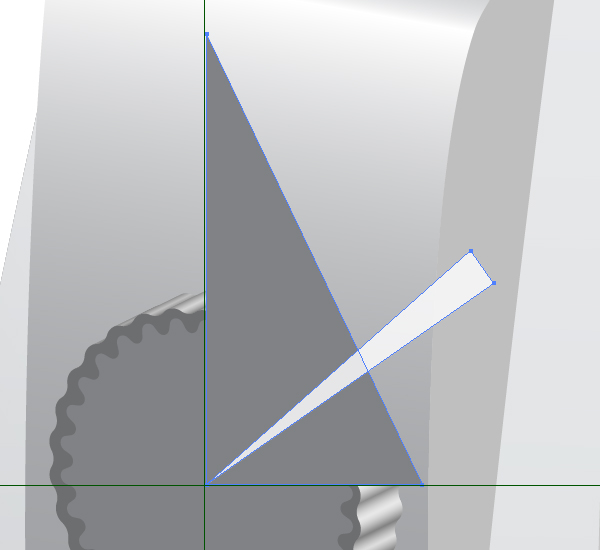
Change the Opacity of the biggest triangle to zero.
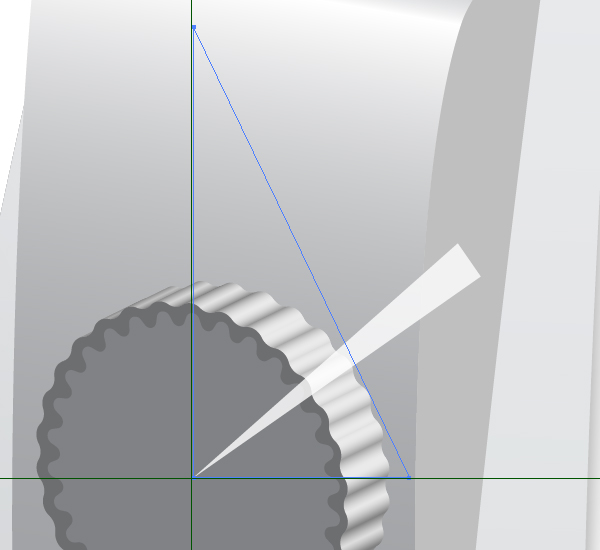
And go to Object > Blend > Make (Command + Alt + B).
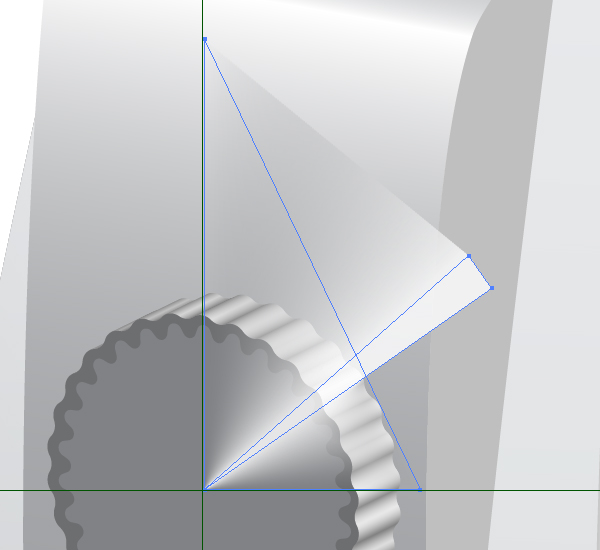
Do the same in the other three quadrants.
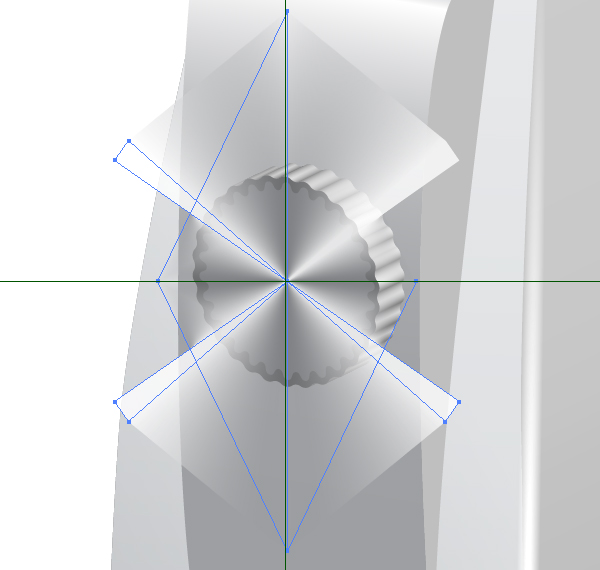
Now apply the Clipping Mask to all the blends.
And you will receive the conical gradient shown.
Step 9
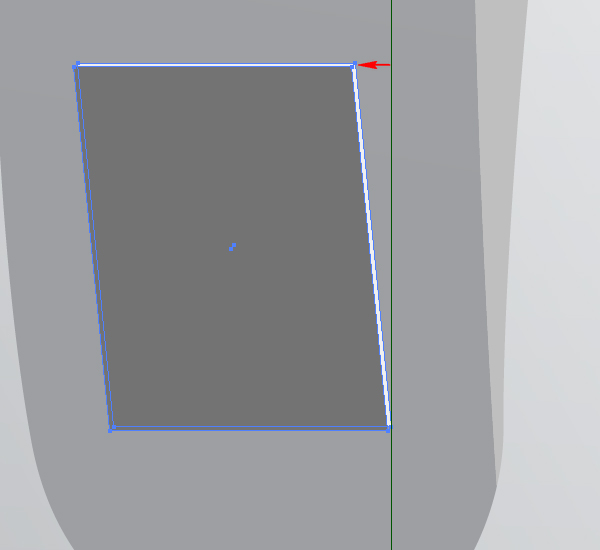
Let’s now create the button switch. Draw the dark gray path, copy it and paste in back (Command + C then Command + B). Fill the copy with light gray and move it slightly upwards and to the right. Pay attention that the top anchor points of the paths are moved to the left. For help review the figure shown below.
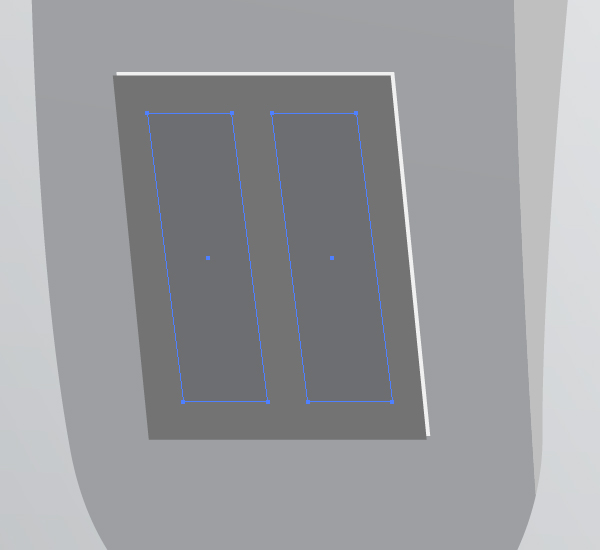
Sketch two inner paths.
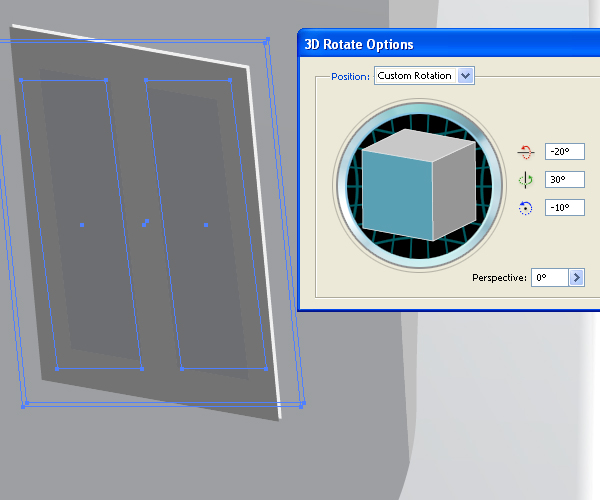
Select all these four objects and go to Effect > 3D > Rotate.
Step 10
Illustrate the inclined surface of the “on/off” button. Fill it with the Linear gradient.
Illustrate the top part of the button.
Make the lateral surface of the switch-button.
In the lower part of the button draw with the red indicator filled with the Radial gradient.
Represent the second “on/off” button the same way.

Step 11
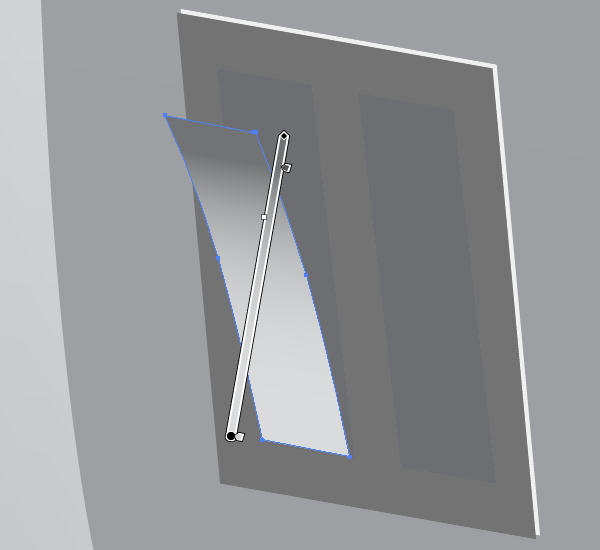
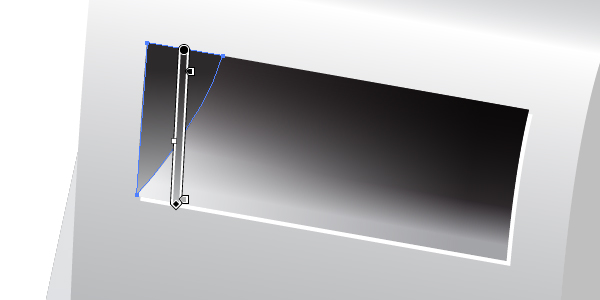
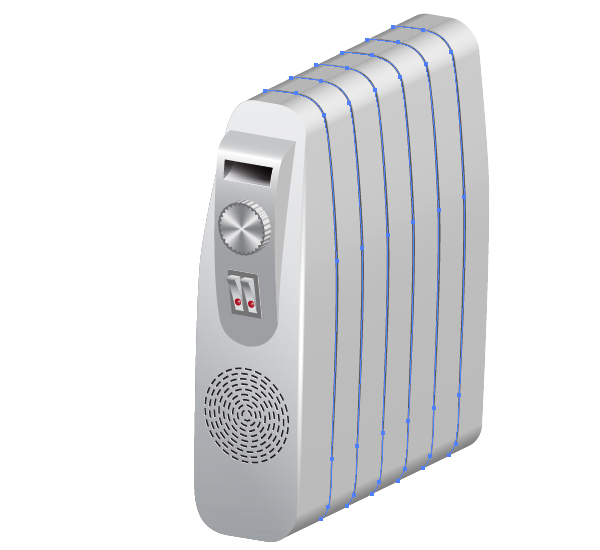
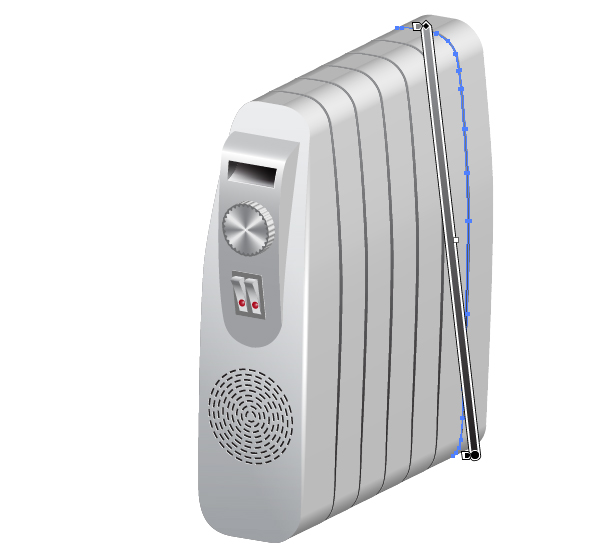
Let’s illustrate now the handle of the radiator. It will be represented as an aperture in the top part of the instrument panel. First of all, draw the next white path.
Now draw the path filled with an angled Linear gradient.
Copy it and paste in front (Command + C then Command + F), then fill it with another Linear gradient.
Now change the Blending mode of it to Overlay in the Transparency palette.

Step 12
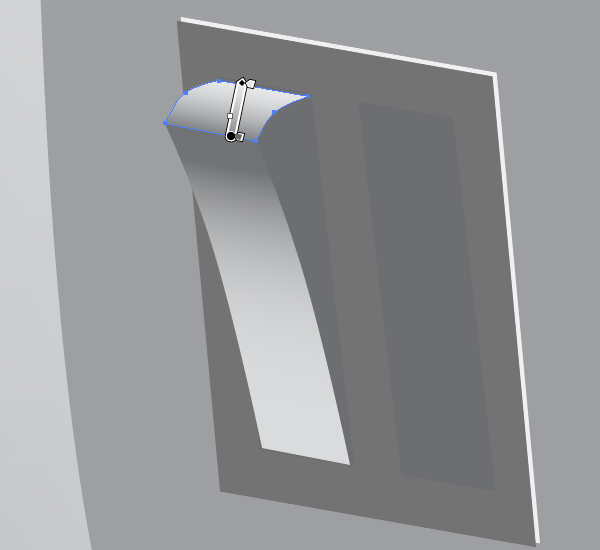
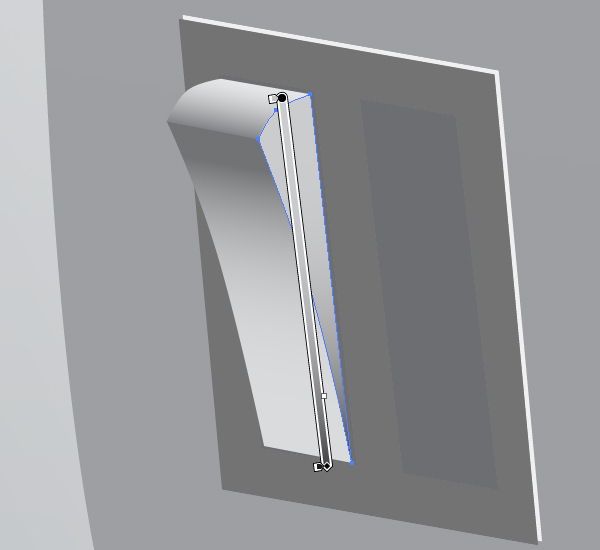
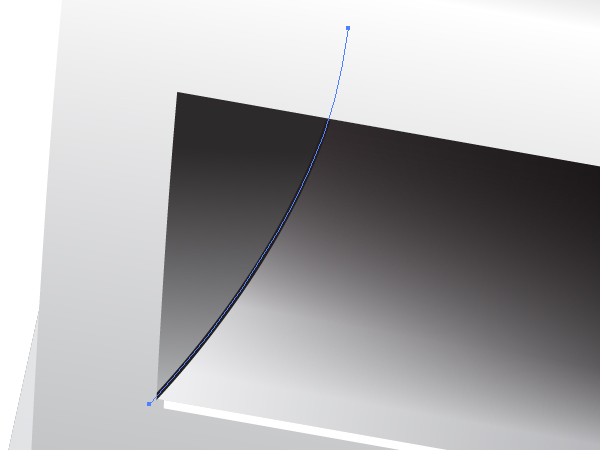
Create the lateral surface of the opening.
Draw the black path representing the line crossing both surfaces and cropped with the Clipping Mask.
Step 13
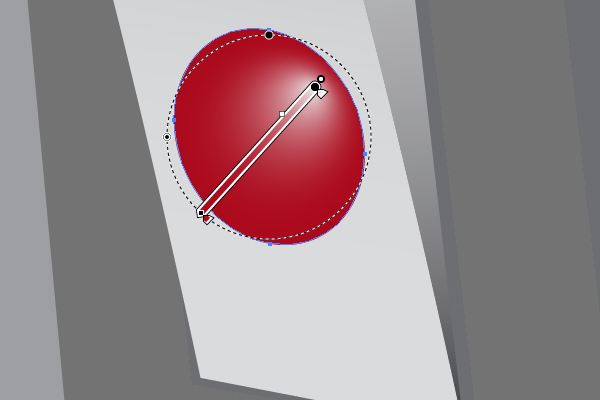
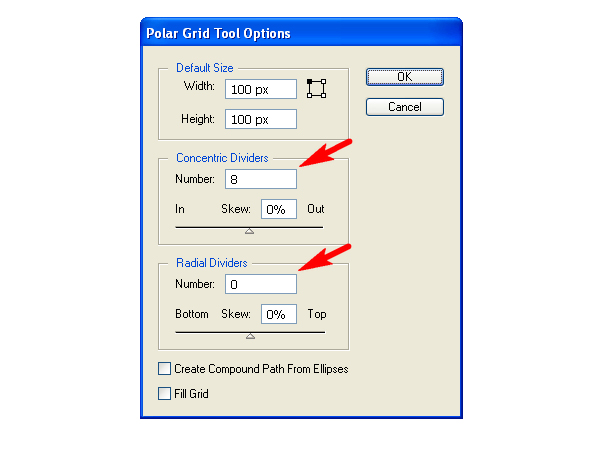
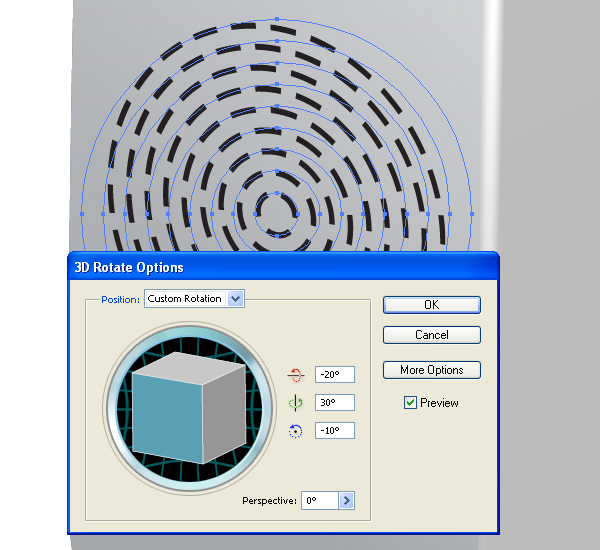
Make the ventiducts. Take the Polar Grid Tool and click on the workspace. Set the following options.
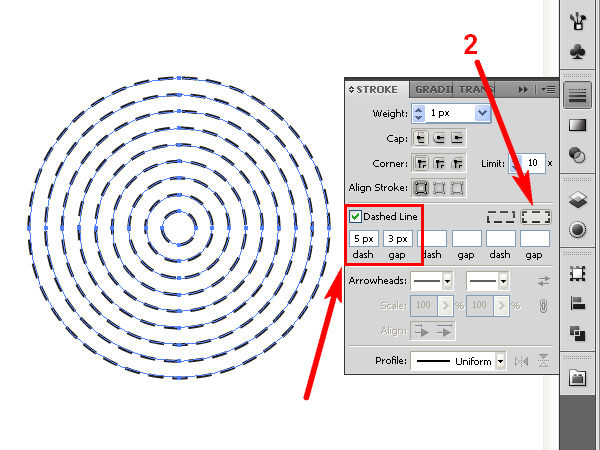
Then go to the Stroke palette and transform the circles to the dashed lines. See the diagram below for reference. Pay attention to the second arrow. You need to choose the pointed option in order to avoid connections of the lines after rotation.
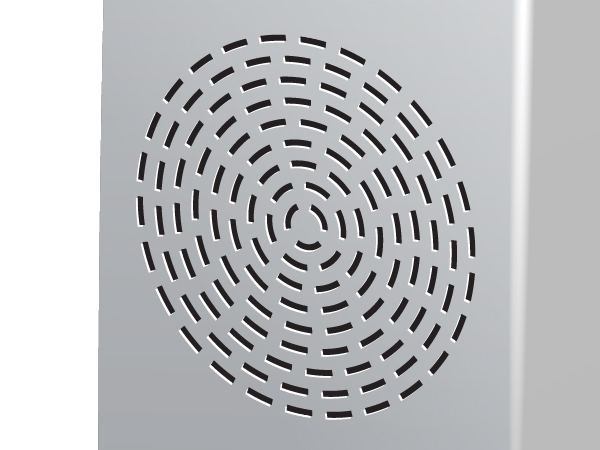
Place the holes on the radiator panel and rotate them by going to Effect > 3D > Rotate.
Copy the holes and paste them in back (Command + C then Command + B), change the color of Stroke from black to white, and move the white holes slightly. You need to achieve the following result.
Step 14
Select the inner parts of the radiator (see the diagram below):
And paint all of them using the Linear gradient.
Step 15
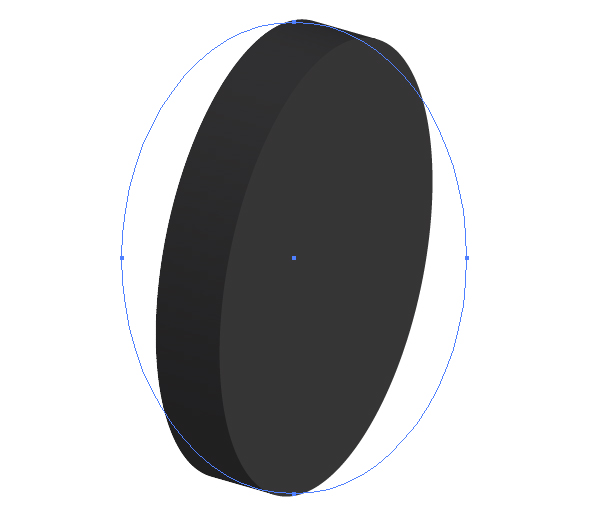
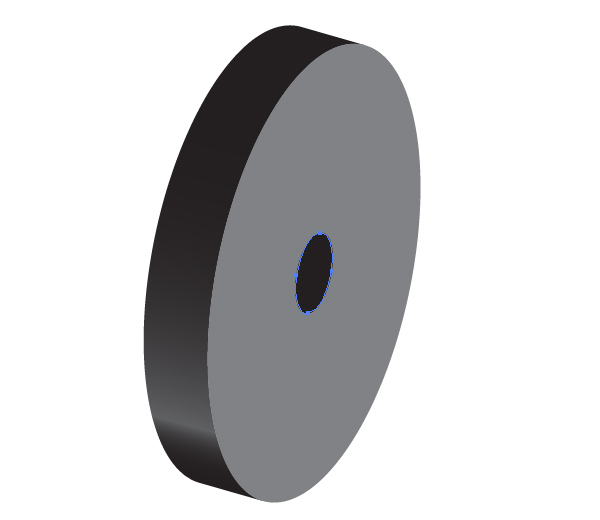
Create a wheel using the elliptical path by going to Effect > 3D > Extrude & Bevel. Use the image below as a reference.
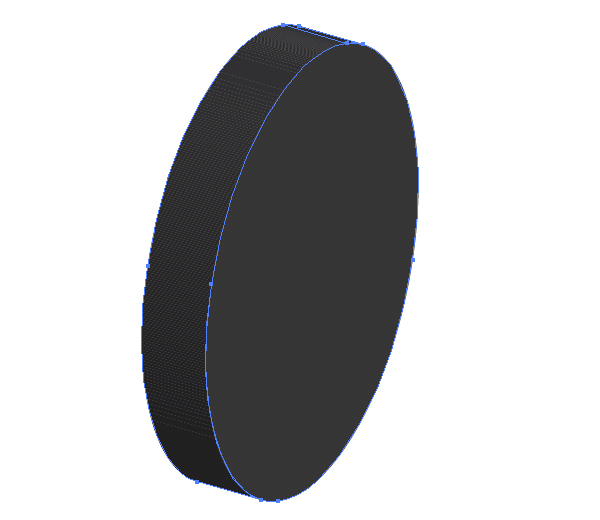
Go to Object > Expand Appearance, then apply Object > Ungroup three times.
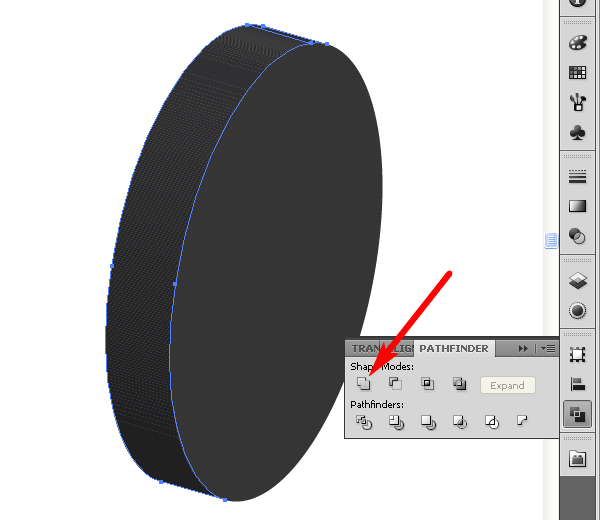
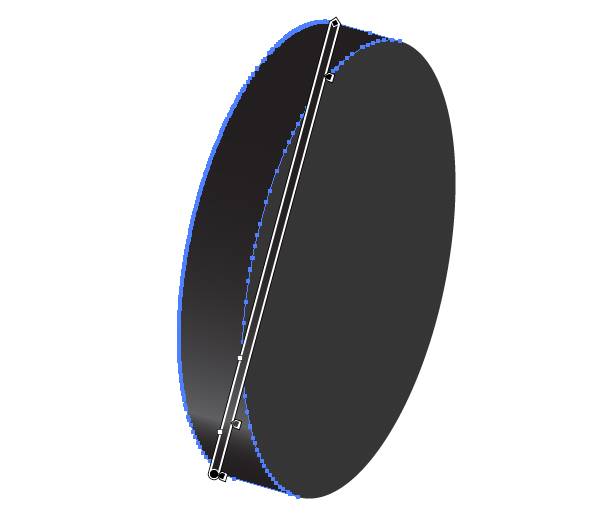
Unite the paths of the lateral surface of the wheel using the corresponding button in the Pathfinder palette.
Apply the Linear gradient to the resulting path.
Step 16
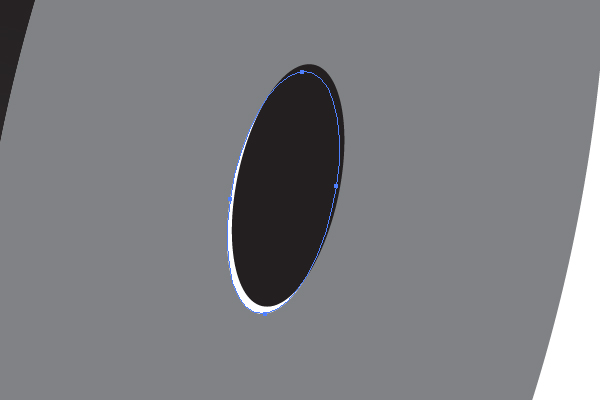
Make the flat surface of the wheel lighter. Then draw the center of the wheel.
Copy the center and paste in back (Command + C then Command + B). Change the color of filling to white. And move it slightly.
Step 17
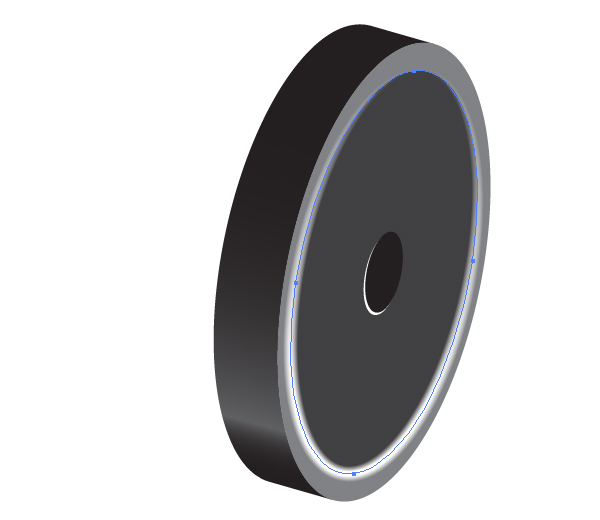
Create another elliptical path on the wheel.
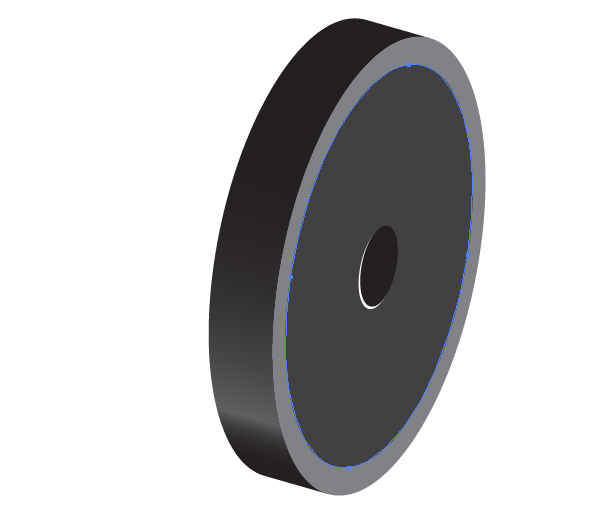
And apply the “Art Brush 1″ as its Stroke.

Step 18
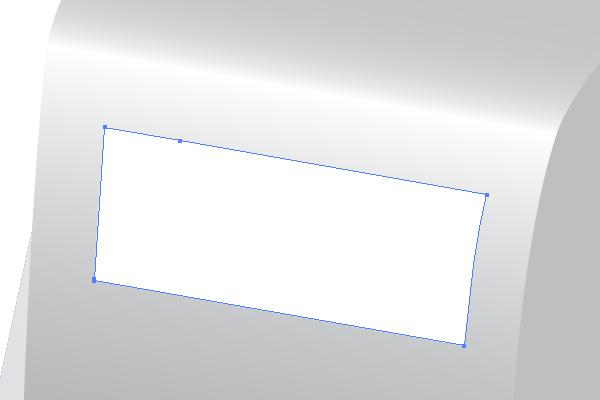
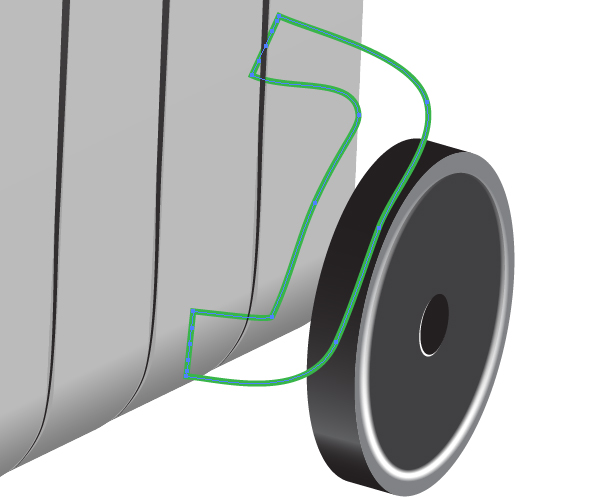
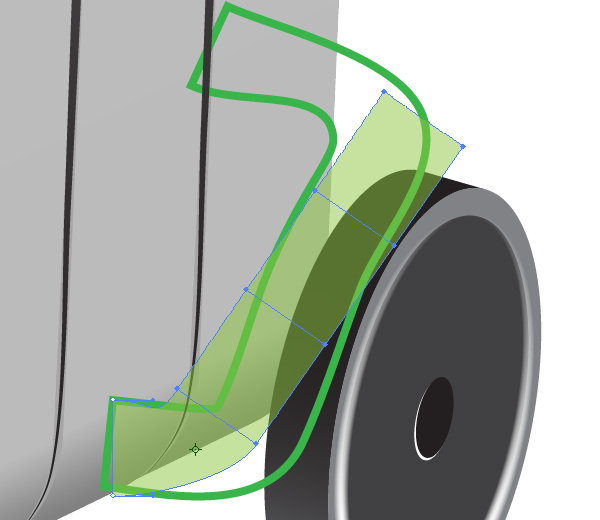
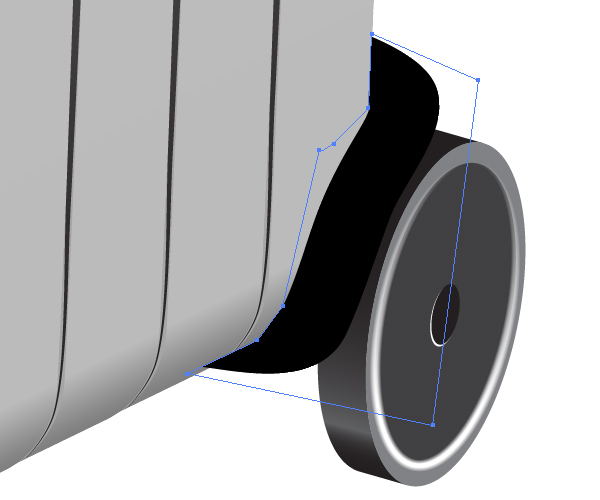
Do you want to connect the wheel to the radiator? If “yes,” than you must illustrate the following path and lock it in the Layers palette. It will represent the joining detail.
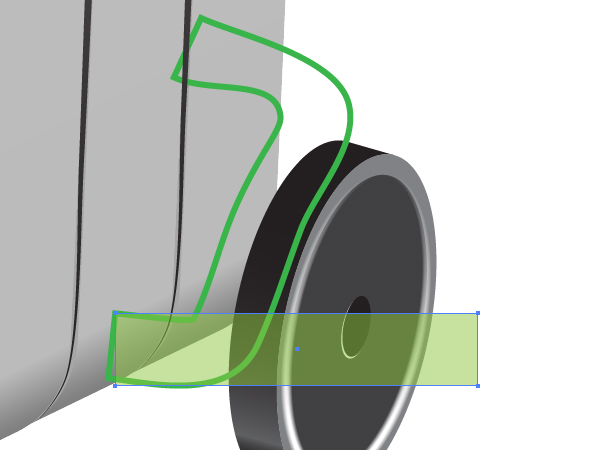
Now take the Rectangle Tool (M) and create a rectangle with a height approximately equal to the thickness of this detail at its widest point. Then change the Opacity of the rectangle.
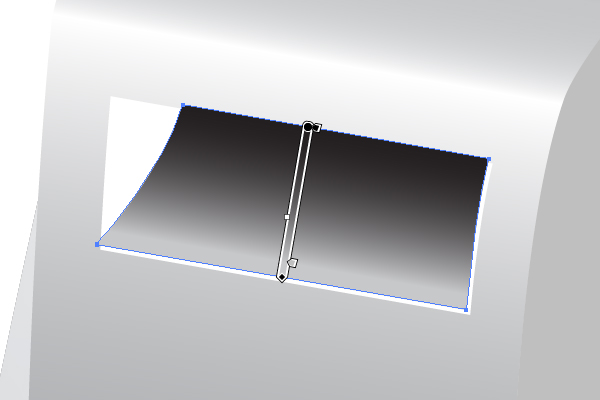
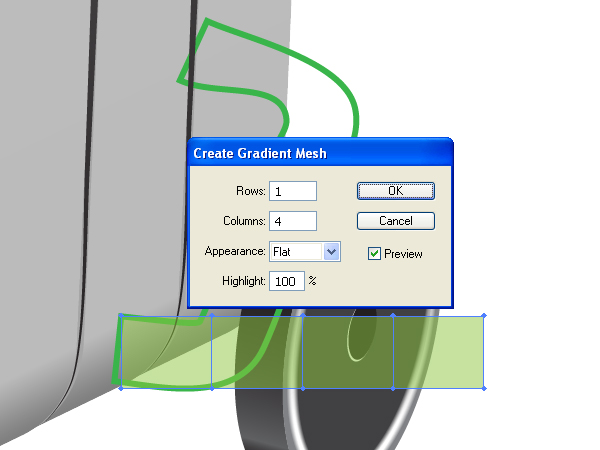
Now go to Object > Create Gradient Mesh and change the number of columns in the dialog box.
Take the Lasso Tool (Q) and select all the nodes of the gradient mesh except for the two left ones.
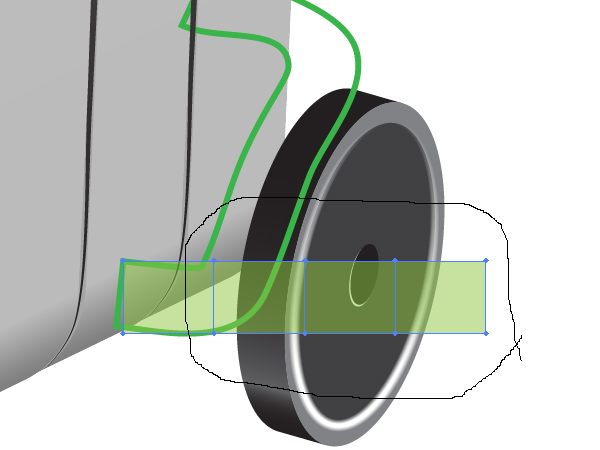
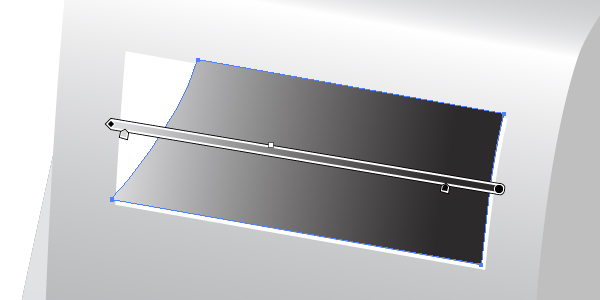
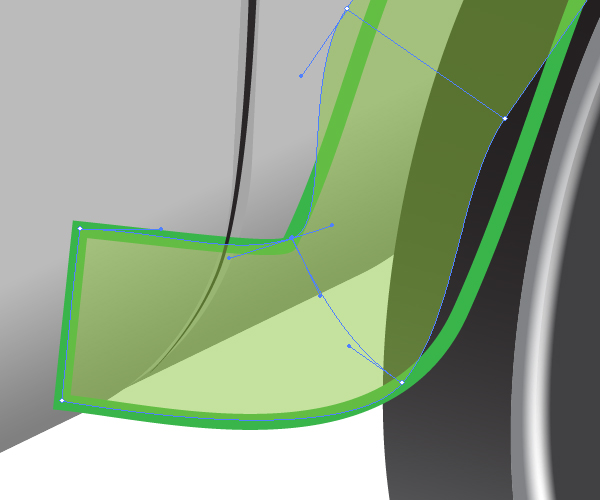
Now take the Rotate Tool (R), and make a rotation, as it is shown in the diagram below.
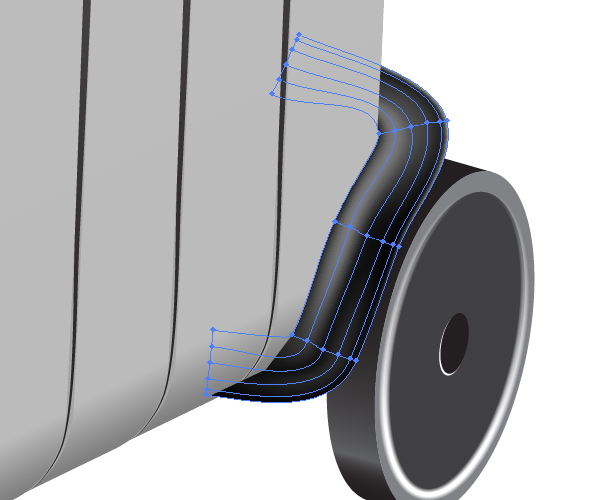
Take the Direct Selection Tool (A) and work on the nodes in order to achieve the approximate connection of the mesh with the green path.
Step 19
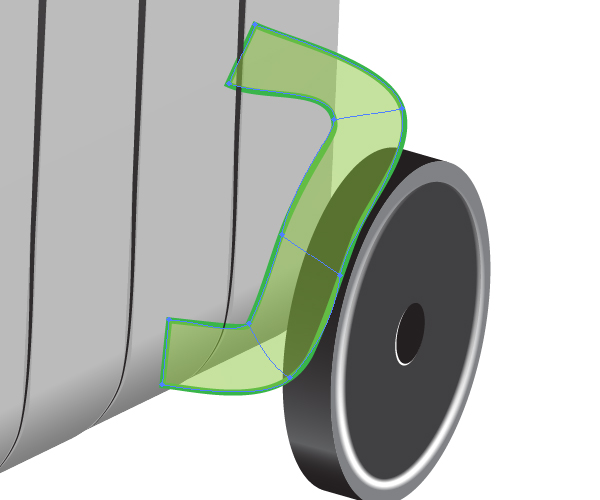
Change the Opacity of the mesh to 100%, change the color of it to black, delete the green path, and take the Mesh Tool (U), and add the mesh nodes.
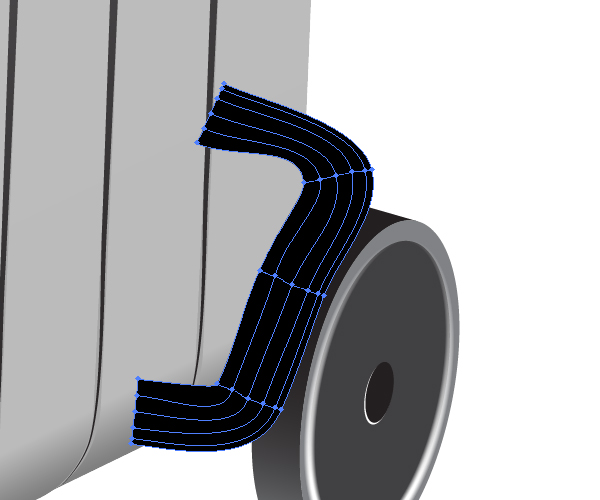
Apply the Clipping Mask to the mesh.
Now change the colors in order to represent the distribution of light accurately.
Step 20
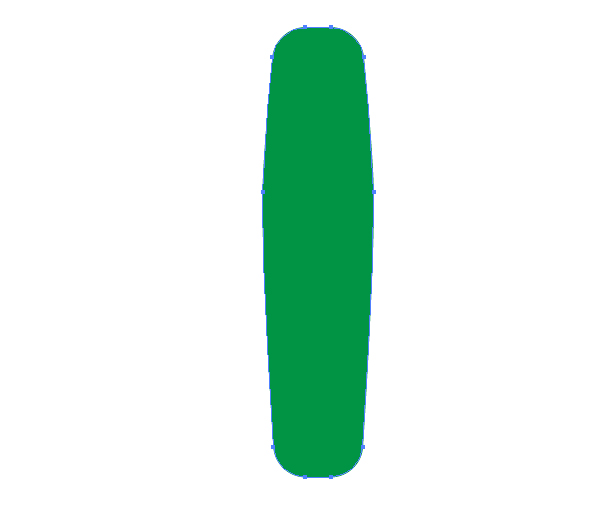
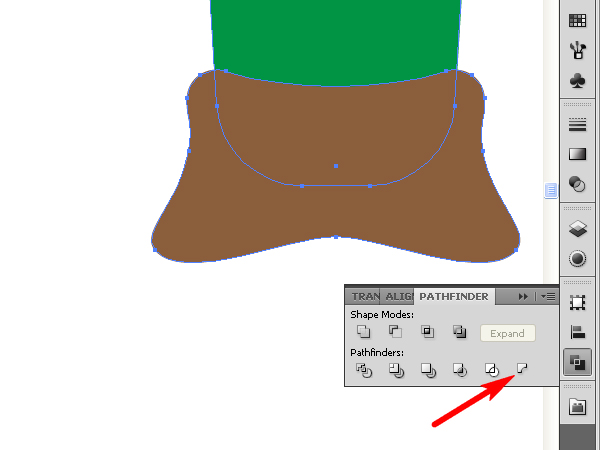
Take the copy of the “Big path.”
And sketch the brown contour in the lower part of it.
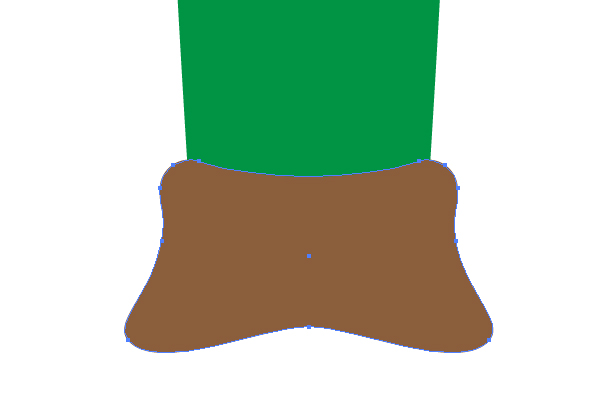
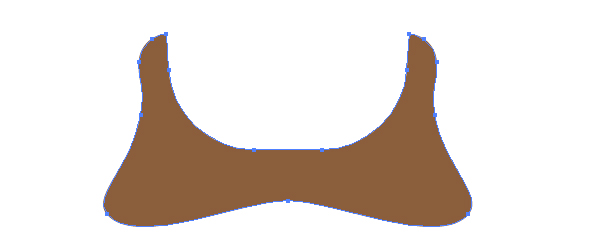
Select both paths, go to the Pathfinder palette and click there the “Minus Back” button.
Step 21
Change the color of the path and go to Effect > 3D > Extrude & Bevel.
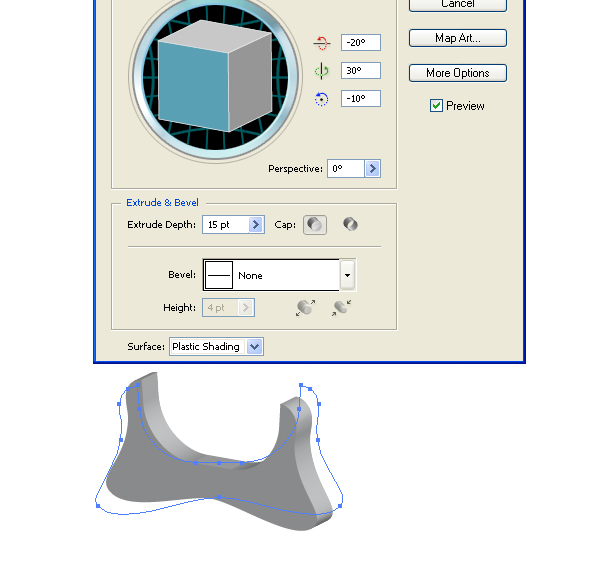
Place this path under the radiator.
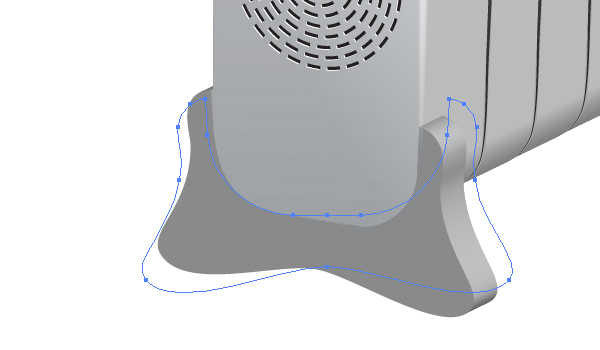
Step 22
Go to Object > Expand Appearance, select the front facet of the stand and fill it with the Linear gradient.

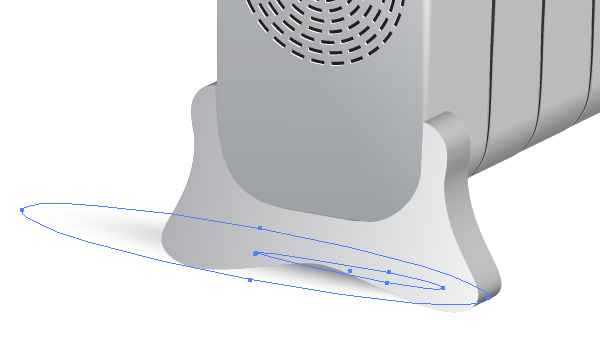
Create the shadow from the stand using blends.
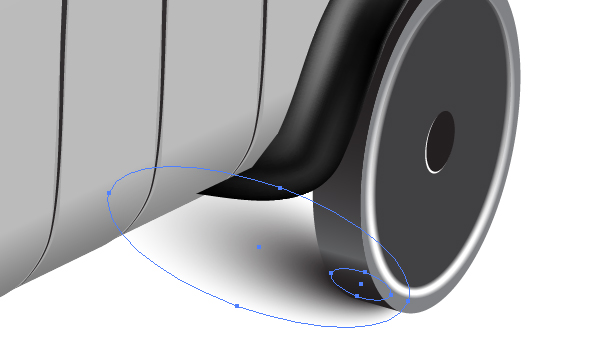
Also create the shadow under the wheel.
Step 23
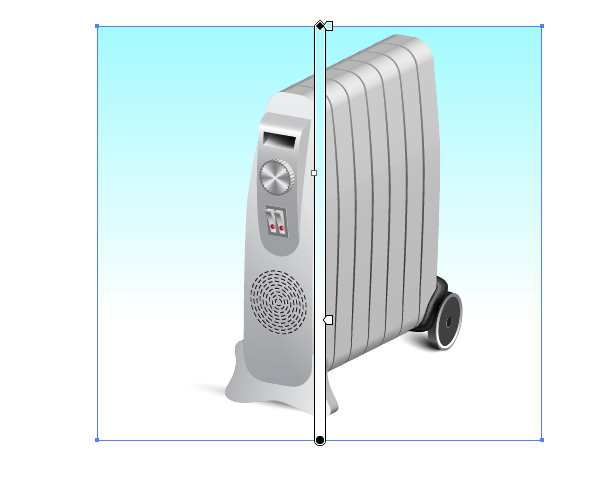
Illustrate the background with a simple linear gradient.
Conclusion
Use the techniques described in this tutorial to create your own mechanical artwork.