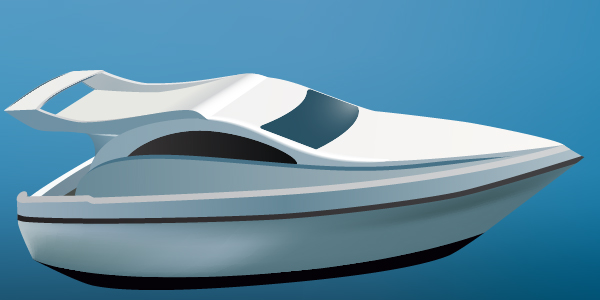
In this tutorial, you will use Meshes, Bristle brushes, Art brushes, and other tools and techniques for creating a racing yacht in Illustrator. The skills you will learn here can easily be transferred to creating various objects. So let’s get started!
Step 1
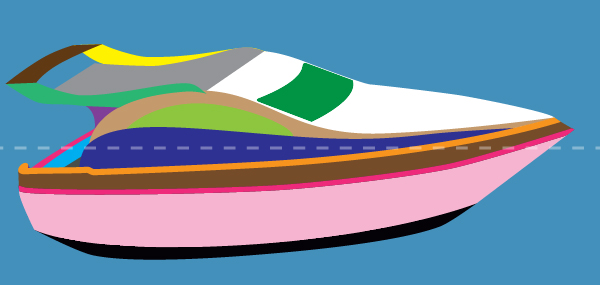
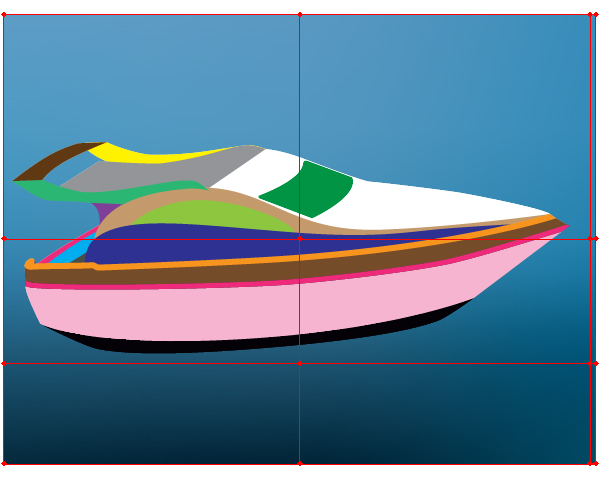
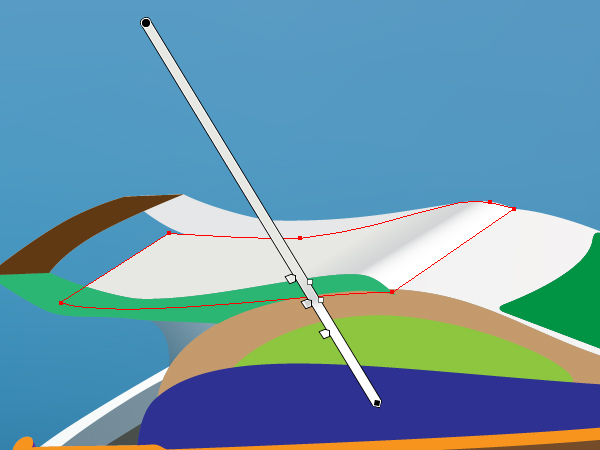
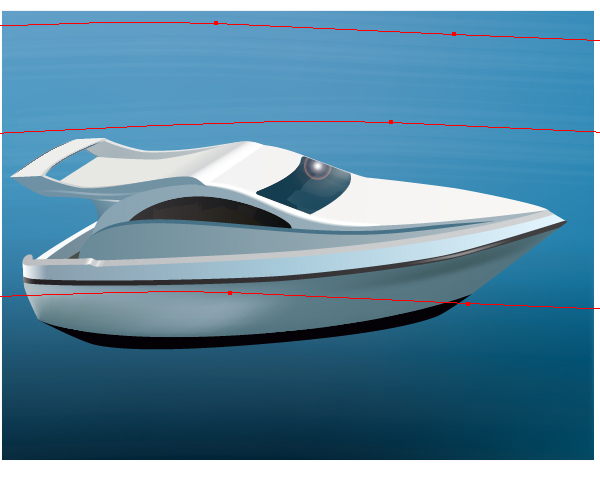
First, you need to create the simple sketch of the yacht in Adobe Illustrator using the Pen Tool (P), and fill all the received paths with different colors. Pay attention that the front point of the yacht is located above the rear part of it. See the skyline shown with a transparent dashed line in the diagram.
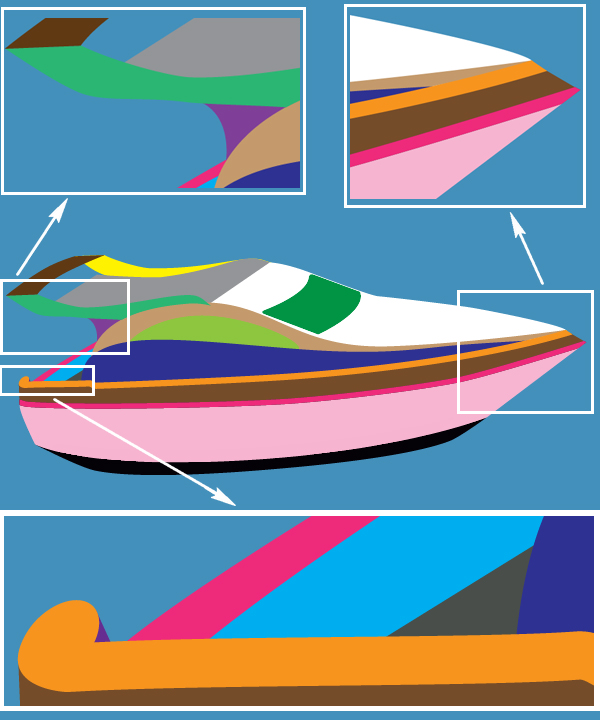
The scaled drawings of the small components are shown in the diagram below.
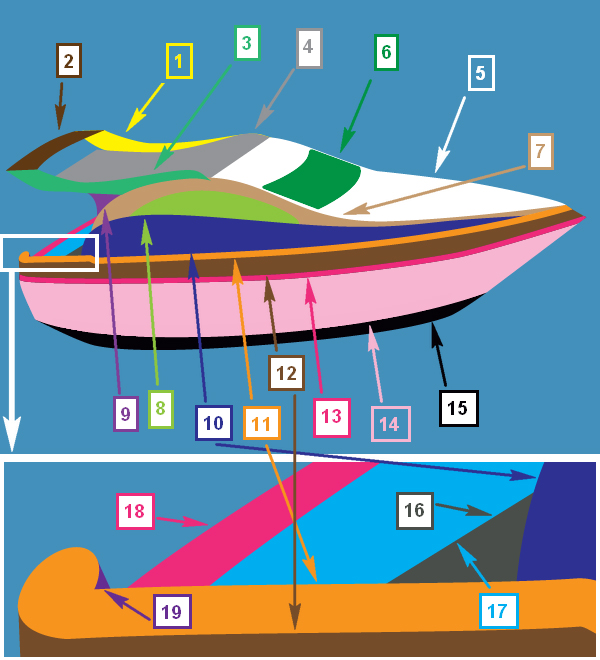
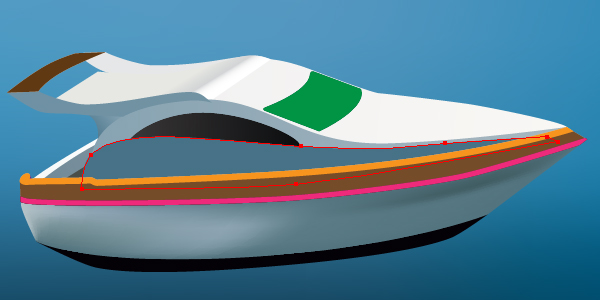
I want to number all the paths of the yacht sketch using the corresponding colors for the arrows and digits. The order of numbering is casual. The numbers will be used further in this tutorial only for your convenience. I will refer to these numbers, so keep an eye on the diagram below. Let’s name this figure “the Main diagram.”
Step 2
Take the Mesh Tool (U), click in the blue rectangle representing the background, and convert it to the mesh. Change the colors of the mesh anchor points to the usual colors of sea-water.
Step 3
Convert the 14th path (see “the Main diagram”) to the mesh the same way, and make the right metal board of the boat.
The 15th path must be unchanged in its borders. Fill it with black only.

Step 4
Fill the 1st path with light gray.
Then fill the 5th path with a Linear gradient. The right color-stop is lighter then the left one.
Step 5
Repeat these actions for other paths of the boat. Fill the 16th path with dark gray.
Step 6
Fill the 17th path (which represents the wall of the rear board) with a Linear gradient.
Then fill the 18th path with the Linear gradient too.
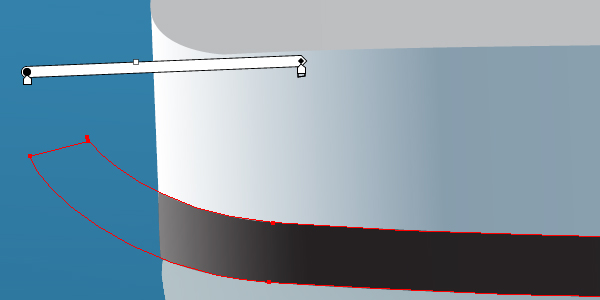
Step 7
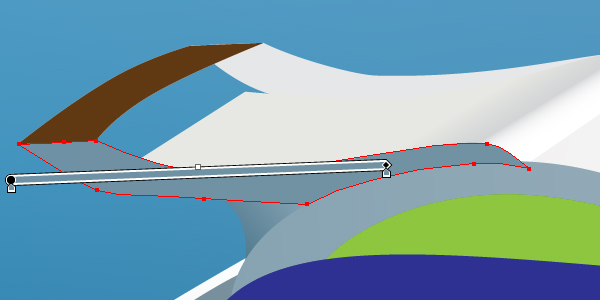
Fill the support of the rear air wings (the 9th path) with a Linear gradient. See the diagram below for reference.
Step 8
Fill the plate of the air wings (the 4th path) with a Linear gradient.
Step 9
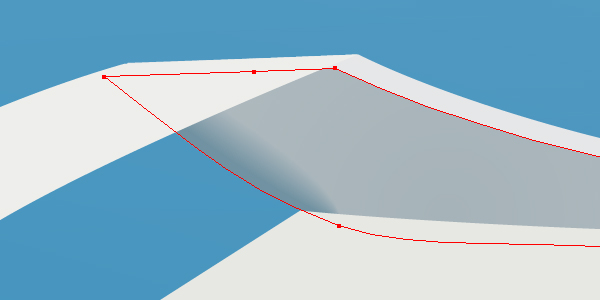
Fill the right side of the boat (the 7th path) with a Linear gradient.
Step 10
Fill the path of the right wing (the 3rd path) with a Linear gradient. Use the image below as a reference.
Step 11
After that fill the right window (the 8th path) with the Linear gradient shown. You need to achieve the following result.
Step 12
Now fill the 10th path with an acceptable color. The result should look something like the following.
Step 13
Fill the 12th path with a Linear gradient too.
Then do the same action with the 13th path. Change the colors of the gradient only. Follow the helpful example below.
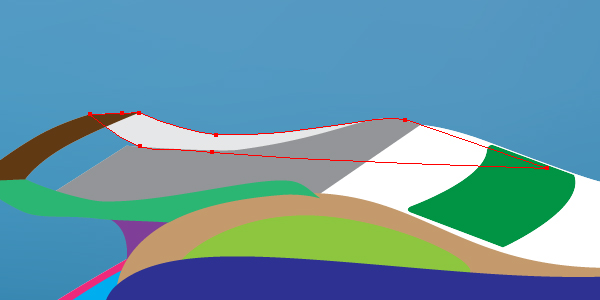
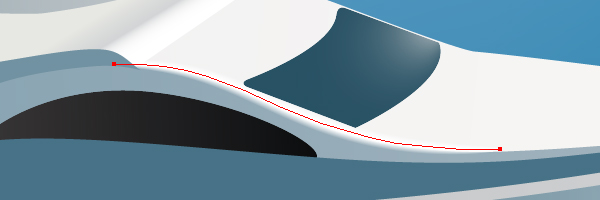
Step 14
Fill the 19th path in the back part of the yacht with gray.
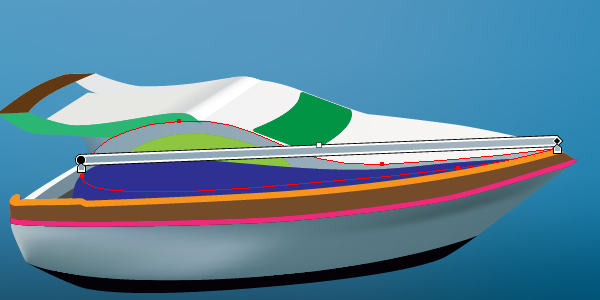
Fill the border of the right board of the boat (the 11th path) with a Linear gradient that goes from mid gray to light gray in color.
Step 15
Fill the windshield window of the yacht (the 6th path in the “Main diagram”) with the Radial gradient shown.
Step 16
Fill the 2nd path with light gray (almost white). You may apply the light gradient filling to this path also.
And after these manipulations you will achieve the following result.
Step 17
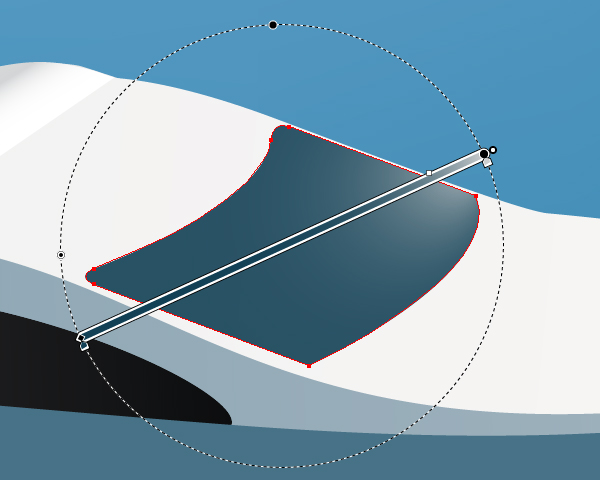
Now select the 1st path, copy it and paste in front (Command + C then Command + F). This copy must be located between the 1st path and the 4th path, while at the same time under the 2nd path. Move it slightly in order to reproduce the thickness of the left air wing and fill it with a Radial gradient. Follow the diagram below.
Step 18
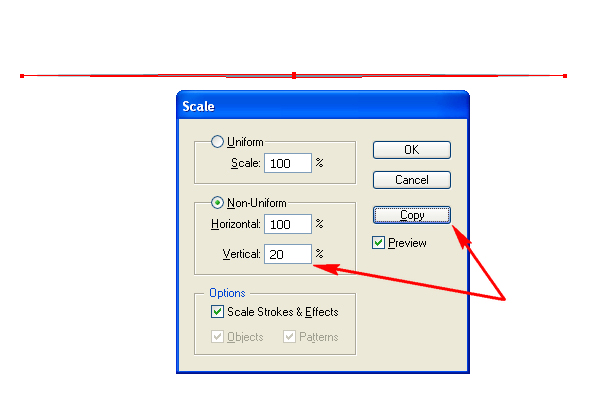
Take the Ellipse Tool (L) and draw an elongated elliptical path. Fill it with slate gray.

Go to Object > Transform > Scale and decrease the value of non-uniform vertical scaling, and click the Copy button.
Change the Opacity of the biggest ellipse to zero. Then go to Object > Blend > Blend Options, and set there the values shown below.
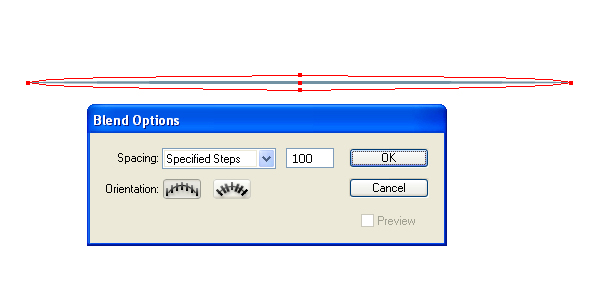
Select both elliptical paths and go to Object > Blend > Make (Command + Alt + B). Then drag and drop it into the Brushes palette. Select the Art Brush option in the dialog box. Set the items for the brush as shown.

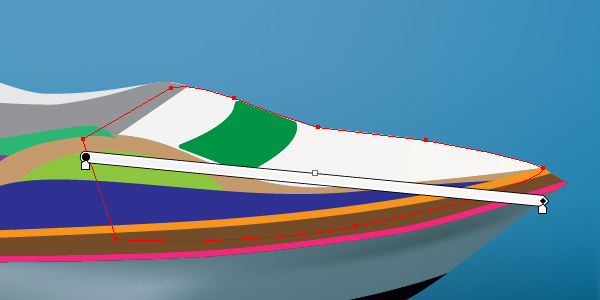
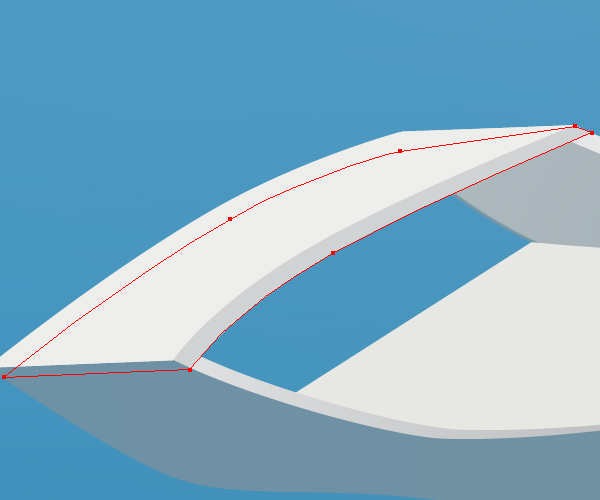
Step 19
Apply the received Art brush to the leftmost part of the copy of the 1st path,…
…crop it with the Clipping path,…
…and decrease the Stroke Weight in order to emphasize on the border of the path.

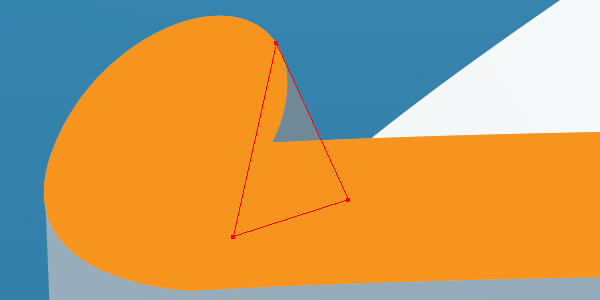
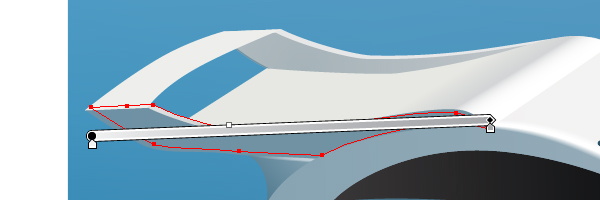
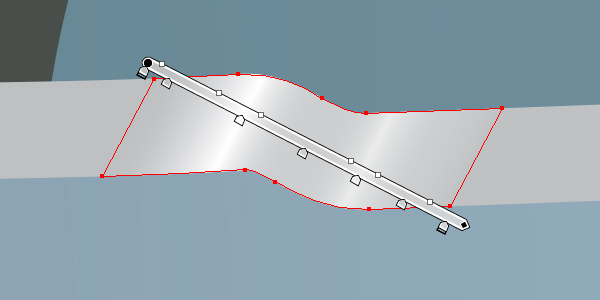
Step 20
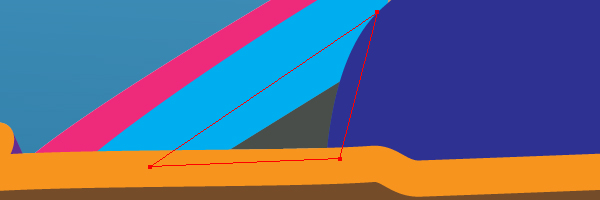
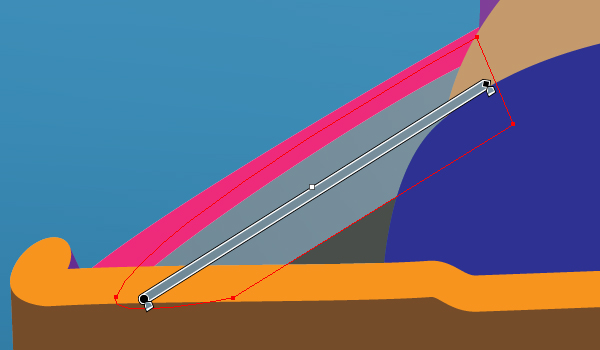
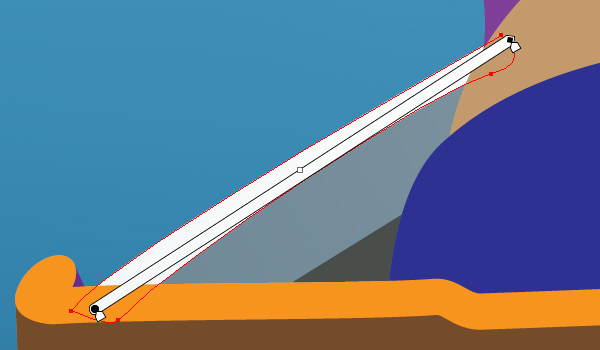
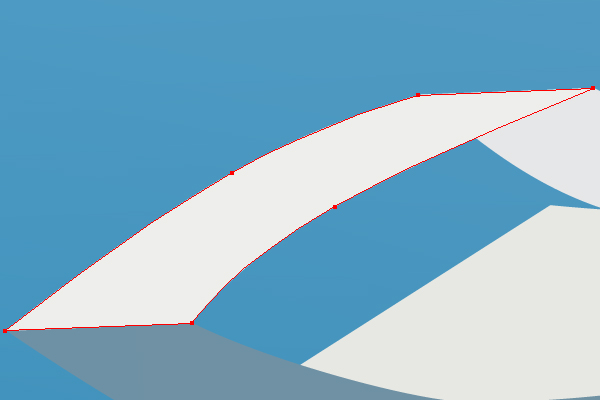
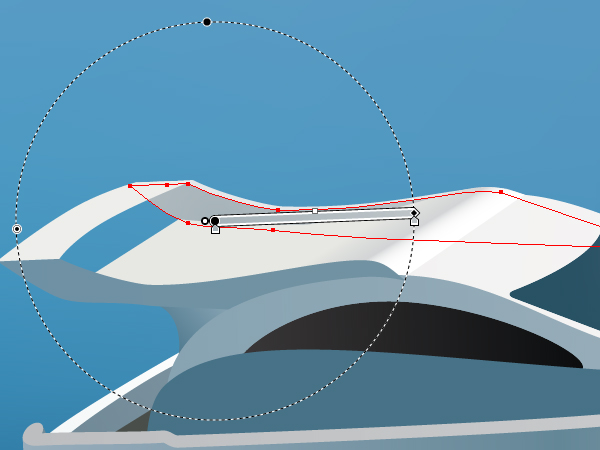
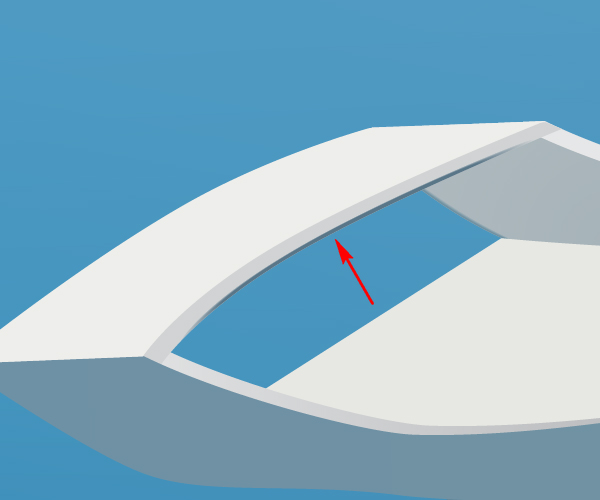
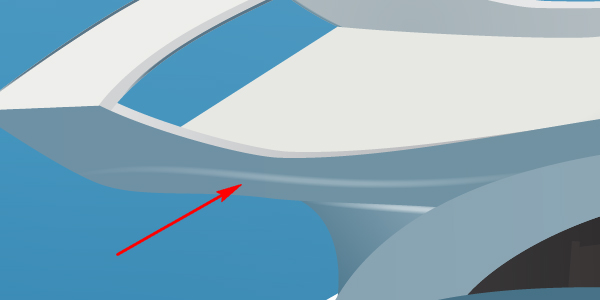
Apply the analogous Art brush to the line of joining the 3rd and the 9th paths.
Repeat this operation for the line of joining the 5th and the 7th paths.
Step 21
Copy the 3rd path and paste it in back (Command + C then Command + B). Move it some pixels upward and rightward. Fill the copy of the path with a Linear gradient. The results should look something like the following.
Illustrate the analogous path made from the 2nd path. Fill it with mid gray.
Step 22
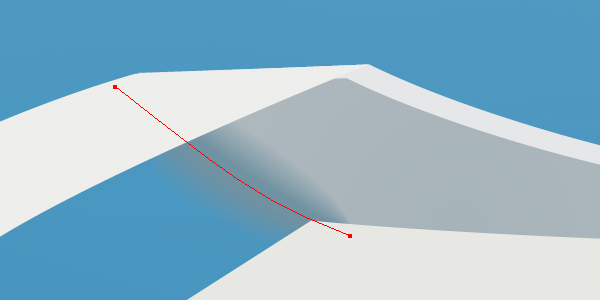
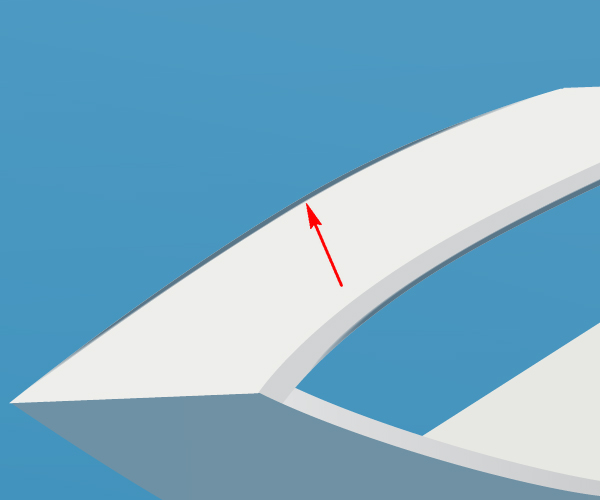
Apply the dark Art brush to the border of the 2nd path copy, as you did it several steps earlier.
Do it again. See the image below.
Step 23
Select the 10th path. Copy it and paste in front (Command + C then Command + F). Move it slightly down. Fill it with a Linear gradient as shown.
After this you should have the following illustration of the yacht so far.
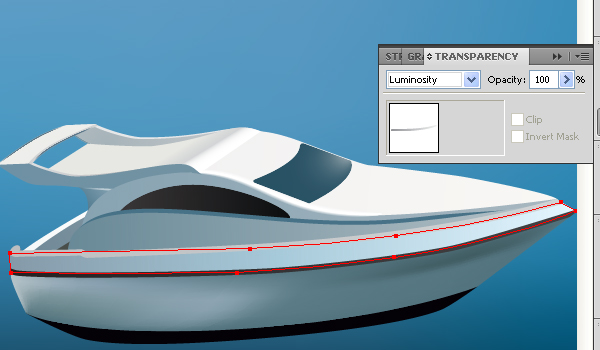
Step 24
Select now the 12th path, copy it and paste in front (Command + C then Command + F). Fill it with a Linear gradient that goes from mid gray to light gray in color. Your yacht should look the the same as below.
Then go to the Transparency palette and change the Blending Mode of this path to Luminosity.
After that copy this path and paste it in front again (Command + C then Command + F). Fill the rear part of the path with a Linear gradient that goes from white to white in color, and from 100% to 0% in Opacity. You need to do this in order to illustrate the light spot in the rear part of the boat.
Picture an analogous light spot over the 13th path.
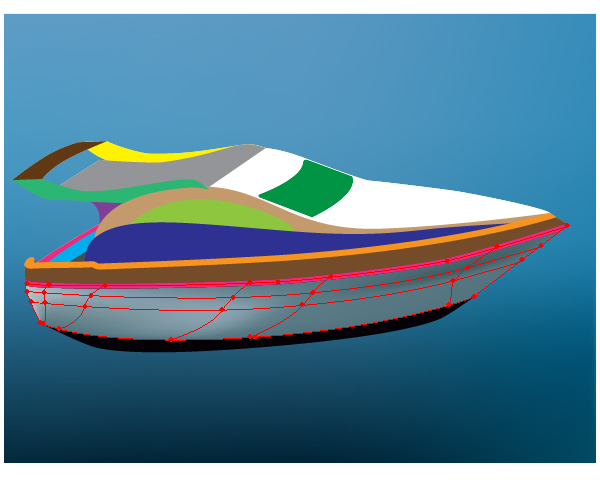
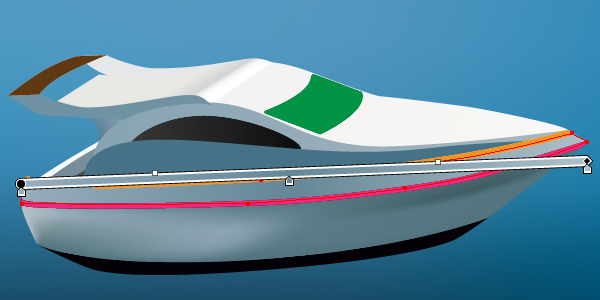
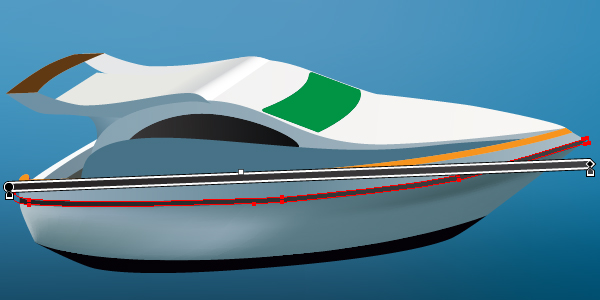
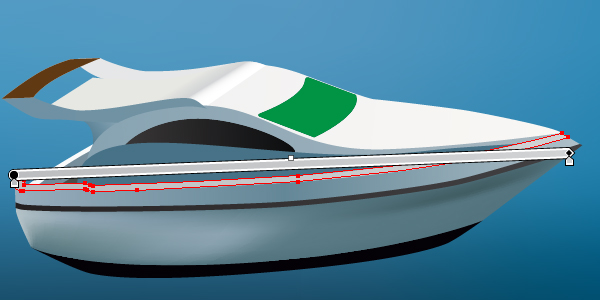
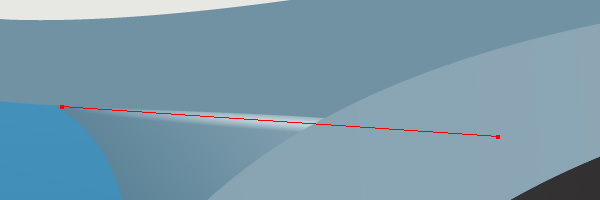
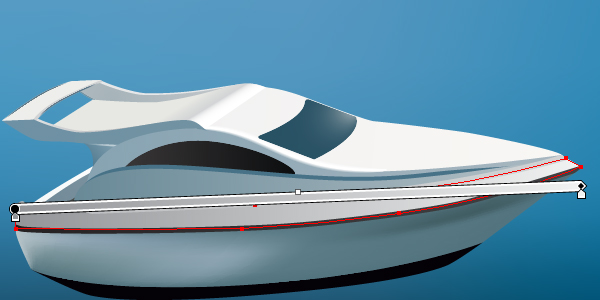
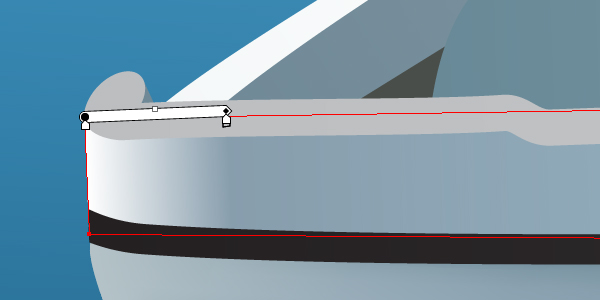
Step 25
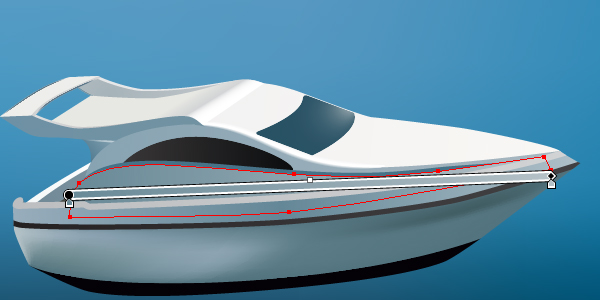
If the surface of your 11th part is bent, then you may use the Linear gradient in order to lay emphasis on it.
Step 26
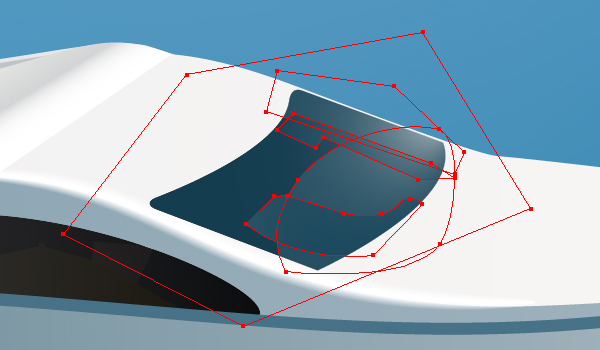
There are many small details located in the yacht’s cabin. In order to illustrate them, draw those details, place them under the right window (the 8th path), and decrease the Opacity of the window.
Repeat these actions under the windshield window (the 6th part).
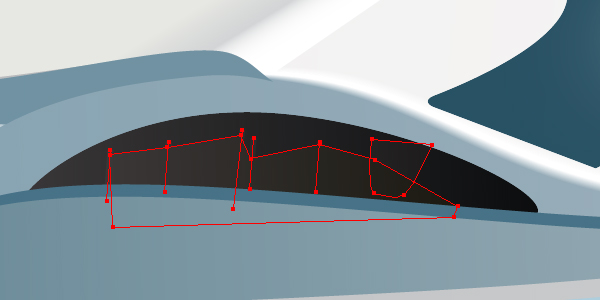
Step 27
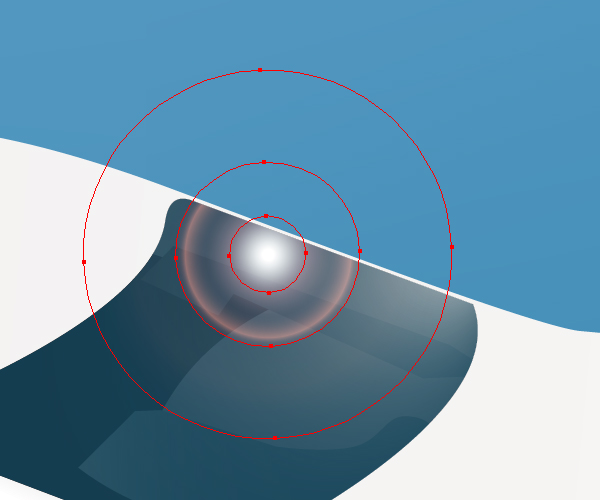
Now take the Flare Tool, click on the windshield window and drag the mouse while holding the mouse key down.
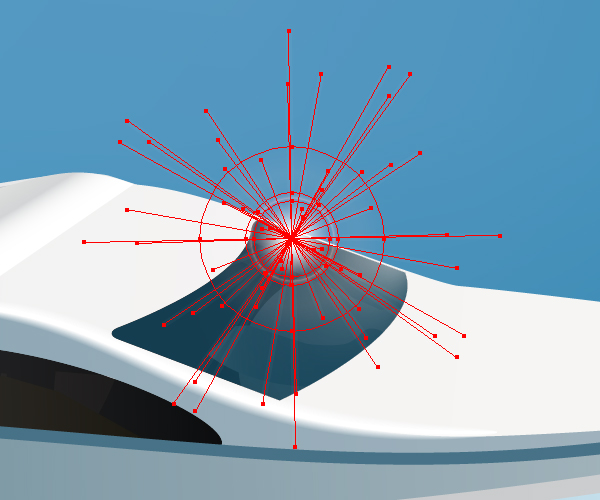
Then go to Object > Expand and set there the values which you can see in the diagram below.

Then delete all the paths without filling.
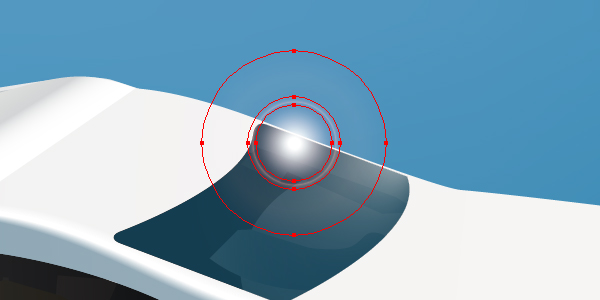
Now place the received flare spot under the Clipping path of the window, and change the Radial gradients in order to achieve something like the following.
Step 28
Create a light spot on the 13th path using an Art brush.
Illustrate a light spot on the 3rd path too.
Step 29
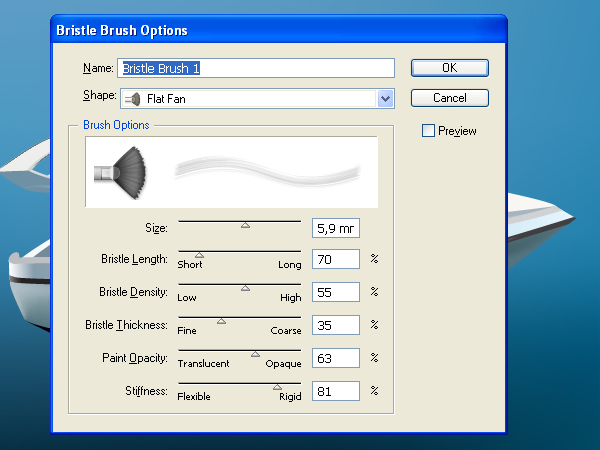
Go to the Brushes palette, click the “New Brush” button, select the Bristle brush type, and create a brush from the Flat Fan shape.
Varying the Stroke color of this brush, the Stroke weight and the Opacity of it, illustrate the surface of the sea over the background mesh.
Step 30
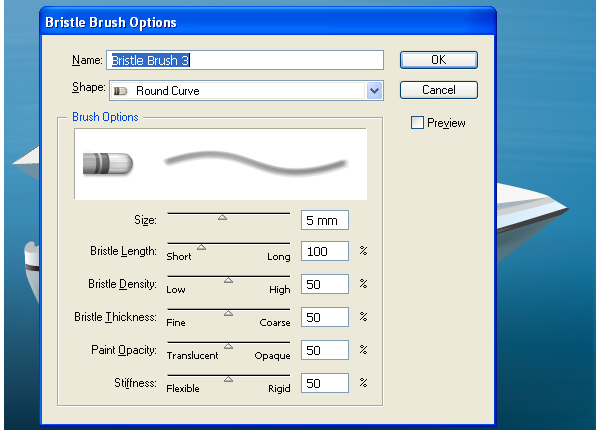
How to illustrate foam? You may use a Bristle brush for this purpose also. But now create a Bristle brush using the Round Curve shape of it. See the diagram below.
Now paint foam under the yacht.
Step 31
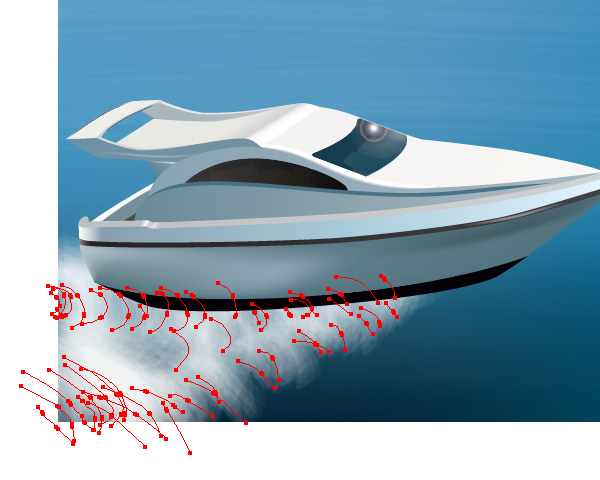
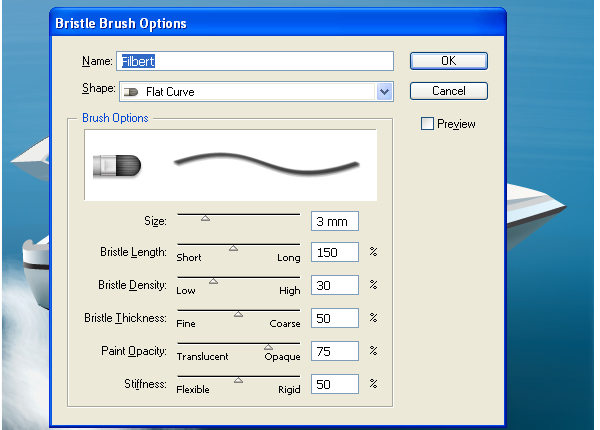
Create one more Bristle brush using the Flat Curve shape of it.
Add foam using this brush. Then take the Twirl Tool and twirl somewhat the rightmost path of the brush.
Step 32
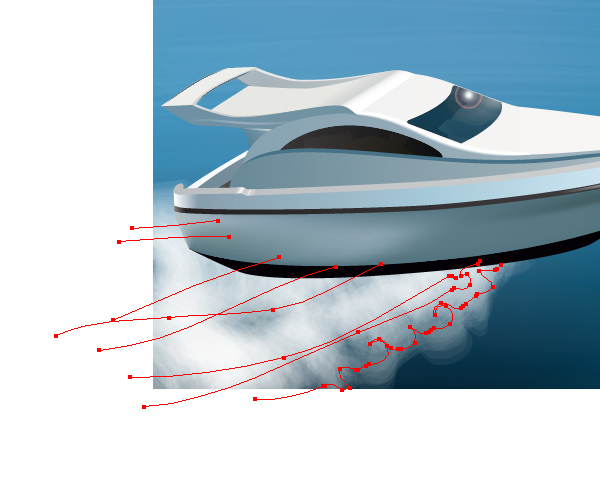
Using this technique create foam under the left board of the yacht.
Then add the waves to the sea surface. You know already that you may use the Bristle brushes here.

Step 33
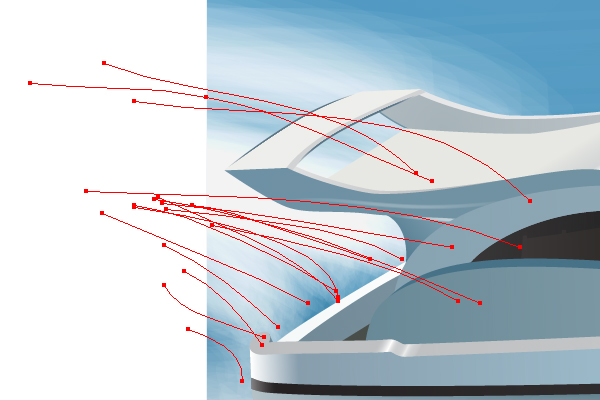
Add two other paths over the board of the boat.

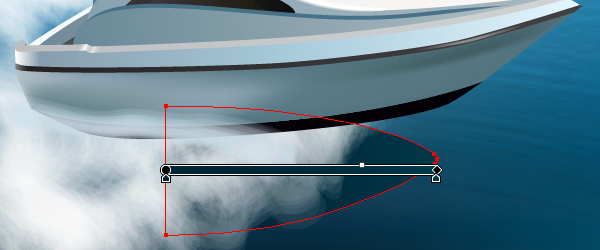
Create the shadow under the yacht.
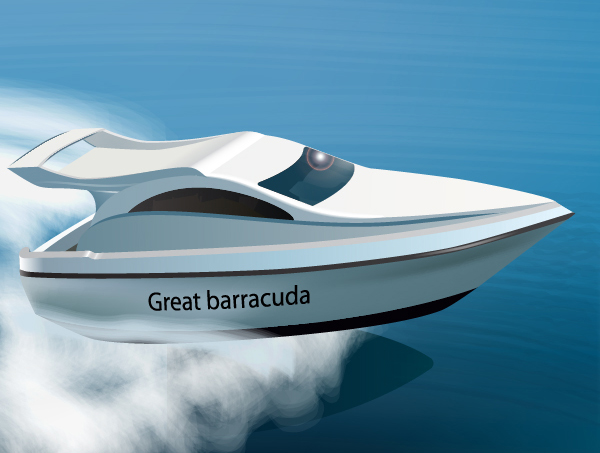
Step 34
Draw an inscription on the board of the yacht.

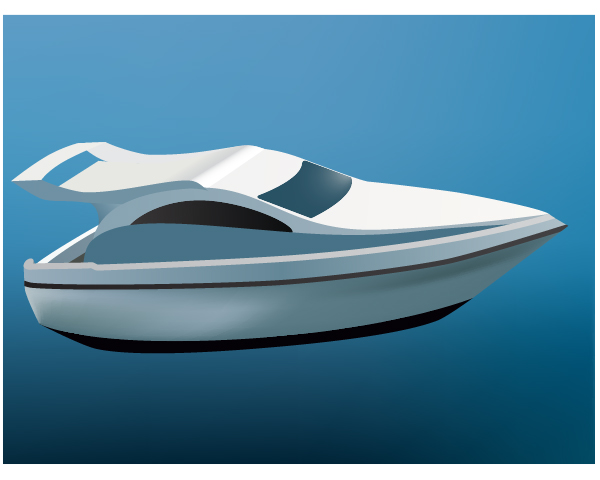
Conclusion
Have fun using the techniques described in this tutorial in your own artwork!