In this Quick Tip we will use the Art Brushes and the Blend Tool to evenly distribute different sized objects along a path in Adobe Illustrator. I’m sure that techniques described here will make you look at the well-known tools and their properties in a different way. This technique was developed by my friend Iaroslav Yemz.
Step 1
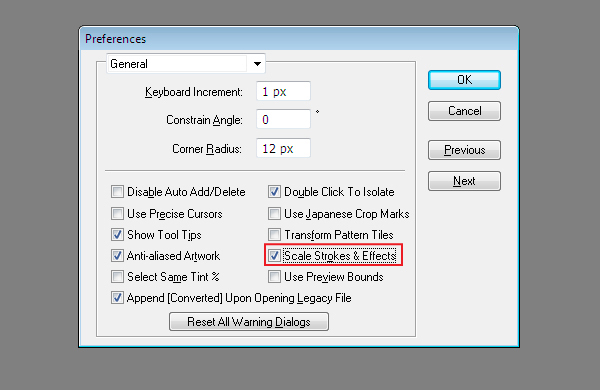
Check the Adobe Illustrator settings before starting to work. Go to the Edit > Preferences > General and tick the "Scale Strokes & Effects" in the dialog box Preferences.
Take the Ellipse Tool (L) and create a circle of 50px in diameter. Drag this circle into the Brushes palette and save the new brush as the Art Brush 1, setting the parameters in the dialog box.
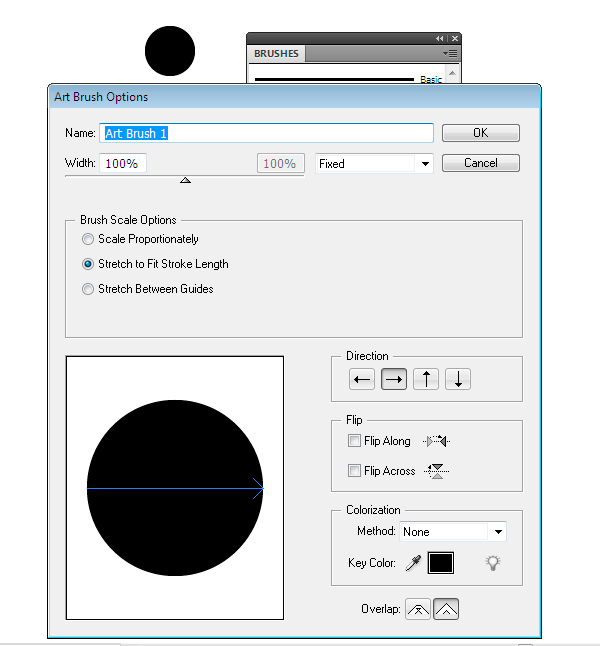
The initial circle should be deleted now.
Step 2
Take the Line Segment Tool (backslash), click on the working field of the document and set the length and the angle of the line in the dialog box.
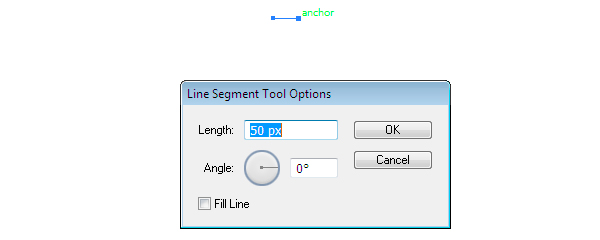
Apply the created brush to it.

Step 3
Drag the circle to some distance to the right (holding the Shift + Option keys), creating its copy. Keep the object selected, go to the Object > Transform > Transform Again, getting one more copy of the circle.

Step 4
Enlarge the middle object by holding the Shift + Alt.

Select all the objects and go to the Object > Blend > Make.
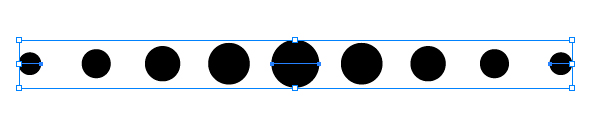
Next go to the Object > Blend > Blend Options and set the number of the Specified Step in the dialog box.
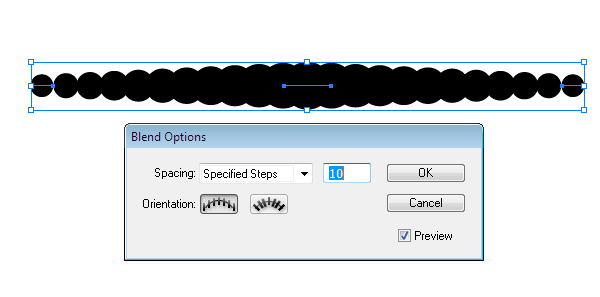
The number of steps influences the detail of the final result. In this step you set the changes of the object size along the path. In my case the objects will be increased to the maximum value and then will be lessened to the minimum. You surely can set the different succession in which the objects will only be increased or lessened.
Step 5
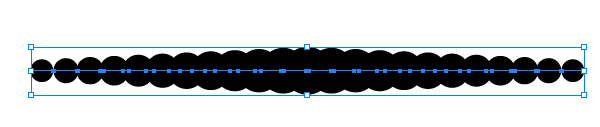
Go to the Object > Blend > Expand, turning the Blend object into the group of different width lines, to which the brush will be applied.
Ungroup all objects (Shift + Command + G). Now with the help of the Selection Tool (V) select the outside left object and set the distance between the objects in the Align palette and push the Horizontal Distribute Space button.
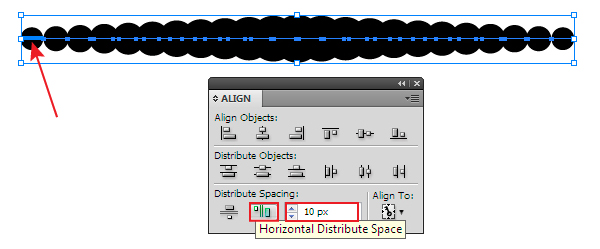
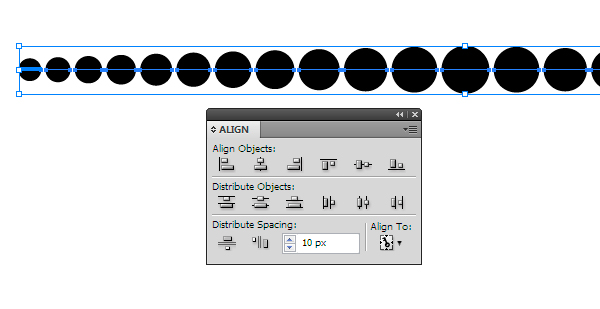
With this action we distributed the objects into the set distance horizontally.
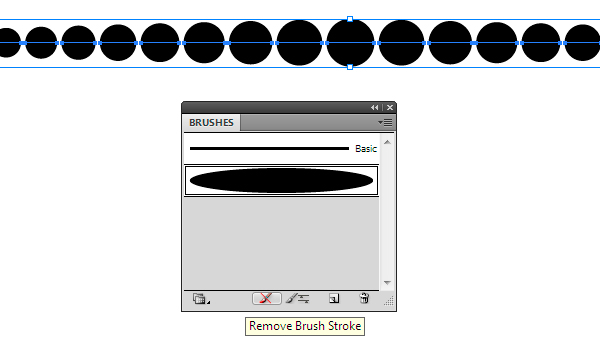
Step 6
Keep the objects selected press the Remove Brush Stroke in the Brushes Pane.
Drag the objects to the Brush palette and save the new brush as the Art Brush 2 with the settings shown on the picture below.
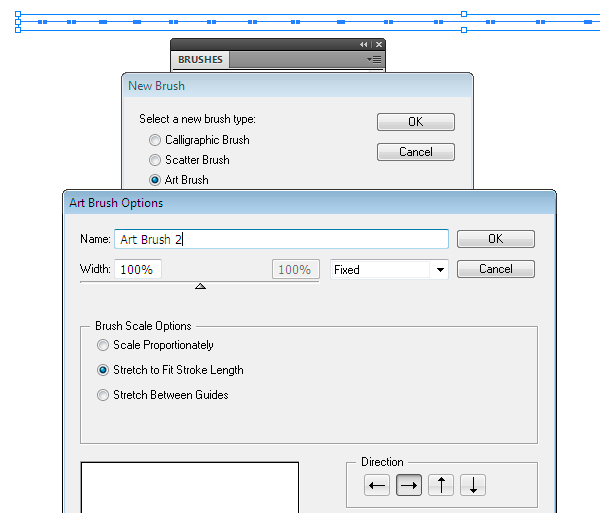
The initial objects should be deleted now.
Step 7
Now we create an object which we will distribute along the random path. Take the Star Tool and create a star. Drag the star into the Brushes palette and save the new brush as the Art Brush 3 with settings that are pointed on the picture below.
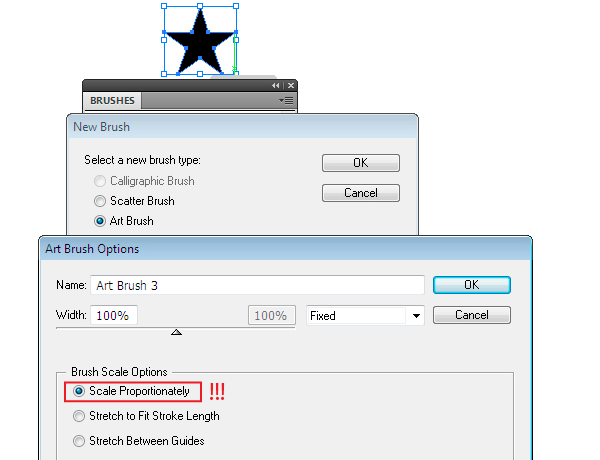
Now the star should be deleted.
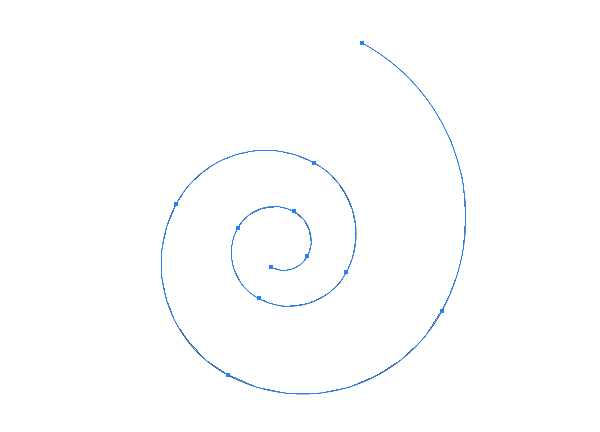
Step 8
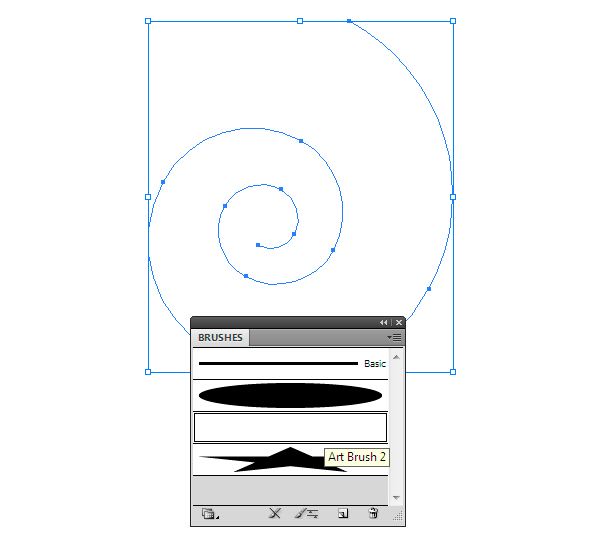
Take the Spiral Tool and create a spiral.
Keep the spiral selected and apply the Art Brush 2 to it, which consists of the segments with different width.
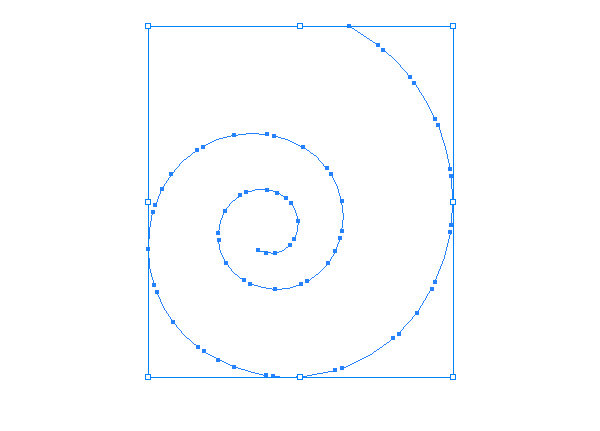
Now go to Object > Expand Appearance.
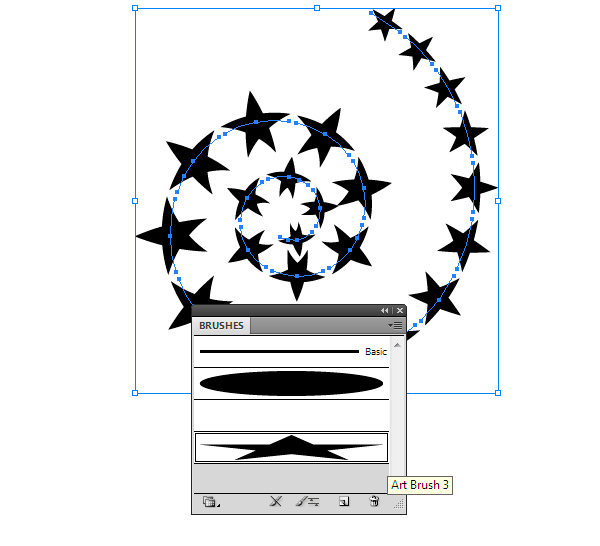
Apply Art Brush 3 with the star shape to the spiral
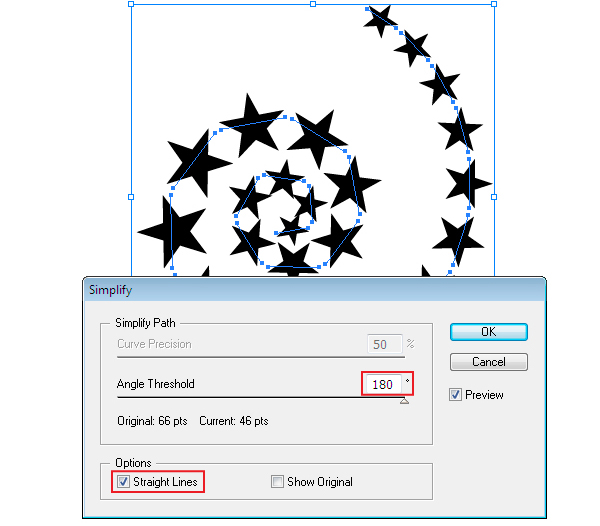
Now we should make the curved segments into straight lines. Go to the Object > Path > Simplify and set the parameters which are shown on the picture below.

Step 9
You can use simple and complex objects as a brush. I’ve created the group of stars, which was saved as the Art Brush 3.

Conclusion
Using the techniques which are described in this tutorial I’ve created the spiral shown on the picture below. I hope you will use these techniques in your job. I use it while creating ornaments.