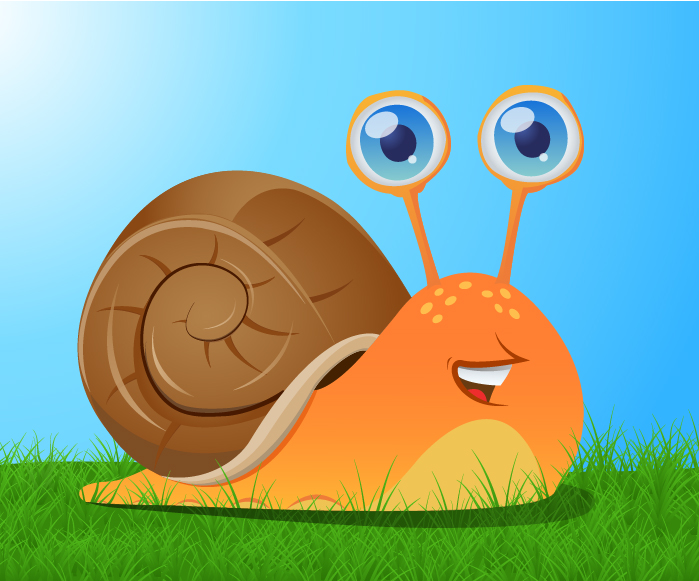
In this tutorial we will learn how to draw a snail using tools such as the Pen Tool (P), Selection Tool (V), Direct Selection Tool (A), Ellipse Tool, and Gradient Tool (G). Some shapes will be created with the help of the Pathfinder panel. This artwork was created by my student Artur Chochaev.
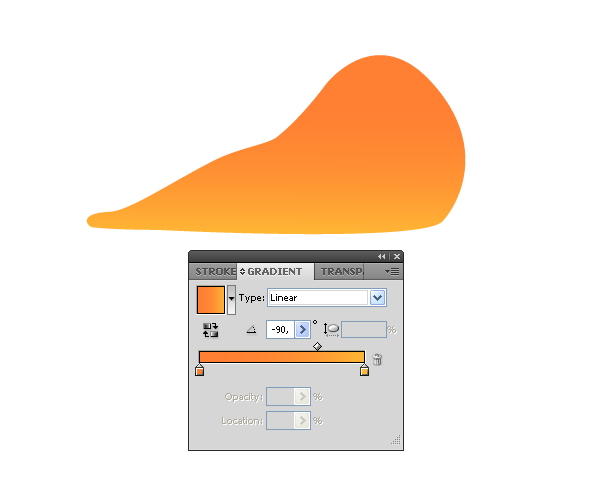
Step 1
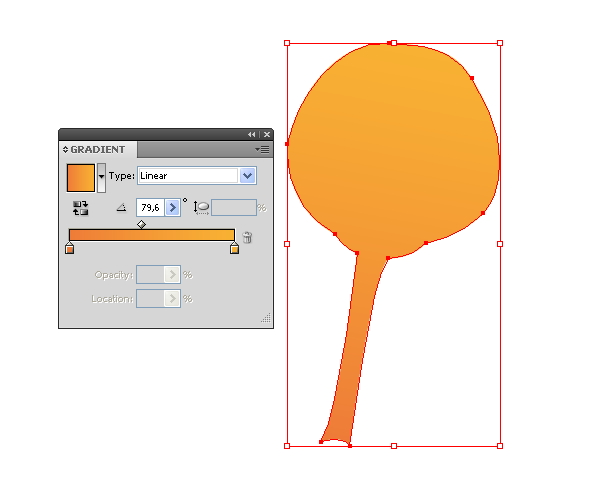
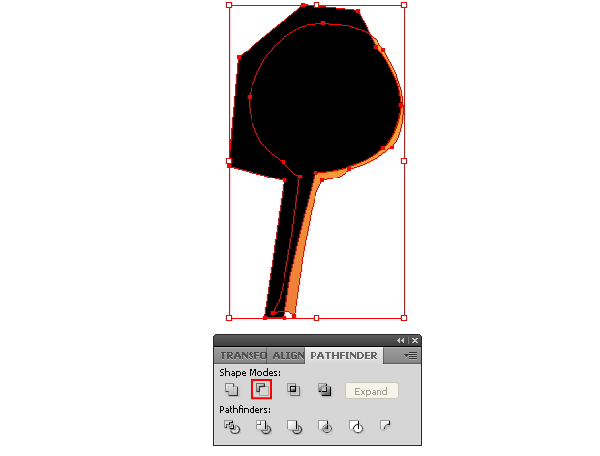
Take the Pen Tool (P) and create the body of a snail, and fill the resulting shape with a vertical linear gradient which consists of shades of orange color.
With the help of the Pen Tool (P) create a new shape with yellow fill as it is shown in the picture below.
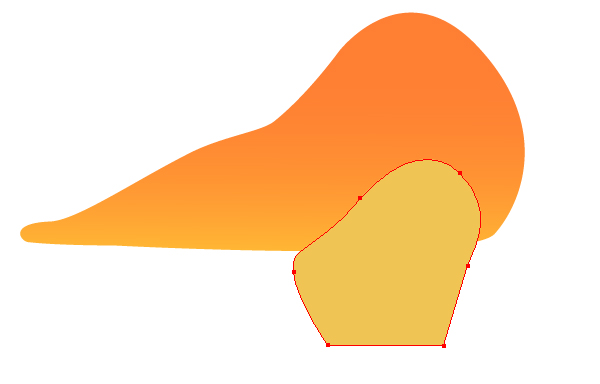
Copy the body of a snail and paste it in front (Command + C then Command + F), select the shape of the body and the yellow shape, then click on the Intersect button from the Pathfinder panel.
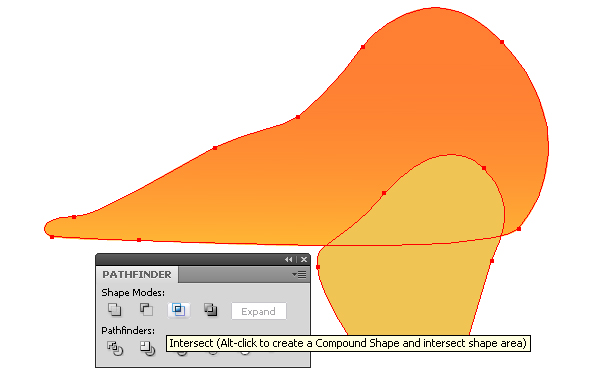
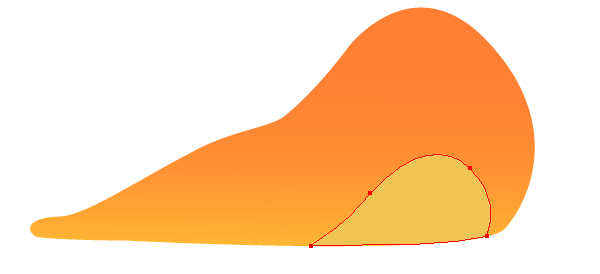
By this action, we have removed part of the yellow shape that was beyond the boundaries of the body.
Step 2
With the help of the Pen Tool (P) create two shapes on the lower part of the snail, one filled with yellow and the other light brown.


Group up these shapes (Command + G). Move the group to the left, holding down the Option button. This action creates a copy of the group.
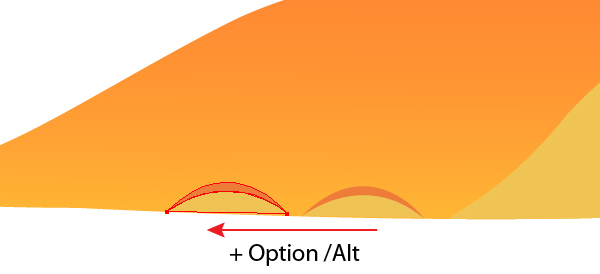
Now with the help of the Selection Tool (V) reduce the new group, as shown in the figure below.

Using this technique, create a few more of these kinds of groups, reducing their size when approaching closer to the tail of the snail.

Step 3
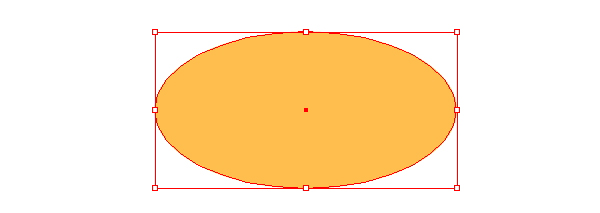
Create an ellipse filled with yellow color using the Ellipse Tool (L).
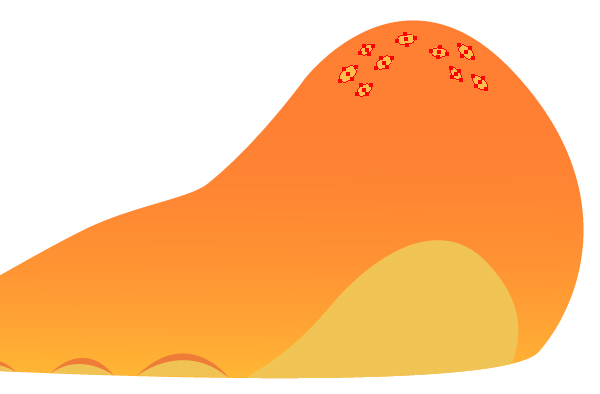
Create eight copies of this ellipse (Command + C then Command + F) and by changing their size and position, place the ellipses on the head of the snail, as shown in the picture below.
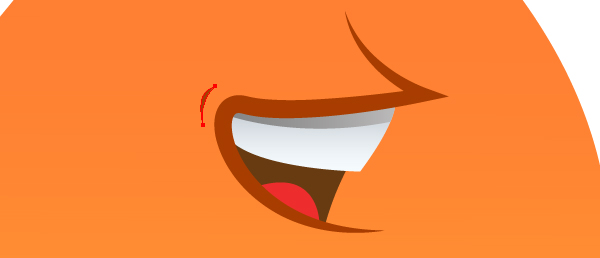
Step 4
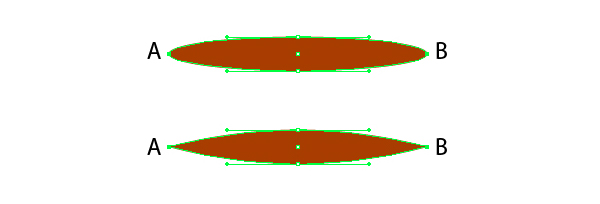
Proceed to the creation of the mouth of the snail. With the help of the Pen Tool (P) create a path shown in the picture below.

Apply the suitable profile from the Stroke panel to this path.
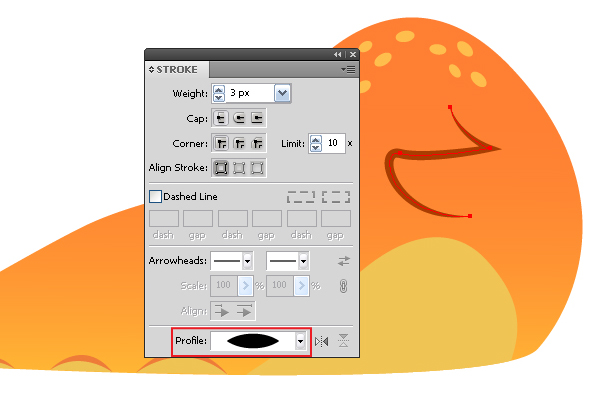
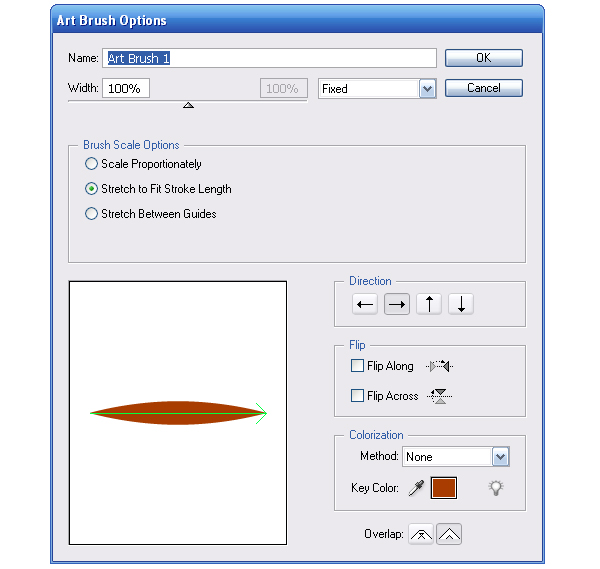
This can only be done in Adobe Illustrator CS5, if you work in earlier versions, you will need to create a similar brush. Take the Ellipse Tool and create an ellipse. With the Direct Selection Tool (A) select points A and B and convert them from smooth into the corner.
Now drag this shape to the Brushes panel and save the new brush as an Art Brush.
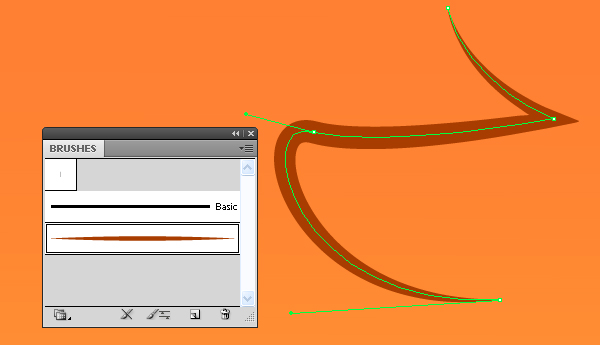
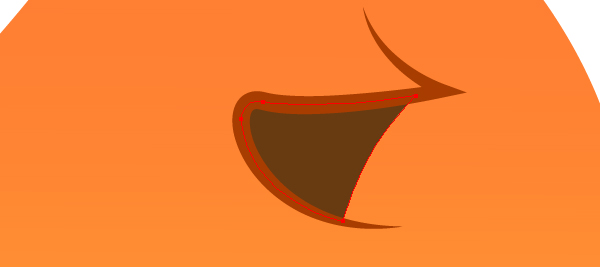
Apply the brush to the mouth path.
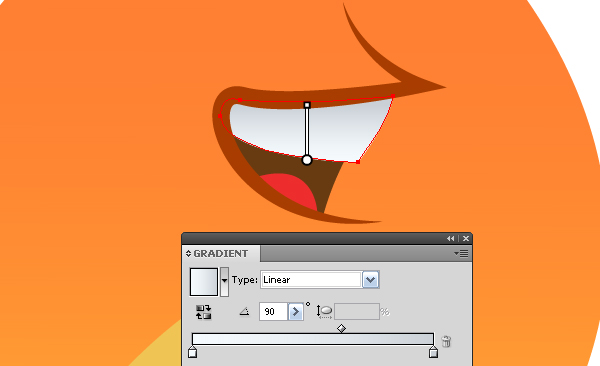
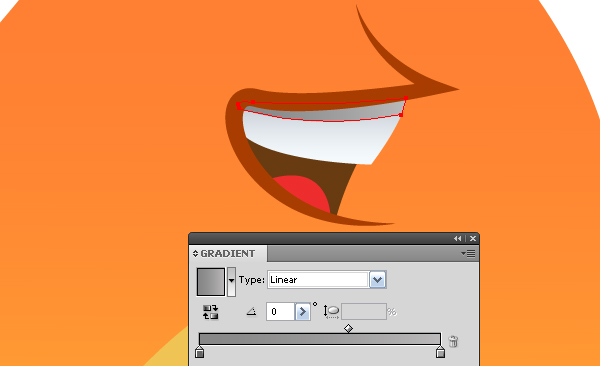
Step 5
All of the following shapes are created with the help of the Pen Tool (P) and are below the mouth path. It is convenient to move the shapes relative to each other in the Layers panel. I’m only showing the sequence of their creation.

Step 6
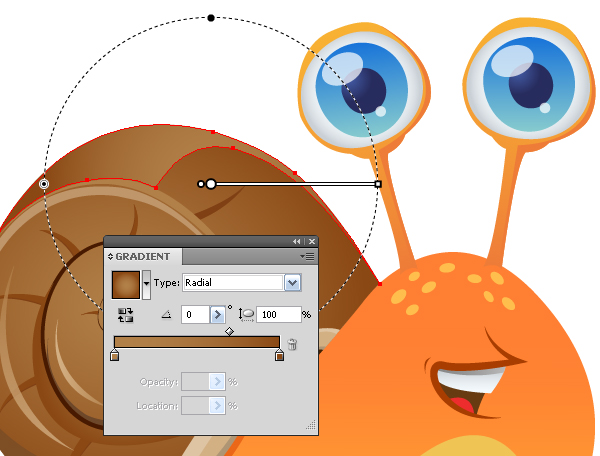
Create eyes of the snail. Take the Pen Tool (P) and create the contour shown in the figure below.
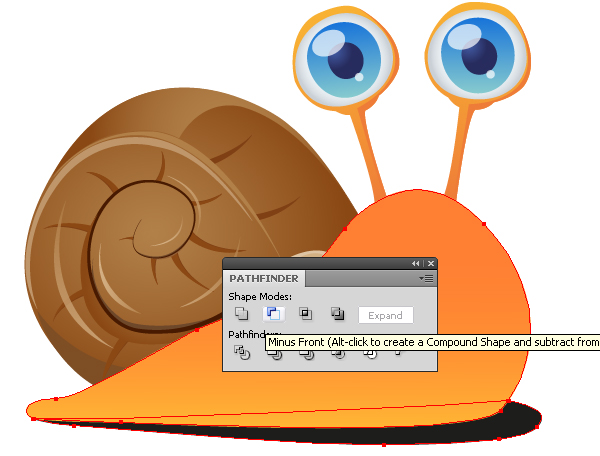
Fill it with a linear gradient that consists of two shades of orange color. Copy and paste this path in front (Command + C then Command + F). With the help of the Pen Tool (P) create a new path shown in the figure below.
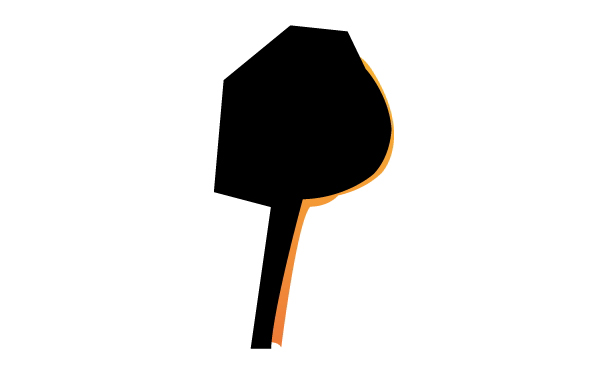
Select both objects and click on the Minus Front button from the Pathfinder palette, this will make the shape of a shadow.
Fill this shape with solid orange color.

Step 7
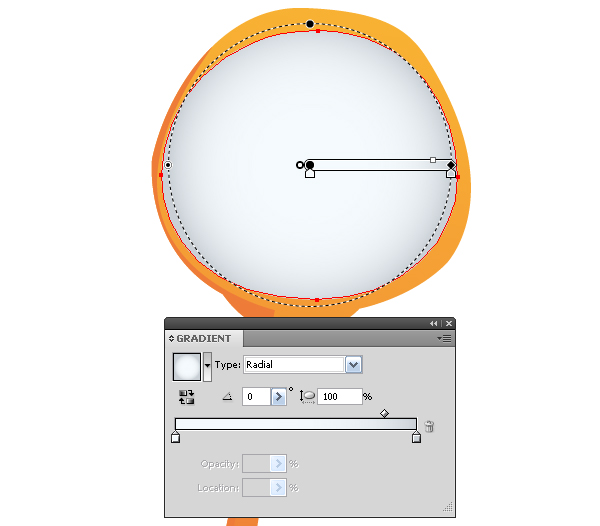
Take the Ellipse Tool (L) draw a circle, then slightly reduce it’s shape vertically using the Direct Selection Tool (A) and fill it with a radial gradient consisting of light shades of gray color.
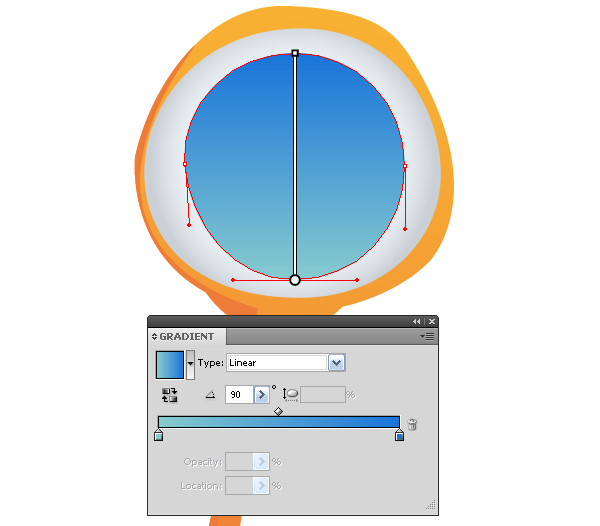
Create a new ellipse; fill it with a linear gradient which consists of shades of blue color.
Create a pupil, fill it with a radial gradient consisting of two shades of dark blue color.
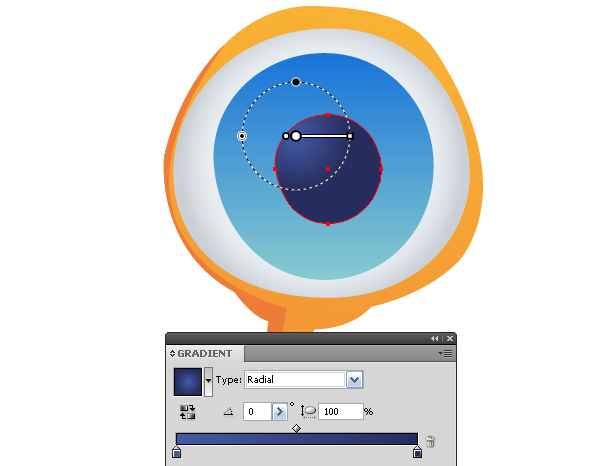
With the help of the Ellipse Tool (L) create an ellipse and a circle, these will make the highlight on the eye. Fill the highlights with white color set to 70% opacity in the Transparency panel.
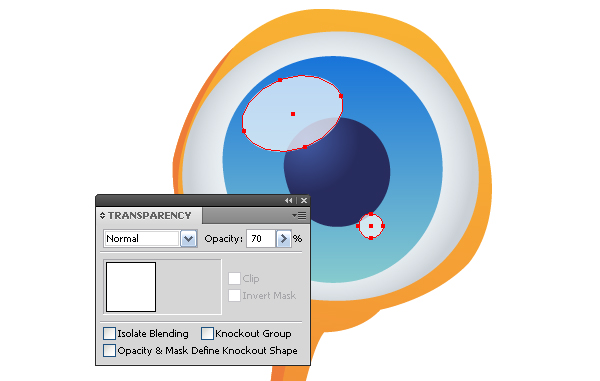
Group up all the elements of the eye Command + G. Copy and paste the group in front (Command + C then Command + F). Move the copy to the left and rotate it with the help of the Selection Tool (V).
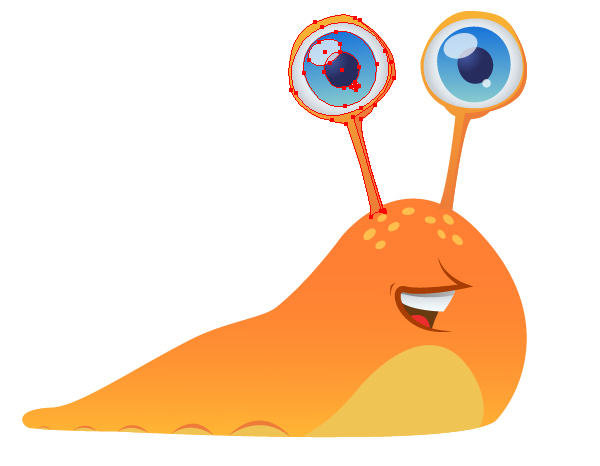
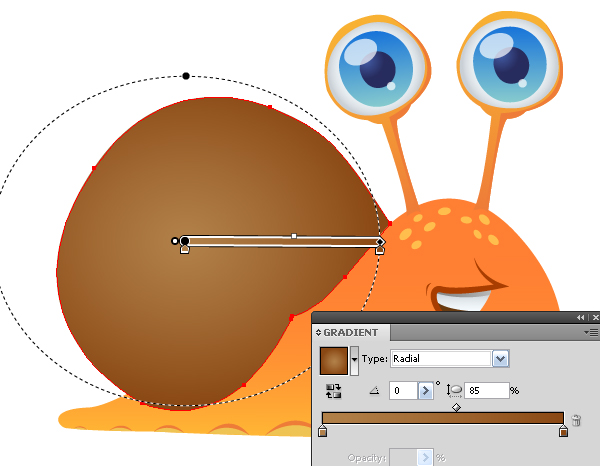
Step 8
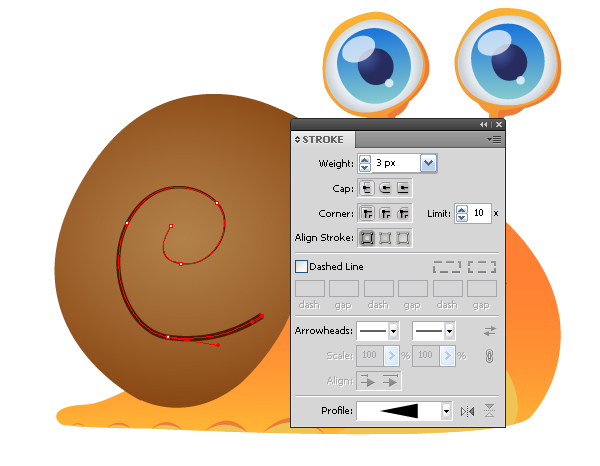
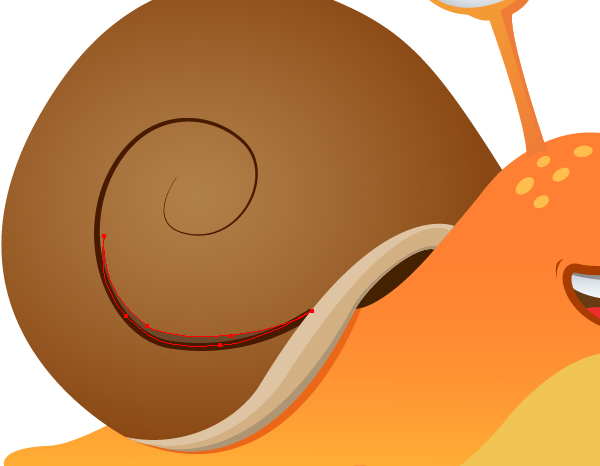
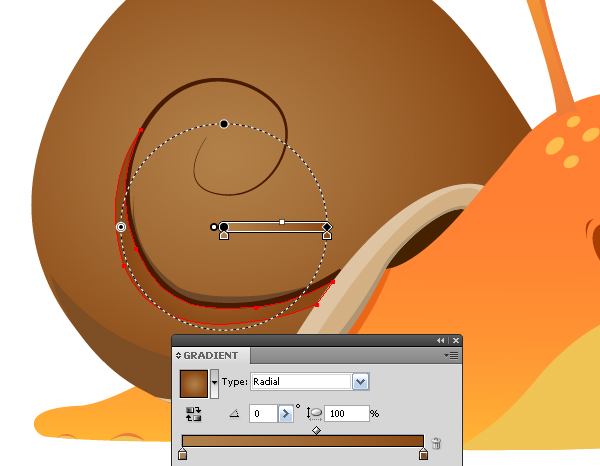
With the help of Pen Tool (P) create a shape of the shell and fill it with elliptical gradient consisting of the shades of light brown color.
Now create a spiral, and apply a triangular profile from the Stroke panel to it, or create a similar brush as described in step 4.
Step 9
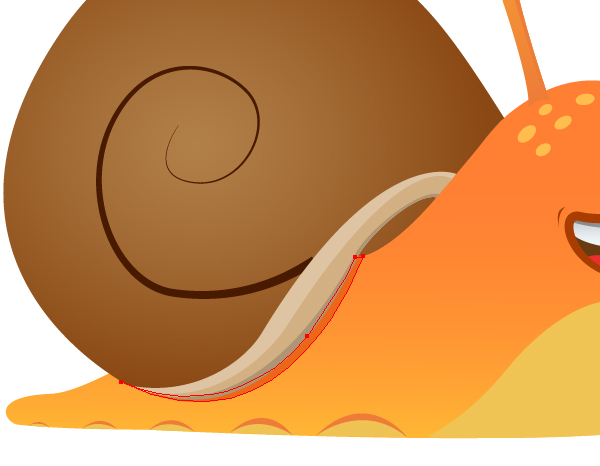
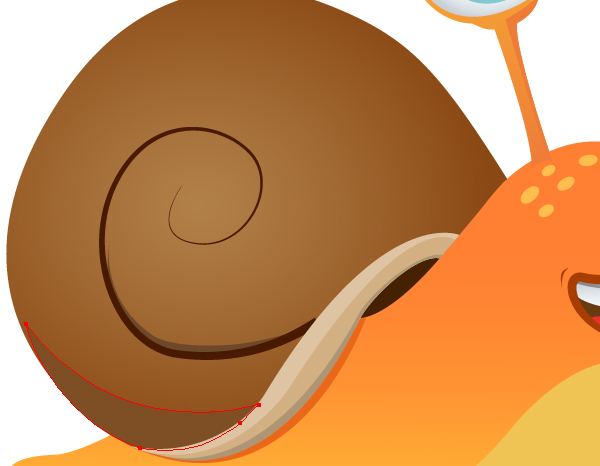
With the help of the Pen Tool (P) create a shape of the edge of the shell filled with light-brown color.
Create two more shapes of the darker shades that will create the play of light on the edge of the shell.
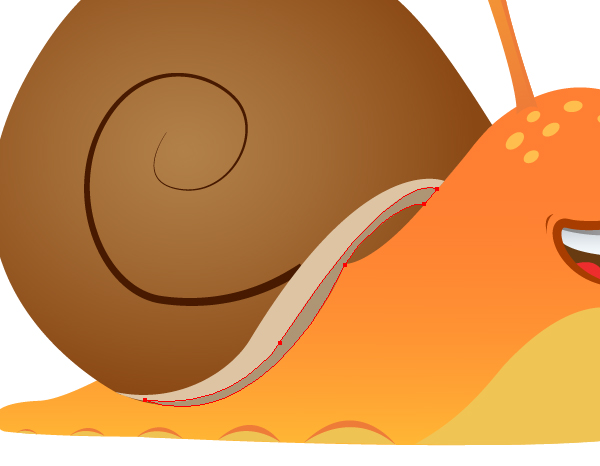
Create a shadow of the shell on the snail body, and the gap between the shell and the body.

Step 10
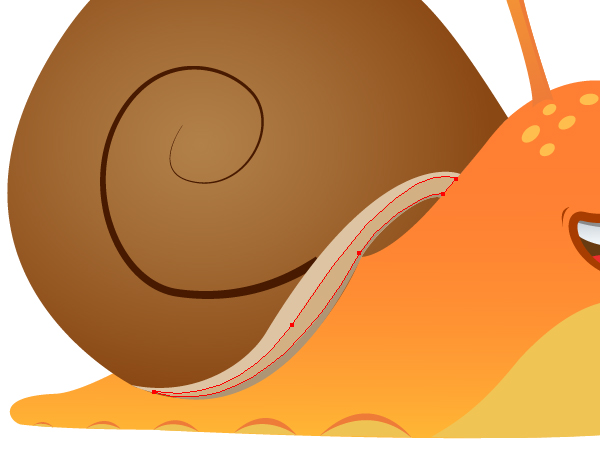
With the help of the Pen Tool (P) create a shadow on the shell.
Step 11
Create a curved triangular profile, filled with brown color.
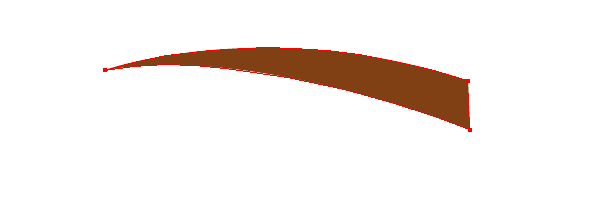
Copy it and paste it in front (Command + C then Command + F). Fill the copy with a lighter shade of brown color. Keeping the upper shape selected, take the Rotate Tool (R), set the center of rotation at point "A" and rotate the shape slightly.

Group up two shapes (Command + G).
Step 12
Now we need to make multiple copies of the group and place them along the spiral. Change the shape, position and size with the help of the Selection Tool (V) and the Direct Selection Tool (A).

Step 13
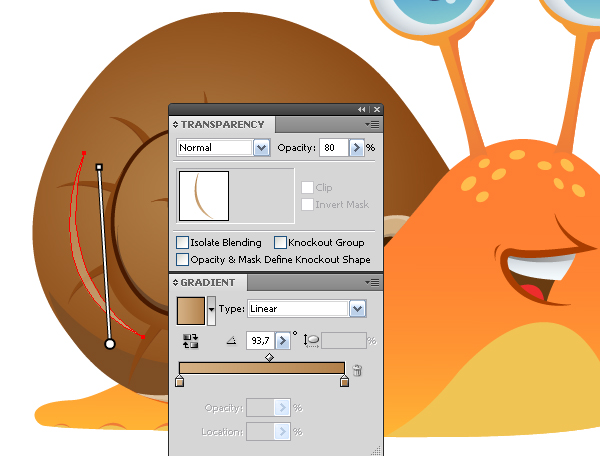
With the help of the Pen Tool (P) create a shape highlight on the shell. Fill it with a linear gradient which consists of two shades of light brown color, and reduce its transparency in the Transparency panel.
Using this technique, create other highlights on the shell.

Let’s create another shape on top of the shell and fill it with radial gradient, as it is shown in the picture below.
Step 14
Now we just have to create a shadow of the snail. Create the shape shown in the picture below.

Copy the snail body shape and paste it in front (Command + C then Command + F) and move the shape in the layers panel so that it is higher than the shadow of the shape.

Select the body of the snail and shadow, and then click on the Minus Front button from the Pathfinder panel.
Fill the resulting shape with a linear gradient from black to gray, set Multiply Blending Mode and 60% opacity in the Transparency panel.
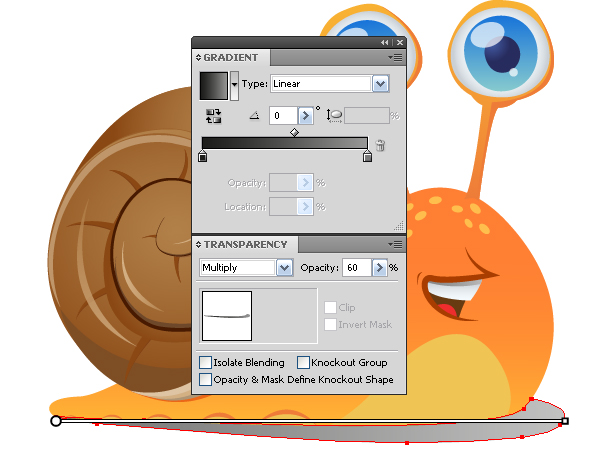
With this kind of a shadow, you can place the snail on any kind of background.
Conclusion
First of all I like this artwork because a lot of shapes are created only with the help of the Pen Tool (P). That’s what makes it look unique and handmade. Your artwork will always be appreciated if you put in the time to create the shapes carefully. I hope you’ve enjoyed this tut.