The application of brushes can be very different, from imitating smudges in painting up to the most unexpected effects. In this tutorial you will learn how to create complex brushes in Adobe Illustrator and how brushes work together to create some interesting effects.
Step 1
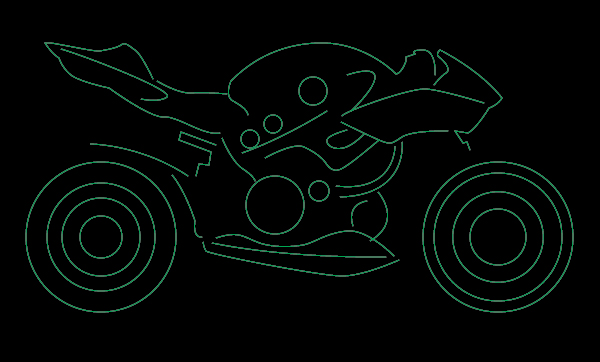
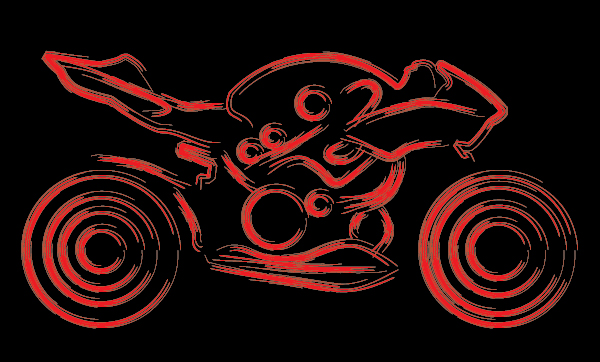
Let’s begin by drawing the outlines of the motorcycle. Create the outlines with the help of the Pen Tool (P), using the Ellipse Tool (L) to make the wheels. As a reference you can use a photo or build the image up from your imagination, as I do. There’s no need to thoroughly draw the details, only draw the lines which reflect the motion of the motorcycle. Take the Rectangle Tool (M) and create a black-colored rectangle that serves as the background, you can draw this on a separate layer below the line layer.
Step 2
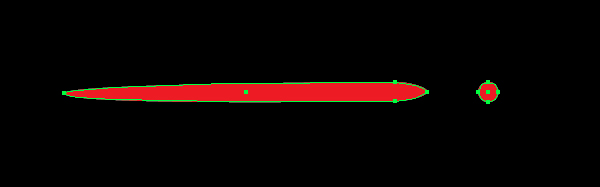
Create the Art Brushes collection. Take the Ellipse Tool (L) and create a circle, transform it into a tapered shape, shown in the picture below. You can do this with the help of the Direct Selection Tool (A). Drag the Brush Shape into the Brushes Palette and select Art Brush from the dialog box.

Step 3
Take the Paintbrush Tool (B) with the brush setting you created, and make a few loose lines.
Step 4
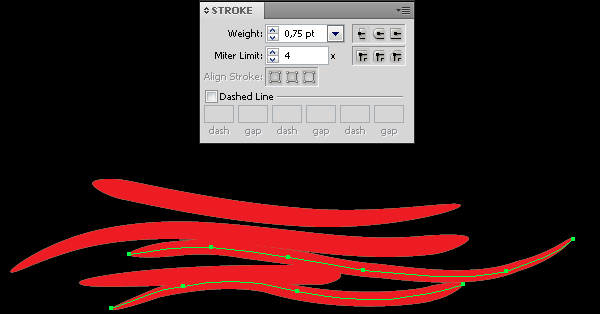
Let’s change the width of the stroke in Stroke’s palette and make a few more lines.
Select all the lines and jump to Object > Expand Appearance. Without de-selecting the lines, click Unite in the Pathfinder box.
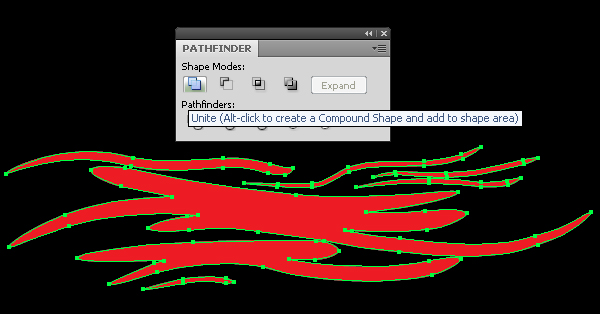
Step 5
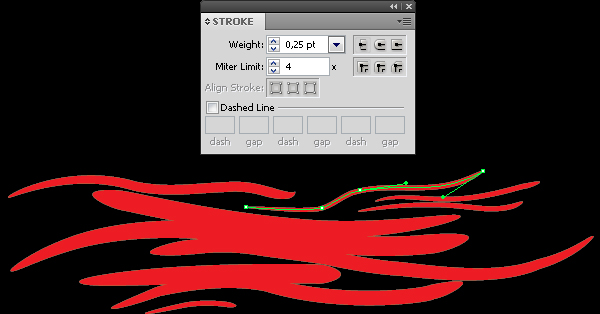
Drag all of the expanded brush shapes into the Brush Palette and Save the brush as an Art Brush. Select the Motorcycle’s lines, copy and paste them in front (Command + C then Command + F). To lock the sub-layer with the copy, make the sub-layer invisible in the Layers Palette. Apply the created brush to the visible outline. We have made a copy the outline so that we can later apply different more kinds of brushes to it. Select all the motorcycle’s lines and apply new Art brush to them.
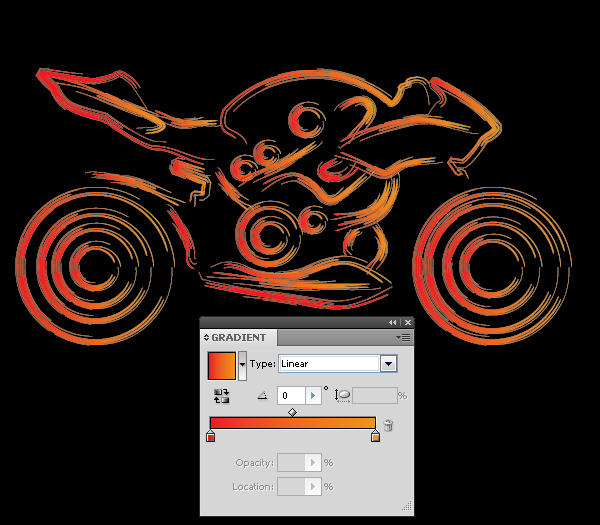
Step 6
Select All (Command + A) and jump to Object > Expand Appearance. Now let’s fill our objects with a linear gradient from red (C= 0, M= 100, Y= 100 and K= 0) to orange (C= 0, M= 45, Y= 100 and K= 5).
Step 7
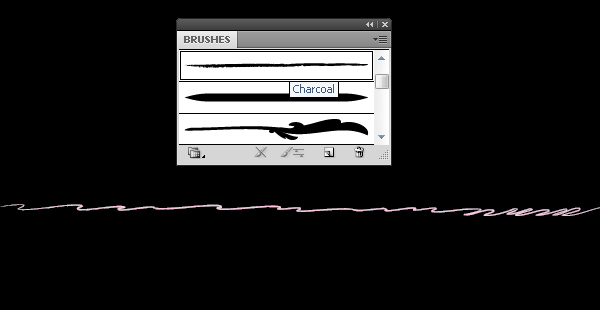
Create one more brush. Create a bumpy curvy line like the one in the example image below, using the Pencil Tool (N)
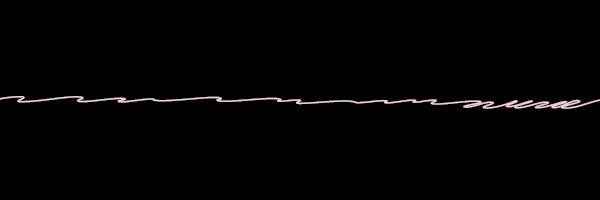
Select the line and apply the Charcoal Art Brush from Brushes’ palette. Expand your artwork like you did with the last brush and drag your artwork into the Brushes Pallet.
Step 8
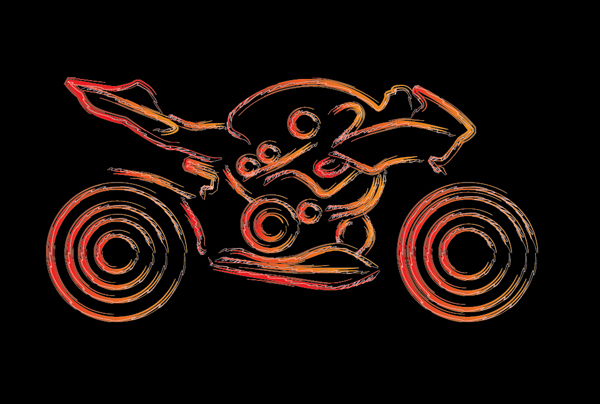
Unlock the sub-layer with the copy of motorcycle’s outlines and make it visible in the Layers palette. Select the copy and apply the new brush to it.

Conclusion
As you can see, by layering different lines with various effects you can turn a simple line drawing into a dynamic illustration. Experiment with different brushes and layers to create your own exciting variations.
This Quick Tip is available as a Free Download to all Vectortuts+ visitors, and is just a fraction of the content you can access via our Premium Membership System.
Tuts+ manages a Premium membership system that costs $9 a month (or $22 for 3 months!). Members have full access to hundreds of full length tutorials, professional source files and periodic extra tutorials available from all our Premium Program sites!
To join today and begin downloading High Quality Vector Resources and Tutorials visit Vector Premium.