This Quick Tip will teach you how to create a cartoon rocket ship with some nice lighting using only basic shapes like rectangles, circles and a triangle. This is a step-by-step tutorial for beginners. The icons from the inkscape toolbar are added to the images to make it easier to find the tool and function I am describing in the text.
Step 1
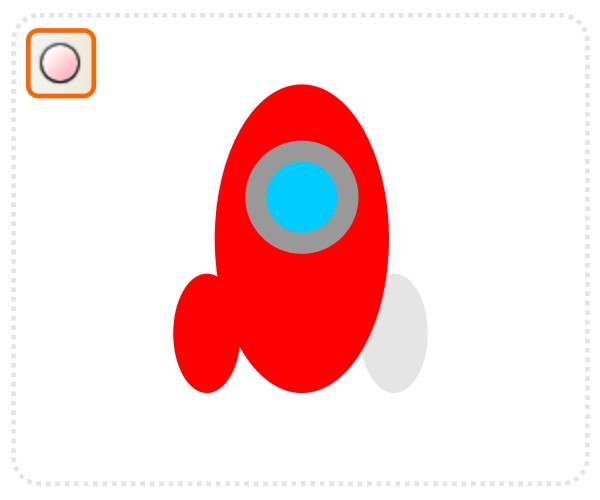
Start with a few circles for the base, the fin and the window. I kept the right side fin gray for now as I will copy and mirror the finished left side later.
Step 2
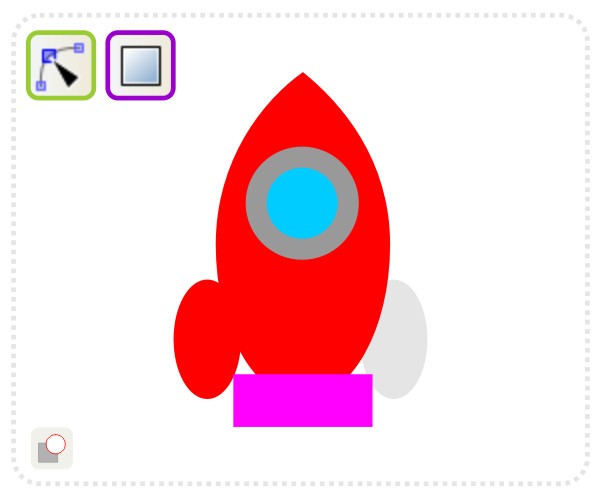
After deforming the top of the rocket with the nodes tool, create a rectangle and place it at the base of the ships body. It’s used to cut off the base with the Path/ Difference (Control + –) command.
Step 3
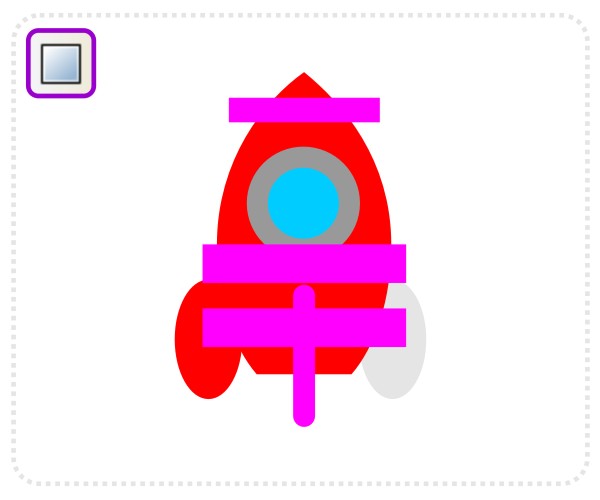
Create a few more rectangles for the pattern on the ship’s body. Add another rectangle with rounded edges for the front fin.
Step 4
Duplicate the rocketship’s body. Combine this copy with the rectangles of the design via Path/ Intersection option ( Command + *). Deform the left wing next by moving the right node and turning it’s node handle to a near horizontal.
Step 5
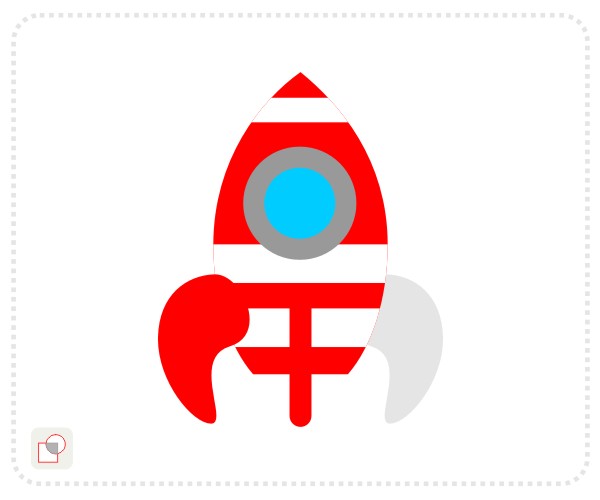
Add a duplicate of the left wing, mirror it horizontally and place it on the right side of the ship. Move it below the body via Page Down. Create a duplicate of the rocket base for the shading. Use the node edit tool to move the left nodes.
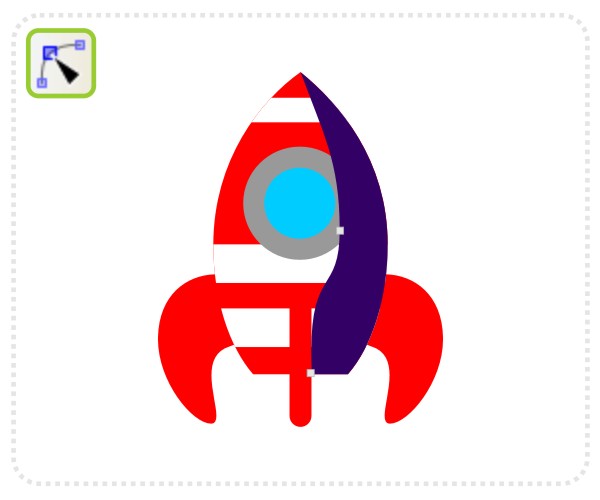
Step 6
Change the fill of the shadow shape to a gradient fill with transparency (0% at the top and ~50% at the base). I prefer a dark purple or dark brown to pure black when creating shadows. It gives the illustration a warmer feel.
Step 7
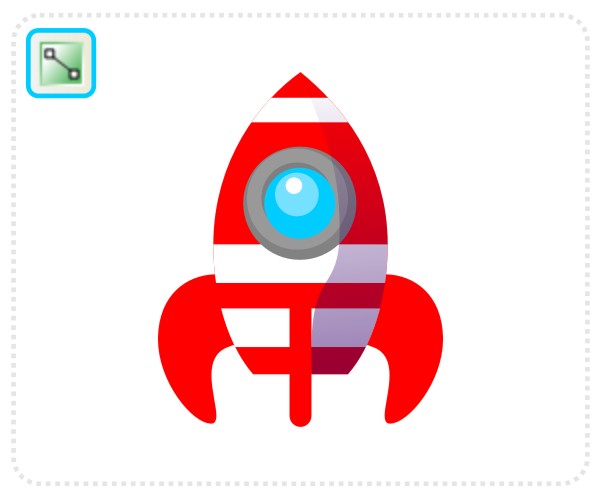
Two more circles make the highlights to the window and another 3 circles add light to the fins. Convert those three to paths (Shift + Control + C) and move the bottom node down. Move the nodes on either side to match the rounded shape of the fins.
Step 8
To make the illustration more interesting add a second light source on the right side. It will cast a a shine onto the right side of the rocket and match the highlight we already placed on the right fin. It’s a duplicate of the dark shade object, filled white and scaled down a little. Bring in the lower left and center left node to crate an even shape.

Step 9
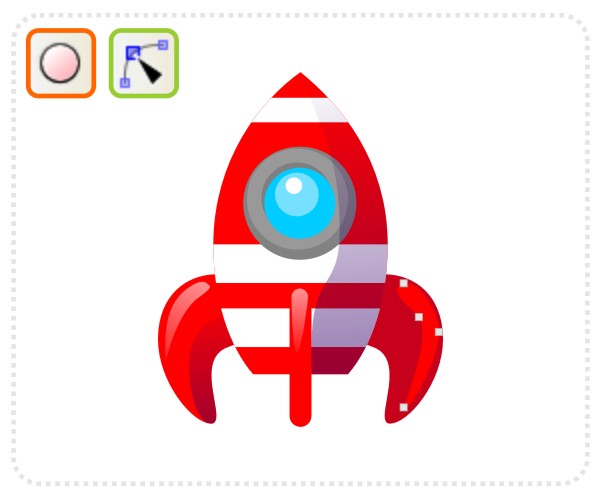
Add a few more circles as highlights for the window and window frame and you have your cartoon rocket ship.
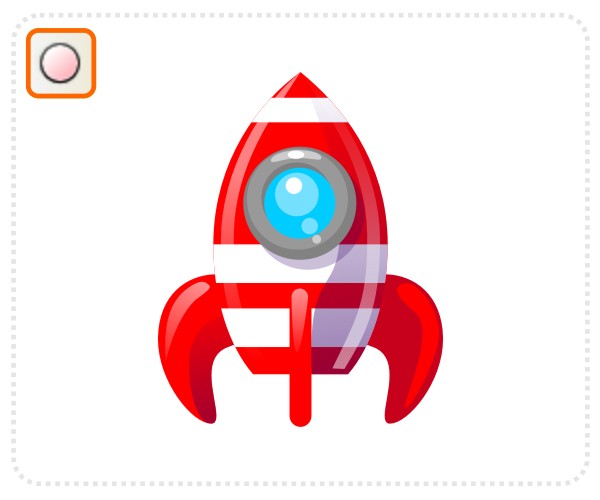
Conclusion
The rocket has landed. When working with lights and shadows in your illustrations remember to keep it consistent. It can easily happen that an object created separately and brought into a scene has the wrong kind of light settings. Sometimes a simple mirror does the trick but usually it means re-working the light and shadow shapes of your objects. I hope you’ve enjoyed this tut.
Note: The tutorial works with some minor adjustments in other vector design programs such as Adobe Illustrator or Corel Draw. These just use different icons, tool and command names, but the functionality is the same.