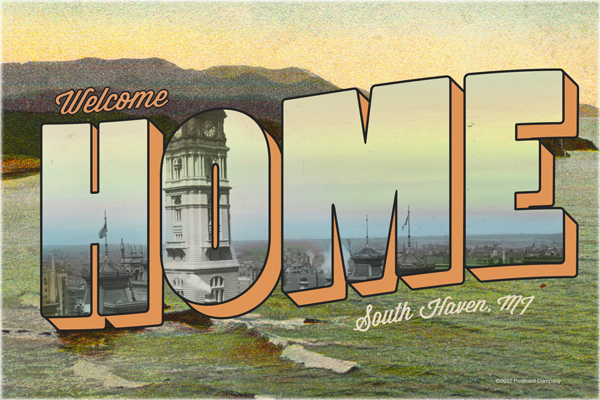
Follow this in-depth look at the process of designing type for a vintage style postcard in Adobe Illustrator CS5. Harken back to an era when postcards were all the rage with this friendly type style. The tutorial will delve into clipping masks, using bitmap images, working with layers and type effects.
Resources
- Image 1: Philadelphia from Pennsylvania Building
- Image 2: Cannon Beach on the Oregon Coast
Step 1
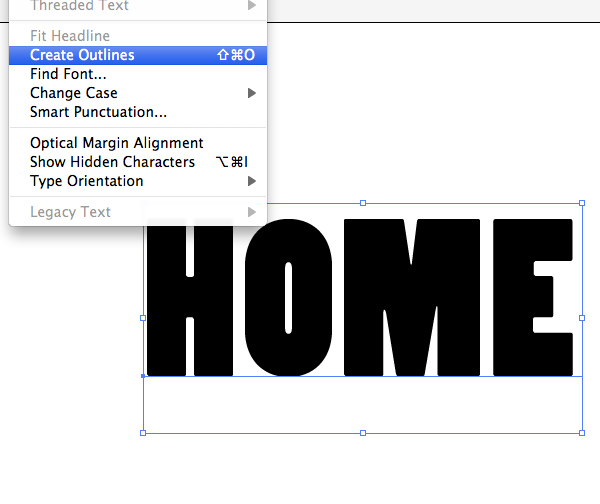
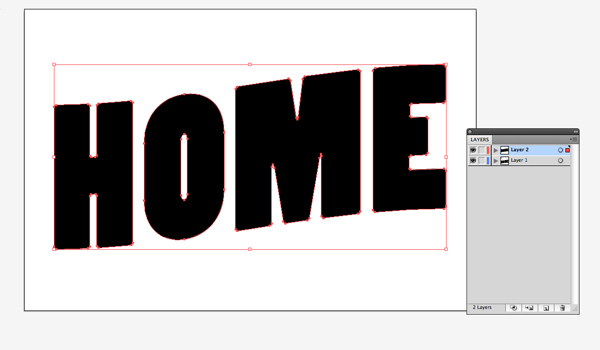
Select the typeface you would like to begin with for your dominant text. Our word is “HOME”. I recommend a thick condensed sans-serif type and I used Berthold Akzidenz Grotesk.

Step 1b
Go to type > Create Outlines to turn the type into an object.
Step 1c
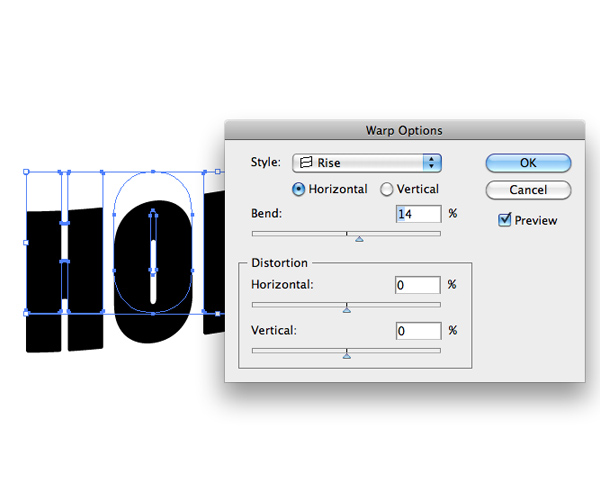
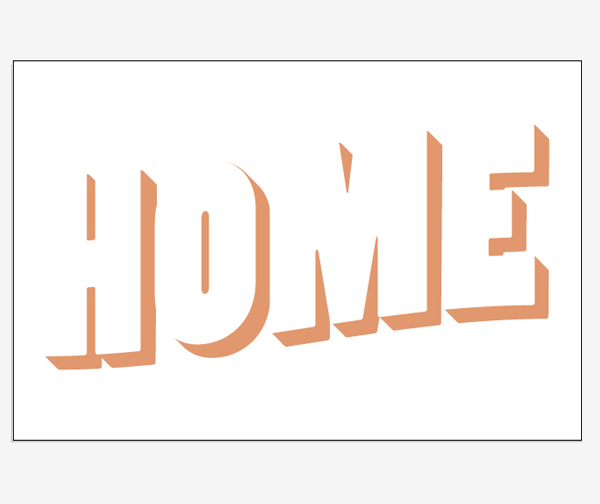
Go to Effect > Warp and choose Rise under the ‘styles’. Input the same numbers shown on the screen.
Step 1d
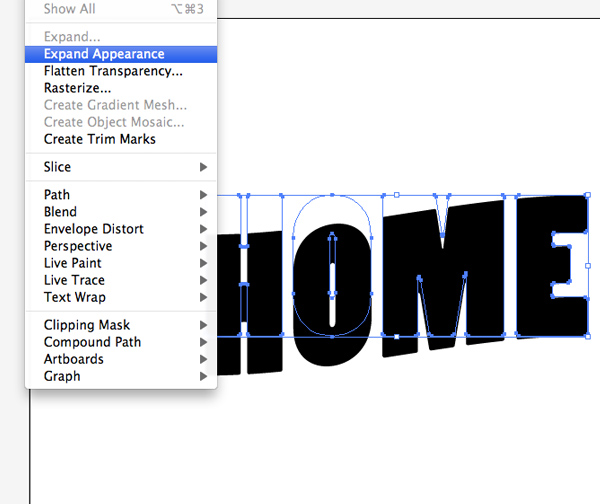
With your new type selected go to Object > Expand Appearance. This will apply the effect.
Step 1e
Create a copy of “HOME” and place it on another layer.
Step 2
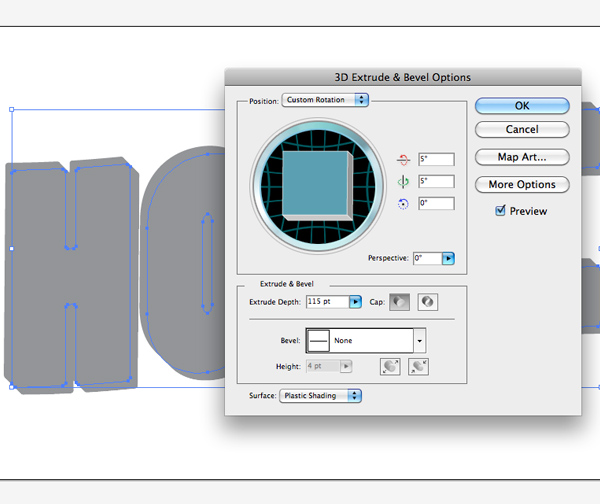
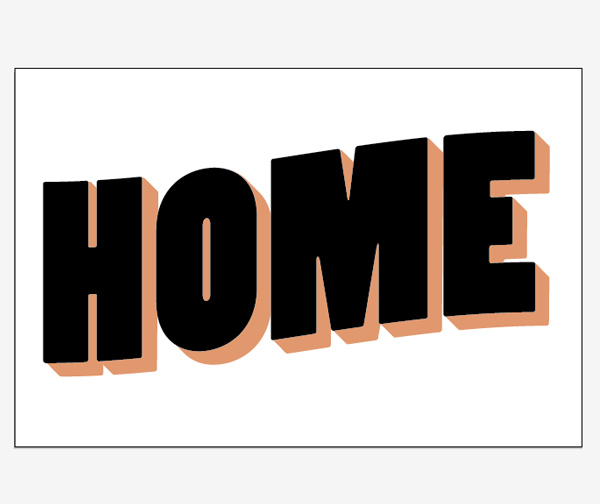
Select the “HOME” on the bottom layer. Choose Effect > 3D > Extrude & Bevel. Input the coordinates shown.
Step 2b
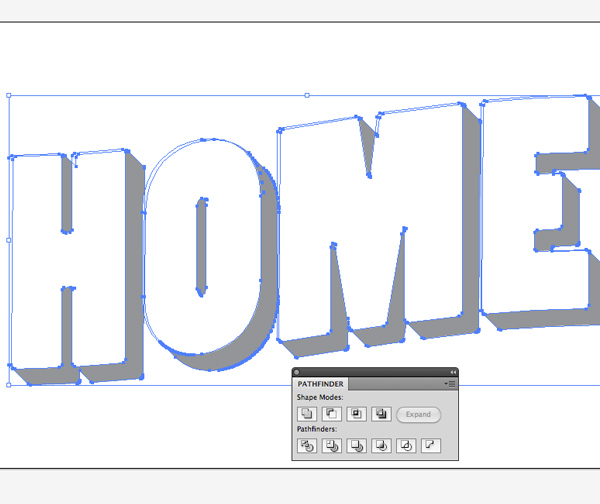
Make the top “HOME” white.
Step 2c
Apply a color to the 3-dimensional type.
Step 3
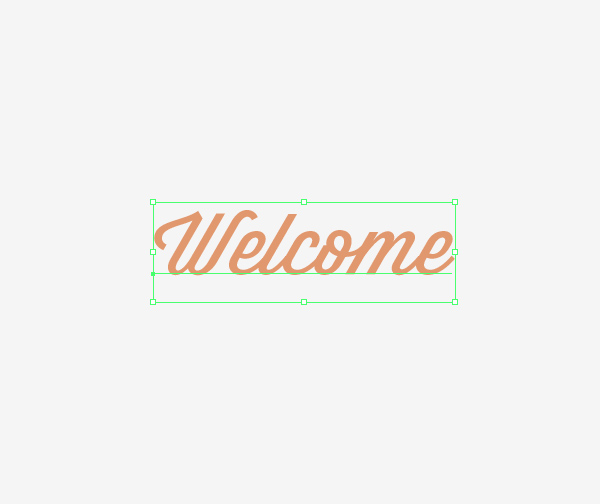
Select a typeface for “Welcome”. I used a modified version of Wisdom Script.
Step 3b
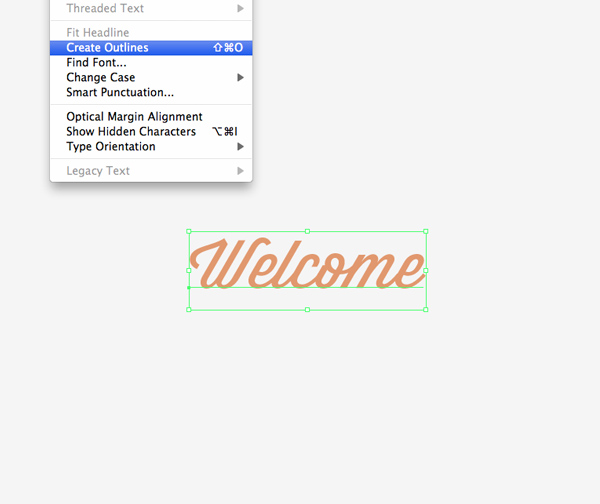
Go to Type > Create Outlines to turn the type into an object.
Step 3c
Add a black stroke to the type.

Step 3d
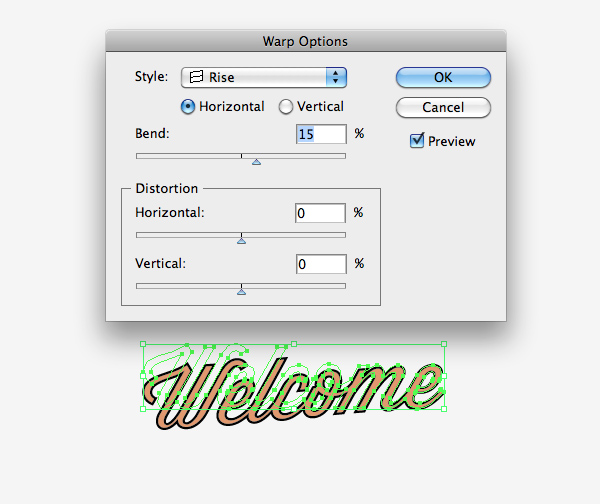
Select Effect > Warp > Rise and input the shown coordinates.
Step 4
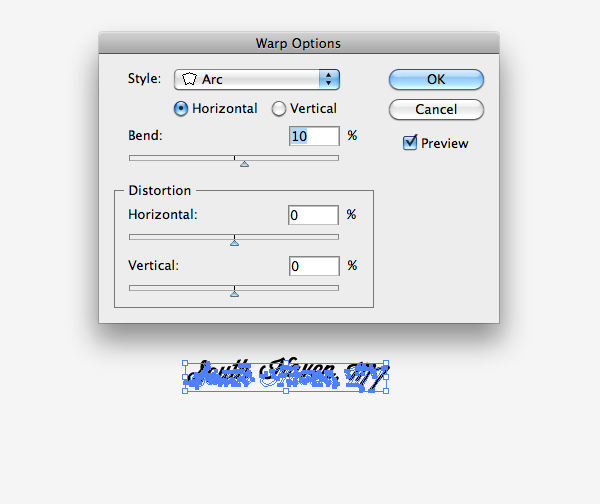
Use the same typeface for South Haven, MI.

Step 4b
After creating the outlines, as shown previously, select Effect > Warp > Arc and input the shown coordinates.
Step 4c
Apply a color to the type.

Step 5
Select a simple type for the copyright on the postcard. I used Berthold Akzidenz Grotesk again.
Step 6
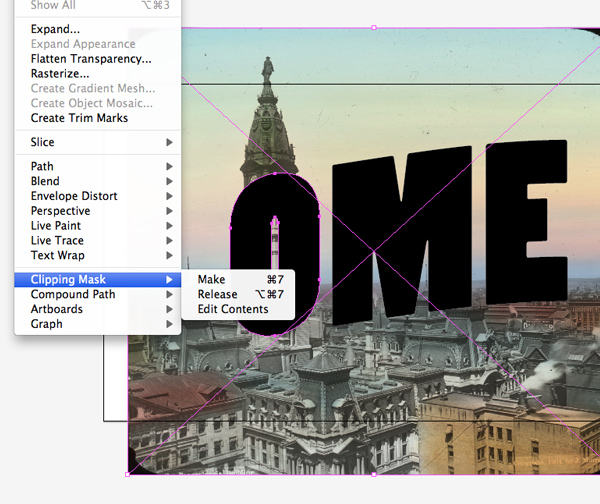
Back to the “HOME” type, we will now be replacing the black type with an image.
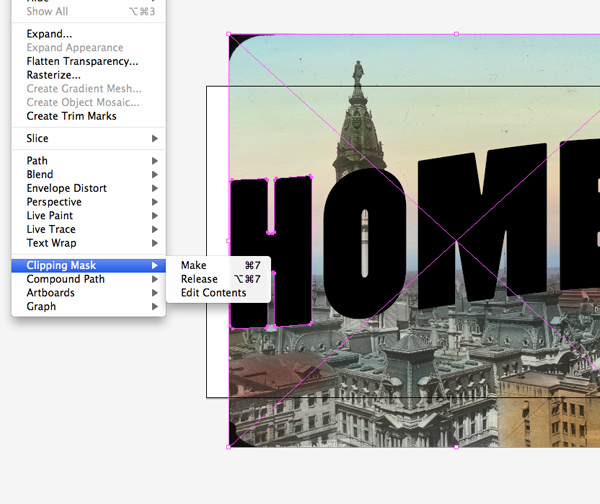
Step 6b
Now we’ll need Image 1: Philadelphia from Pennsylvania Building. Place the image behind the “H”. Select the image and the “H”, and select Clipping Mask > Make.
Step 6c
Your “H” should now look like this.
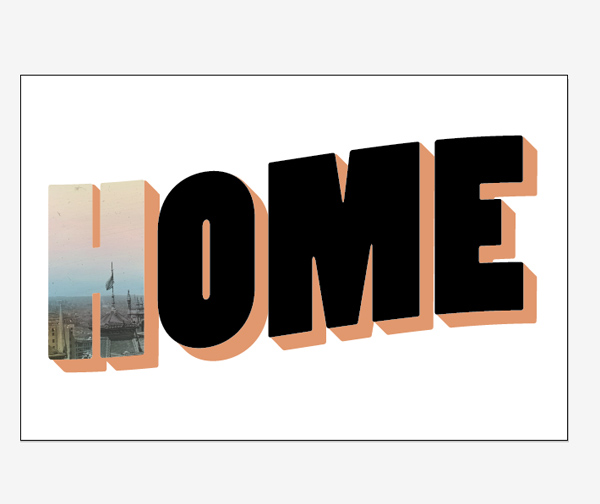
Step 6d
Apply the same technique to the “O”.
Step 6e
Halfway there, the image should look like this.
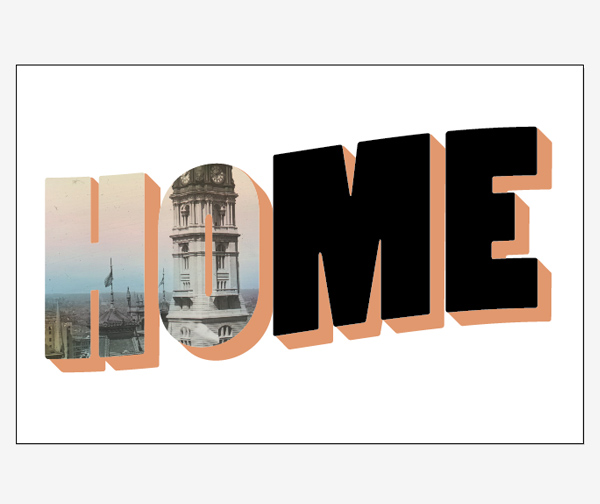
Step 6f
After applying the same technique to the rest of the type, this is what you should have.
Step 7
Gather all of your elements and align them as shown.
Step 7b
Select the “HOME” object and add a 1pt stroke.
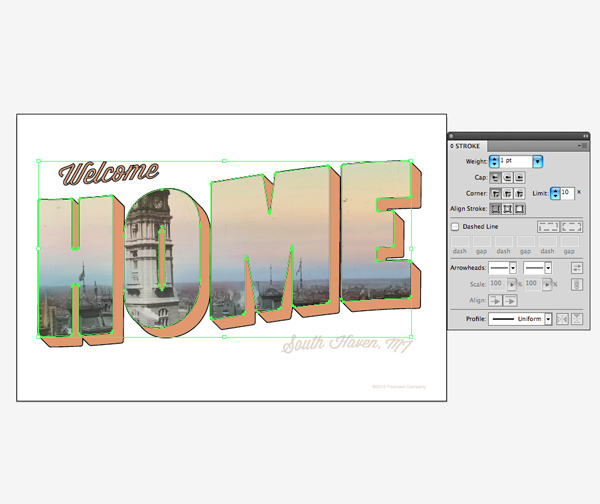
Step 7c
Select the “HOME 3-dimensional object? and add a .75stroke.

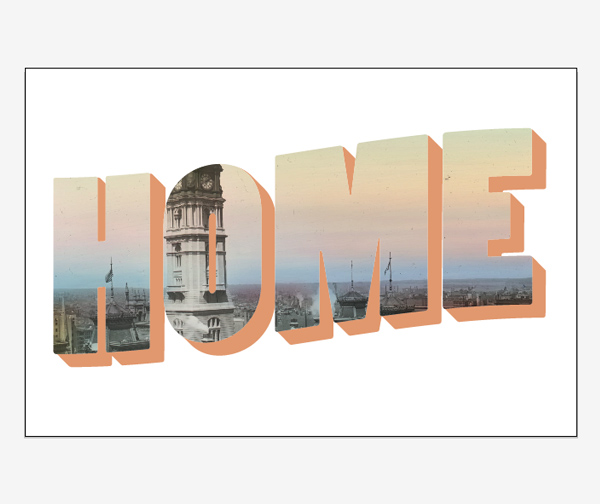
Step 8
Now we’ll need Image 2 (our background image): Cannon Beach on the Oregon Coast. Add in your background image as the bottom layer. Illustrator renders images quite poorly, so don’t worry if everything looks odd in this step. Once you save it out the image will be fixed.
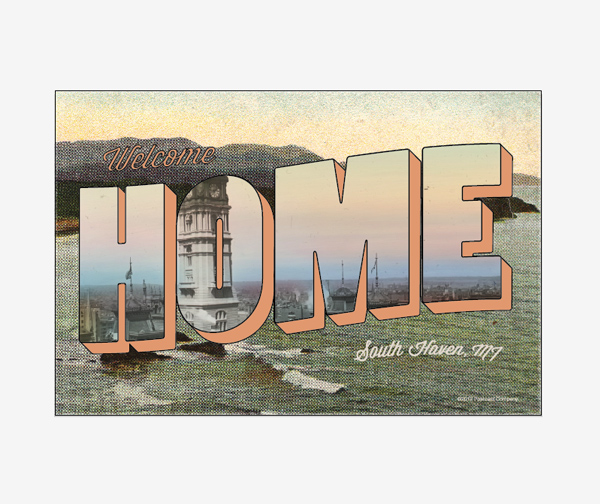
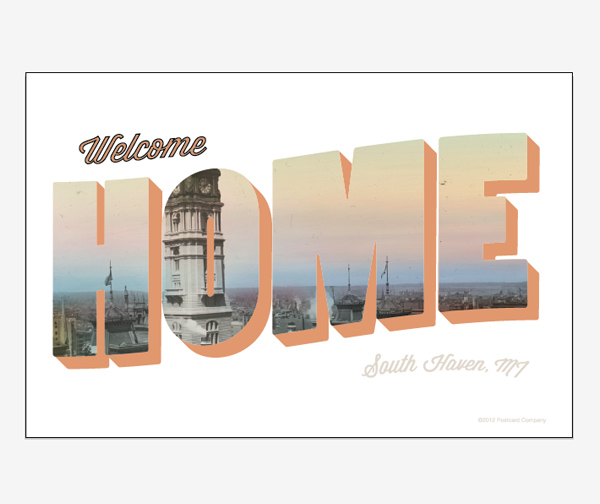
Final Image
Now you have seen the process and techniques used to create this vintage postcard type. This can easily be used with varying images and type to reflect any kind of event.