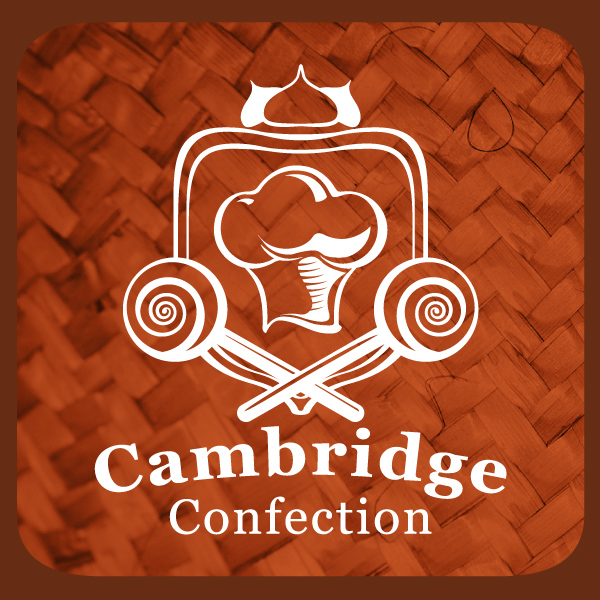
In this tutorial, you will learn how to create an organic, natural looking confectionary logo by adding a textured background. Major techniques covered in the tutorial include outline, swirls, warp and blend mode. Lets’ begin!
Step 1: Create the Outline
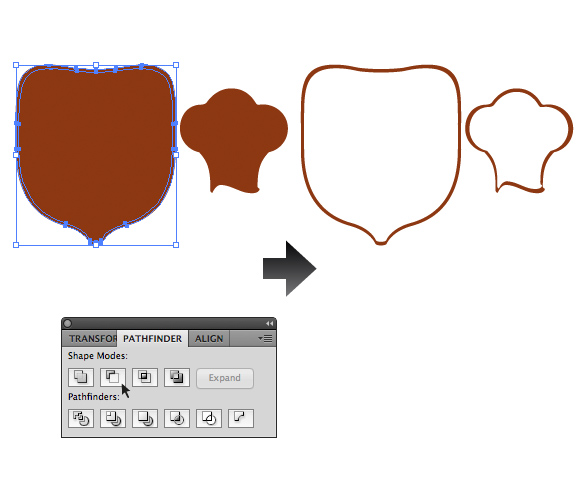
Before we create the contour of the logo, we will start with simple shapes, such as the shield and the chef’s hat.
Follow these three steps:
- Duplicate the shape (Command + C) and paste the copy on top of the exact same spot as the original image (Command + F).
- Shrink the copy to be slightly smaller than the first shape.
- Select both the copy and the original shape and click on " Minus Front "
Apply the same methods to the lollipops and the chocolate kisses.
Note: This is not the only way to create outline. The other option is to go to Object > Path > Offset Path and enter how many px of thickness you want the outline to be.
Step 2: Create a Spiral
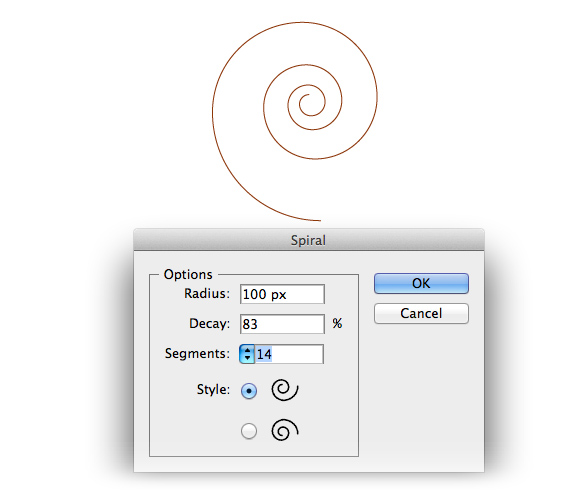
Select the Spiral Tool (nested under the Line Segment Tool) and double click anywhere on the canvas to bring out the dialogue window. Enter the numbers shown in the image below and you have a swirl!
Step 3: Create Filled Swirl Shape
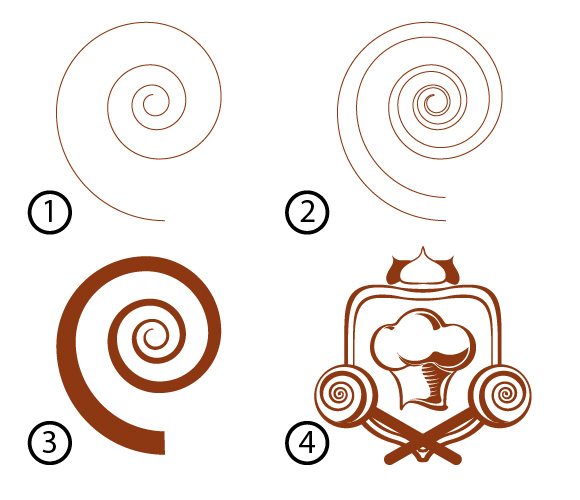
Follow the same steps explained in Step 1, duplicate the swirl, shrink it and move the copy slightly way from the original. Use the Pen Tool to connect the end points of both lines to form a shape. Move the shapes into position on the logo.
Step 4: Warp the Text
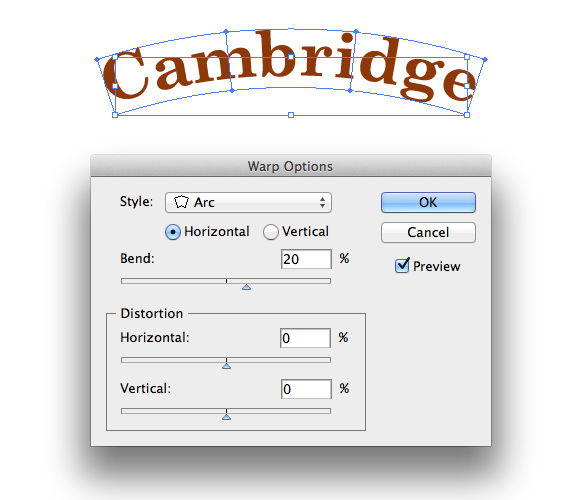
To distort the text, go to Object > Envelope Distort > Make with Warp and a window will pop up. Adjust the setting to match what is shown in the image below.
Step 5: Create the Texture Background
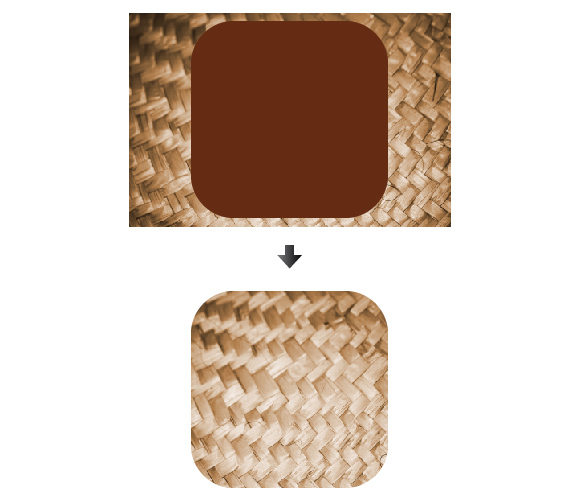
To create a soft-edged texture layer, we need to use clipping mask. Import the original texture image (downloaded from Texture King) to Adobe Illustrator and create a Rounded Rectangle. Overlay the rectangle on top of the texture. Select both objects and Make Clipping Mask (Command + 7)
Step 6: Blend Mode
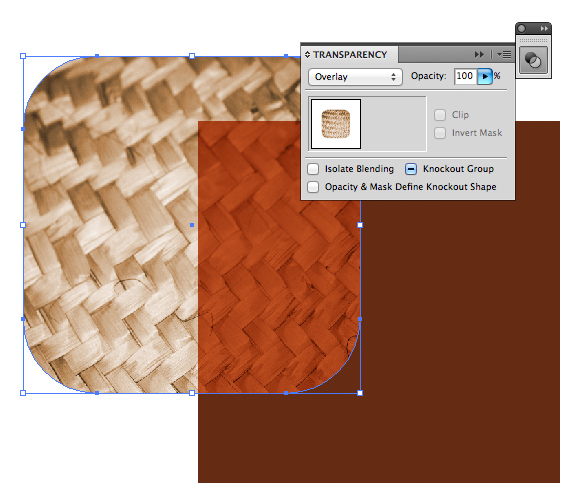
Now we can play around the overall effect of the texture by using Blend Mode. Create a brown (#652C13) rectangle shape that’s slightly bigger than the rounded rectangle. Put the texture on top of the rectangle and select Overlay from the Transparency options.
Step 7: Align the Texture
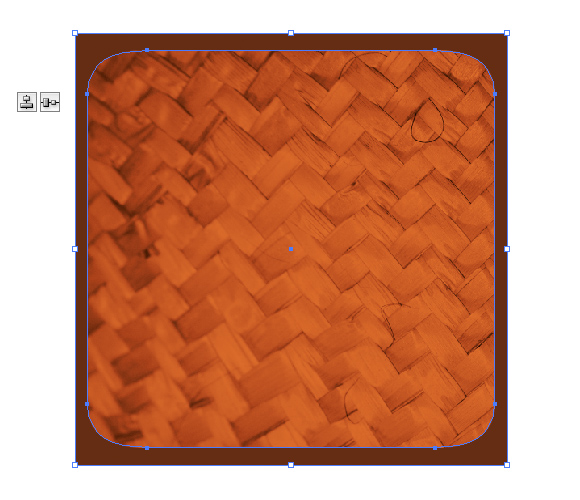
Align the texture and the rectangle both vertically and horizontally.
Step 8: Add the Logo
Add the completed logo on the texture background.

Conclusion
Voilà, you’re done! This is how your logo should look. If you have any questions, don’t hesitate to ask away in the comment section. I would gladly assist you.
