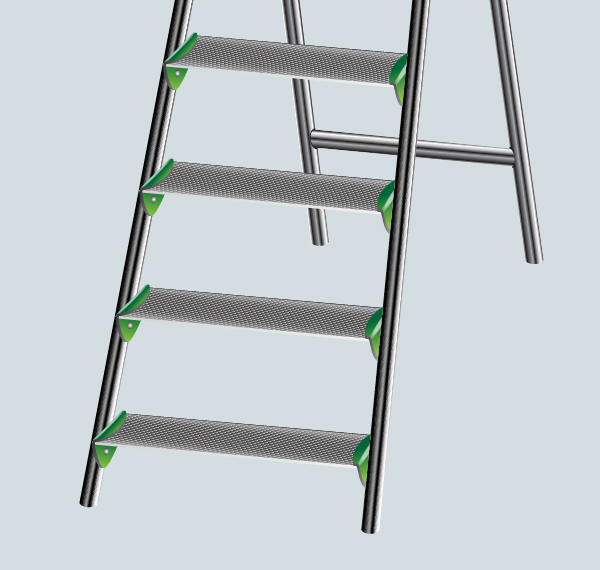
What can one say about a stepladder? A stepladder may be represented as a concept that shows the development of designers skills and improvement of their creativity. Therefore it is high time to go ahead step by step in depicting the final image of this tutorial. Follow along, while creating your own striking and stunning artwork using a professional vector workflow in Adobe Illustrator.
Step 1
Take the Rectangle Tool (M) and illustrate a background for your stepladder.

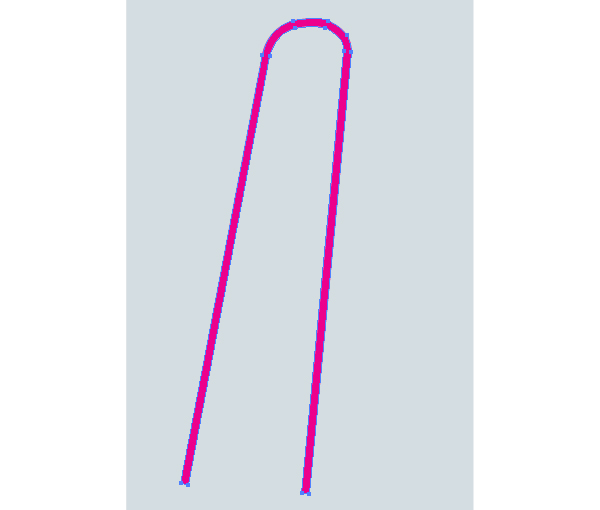
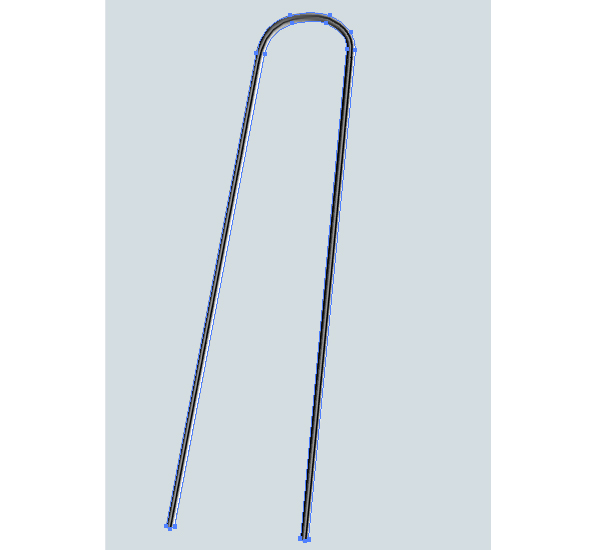
Now grab the Pen Tool (P) and sketch a path to represent the front metallic part of the ladder.
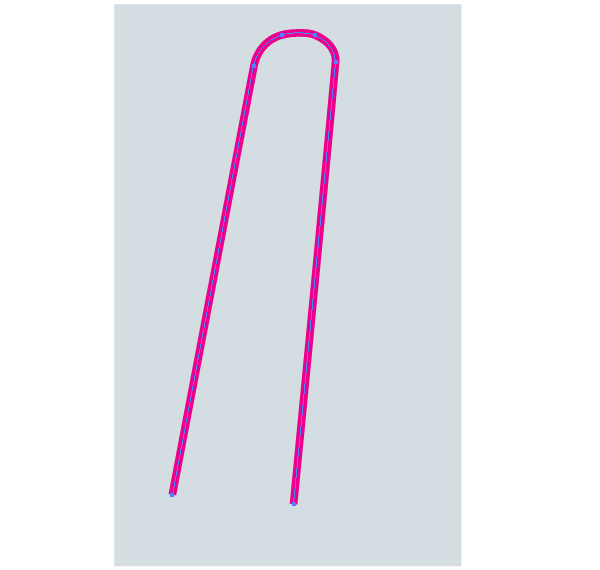
Go to Object > Expand. Then go to Object > Ungroup. Lock the resulting path in the Layers palette, and save it as the “Main tube” for further use in the tutorial. It will be used as a clipping path as well shortly.
Step 2
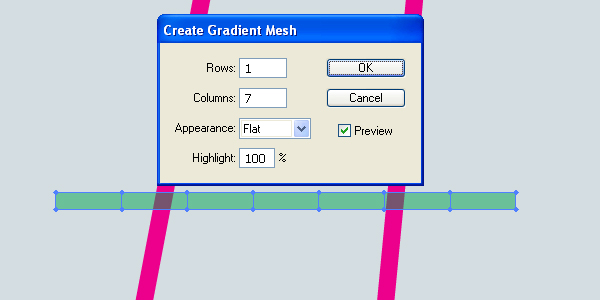
Now take the Rectangle Tool (M) and create a rectangular path with a height approximately equal to the thickness of the (crimson) path just illustrated. Then change the Opacity of the rectangle.
Now go to Object > Create Gradient Mesh and specify the number of columns in the dialog box.
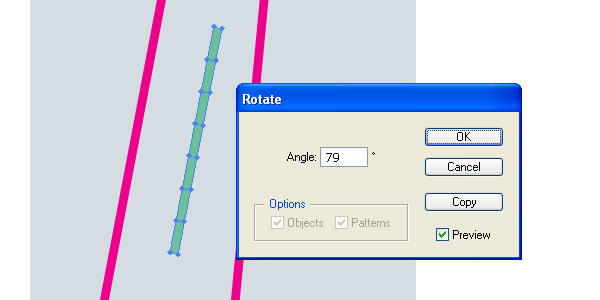
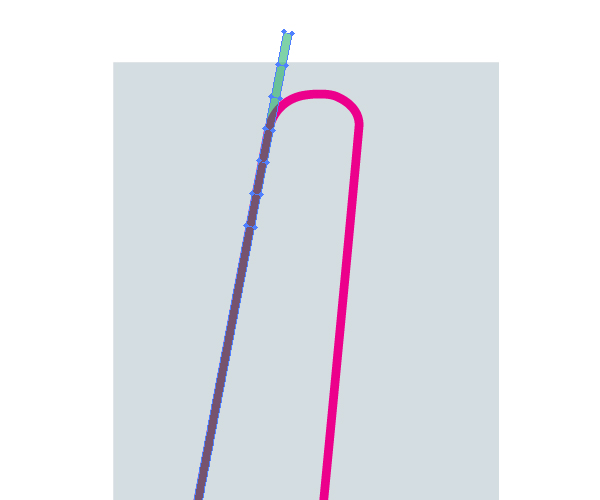
Go to Object > Transform > Rotate to define the angle of rotation of the mesh in order to place it over the crimson path as exactly as possible.
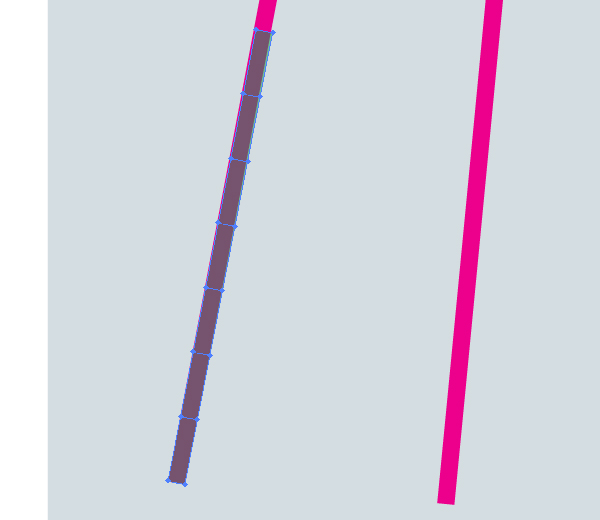
Place the mesh over the end of the crimson path.
Step 3
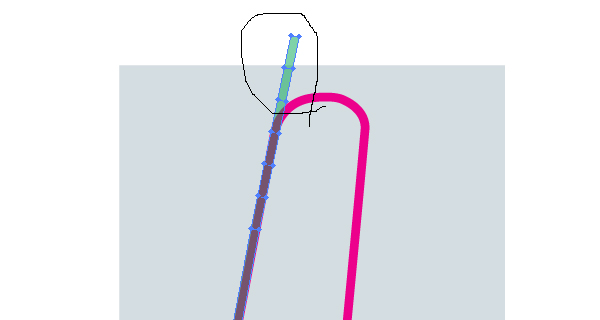
Take the Lasso Tool (Q) and select all the nodes of the gradient mesh except for the two lowest ones.
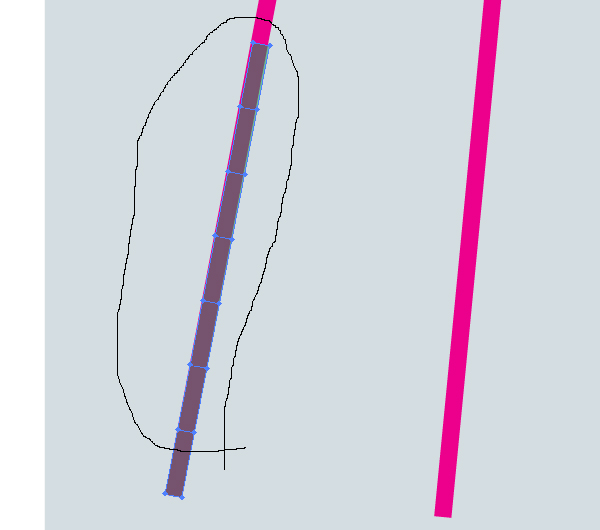
Grab the Direct Selection Tool (A) and move the mesh nodes up.
Select then the mesh nodes that are located beyond the bounds of the crimson path.
Now take the Rotate Tool (R), and make a rotation, as shown in the helpful figure below.
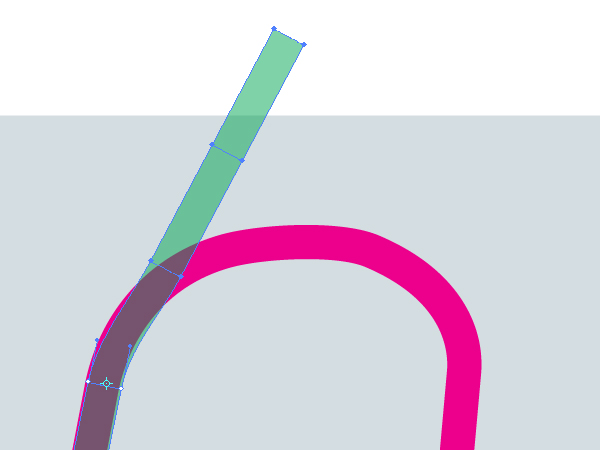
Repeat these actions in order to stretch the mesh on the crimson path. After that, change the mesh Opacity to 100%.
Step 4
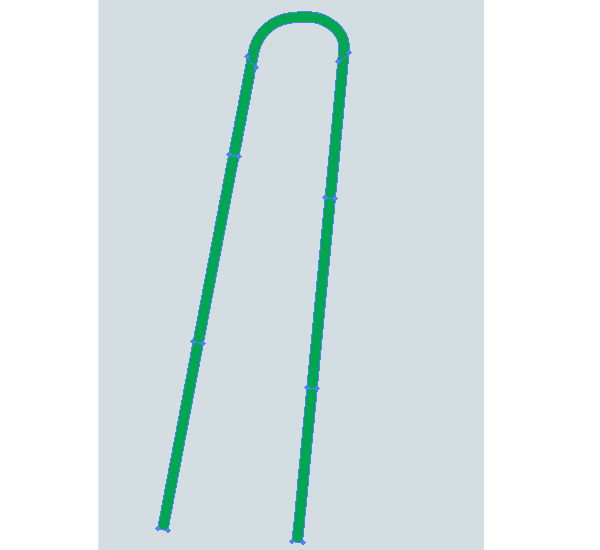
Take the Mesh Tool (U) and add the mesh lines. Change the mesh nodes’ colors to gray with different brightnesses in order to represent the distribution of light on a metallic tube accurately. And crop the mesh with a clipping mask by going to Object > Clipping Mask > Make (Command + 7). Use the crimson path made in the first step as a clipping path.
Blow up the artwork and focus your attention on the top part of the ladder.
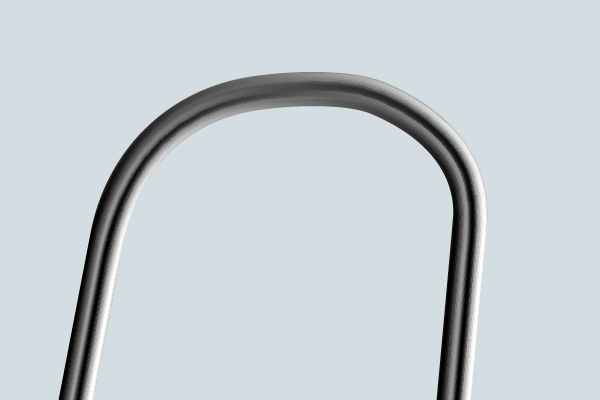
If you do not like your result so far, then let’s continue to improve it. You can apply the Art brushes for this operation…
Step 5
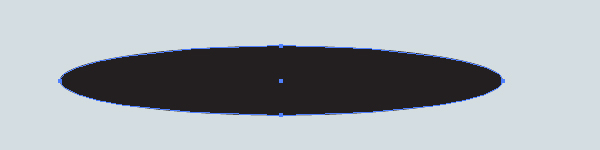
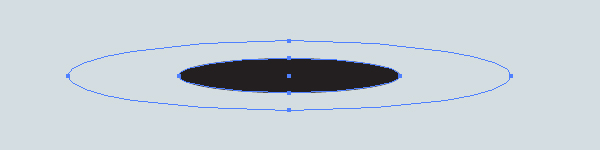
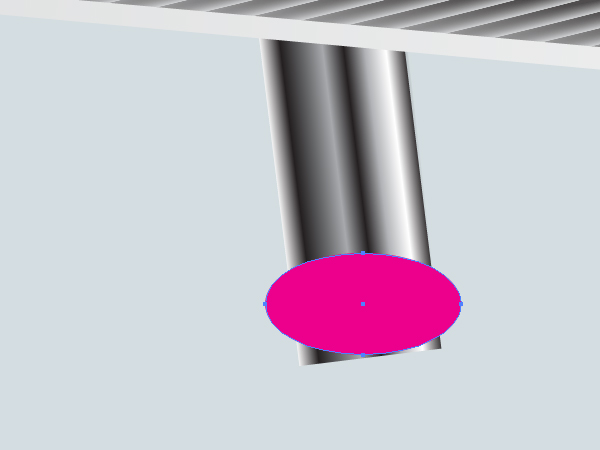
Take the Ellipse Tool (L) and sketch a horizontal elliptical path filled with black as shown below.
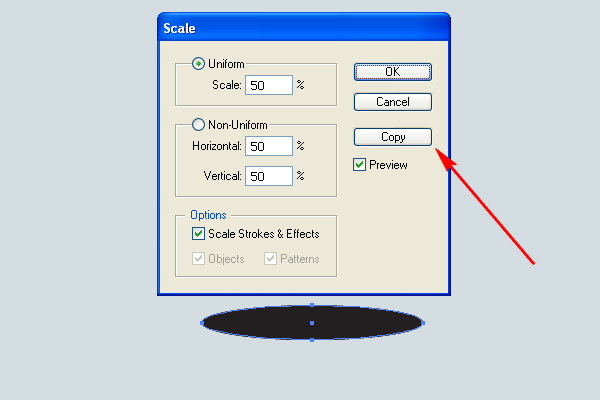
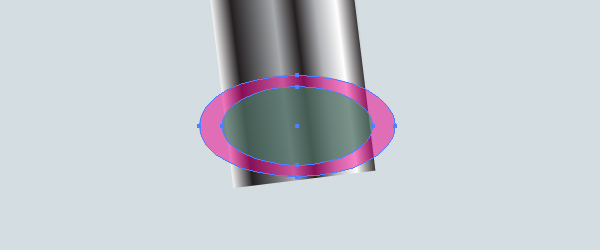
Go to Object > Transform > Scale, and specify the values shown in the diagram below. Click the Copy button after that.
Change the Opacity of the biggest ellipse to 0.
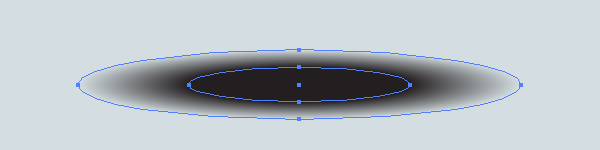
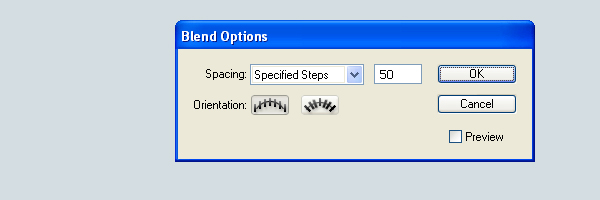
Go to Object > Blend > Blend Options. Set the Spacing to Specified Steps and the quantity of steps to about 100.
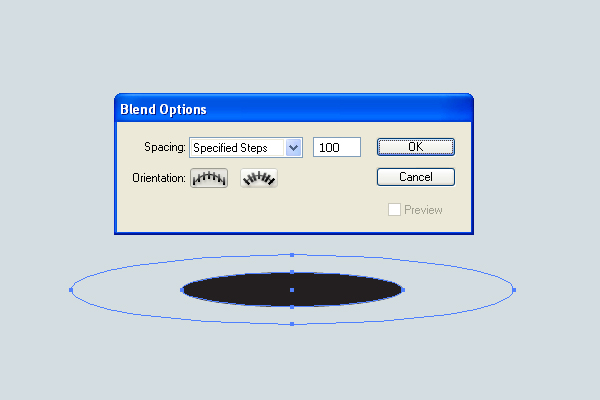
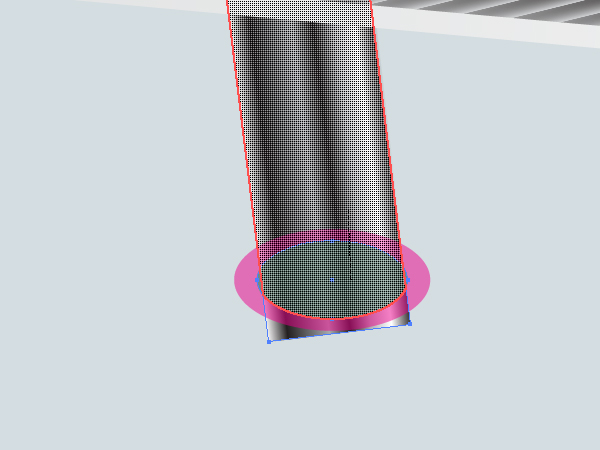
And then select both ellipses and go to Object > Blend > Make (Command + Alt + B). You should receive the same picture as below.
Step 6
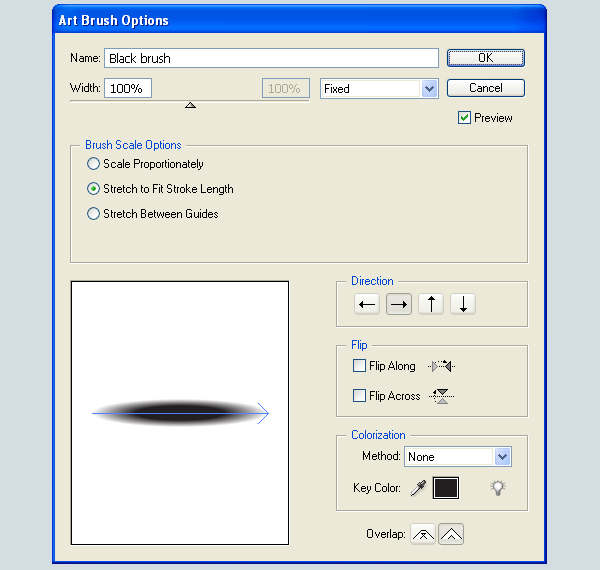
Drag and drop the received blend into the Brushes palette. Select the Art Brush option in the dialog box.
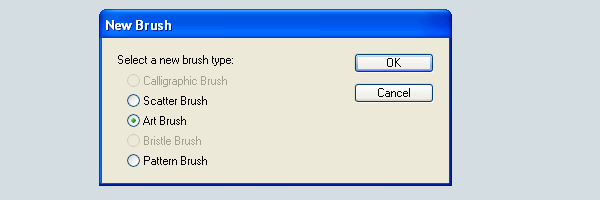
Set the items for the brush as shown in the figure below, and name the brush as “Black brush.”
Illustrate the analogous Art brush named “White brush.”

Step 7
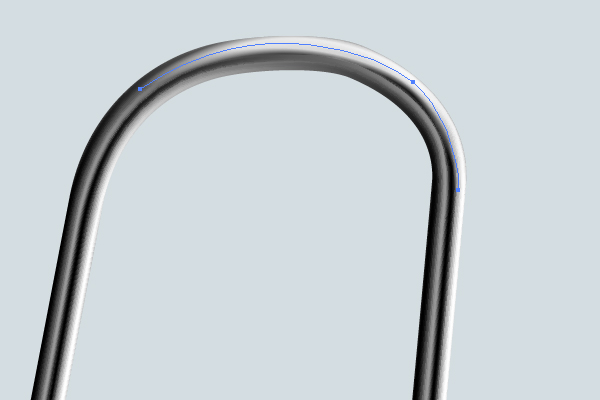
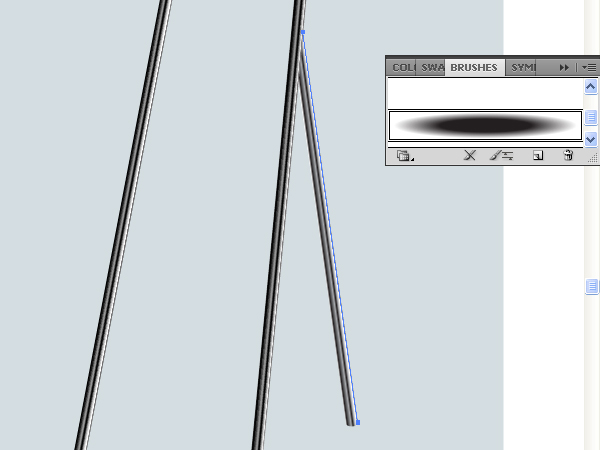
Picture a path in the top part of the ladder, apply the “White brush” to it in accordance with the light distribution principle, change the stroke weight and the Opacity of it, as necessary in your own artwork. Now crop the path with a corresponding clipping mask (the same one which was used above).
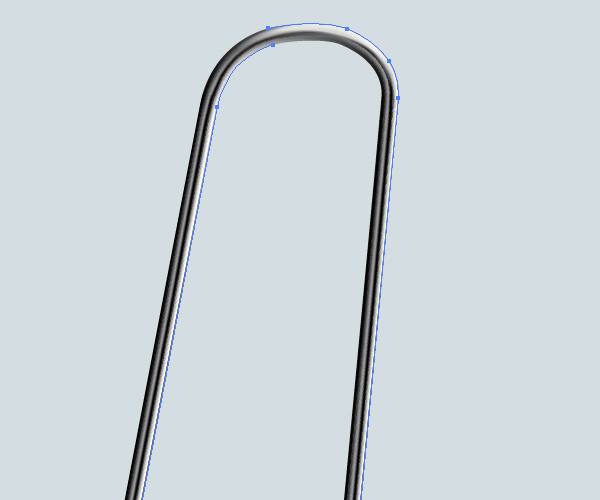
Apply the “Black brush” to the following two paths in order to emphasize the borders of the metallic tube of the ladder. These paths’ weights should be thin enough.
Step 8
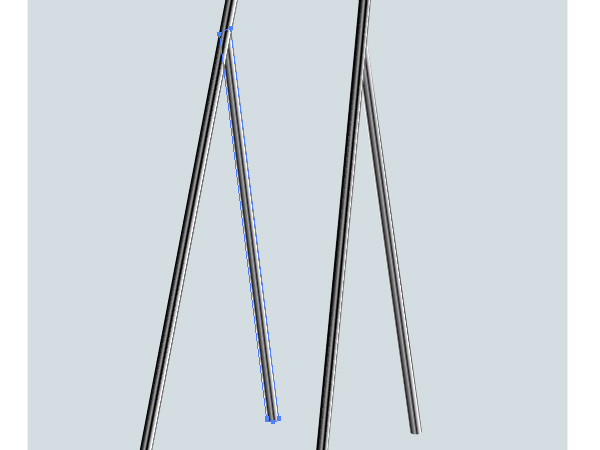
Add one of the black, metallic tubes to the ladder, and fill it with an angled, linear gradient.
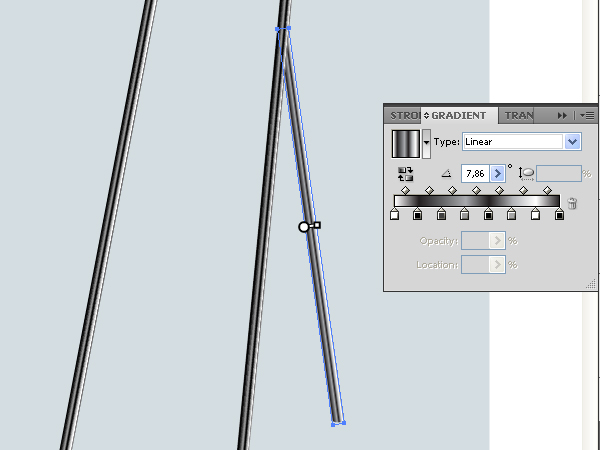
Apply the “Black brush” to the shown path, which is located at the right side of the back tube. Change the stroke weight and the Opacity of it as necessary. Then crop the path with the help of the clipping mask.
Draw the second back leg of the ladder the same way.
Step 9
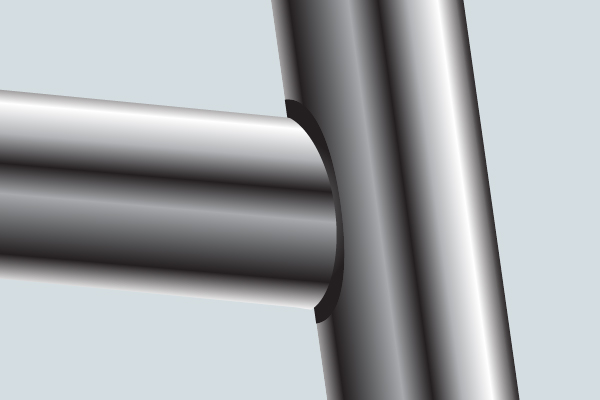
Now we should connect the tubes to each other with the aid of the connecting detail. Take the Pen Tool (P), and illustrate the shown detail over the coupling point of the tubes. It must be wider than the width of the tubes. See the image below for reference. Fill the detail with an angled linear gradient.
Copy it and Paste in Back (Command + C then Command + B). Lock the original detail in the Layers palette. Now take the Direct Selection Tool (A) and change the form of the copy in order to connect it to the tubes. Fill the copy with another angled, linear gradient. You should receive the following result.
Step 10
Illustrate a connecting bolt with the help of the Ellipse Tool (L), and fill it with a radial gradient as shown.
Draw additional connecting bolts.
Let the connecting detail be metallic. So, we should create light spots over it, by using the “White brush.” See the image below for reference.
Produce the second connecting detail the same way.
Step 11
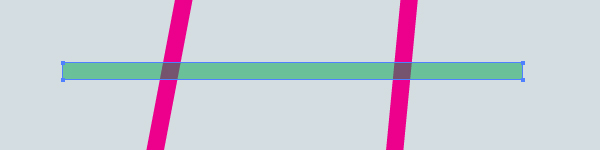
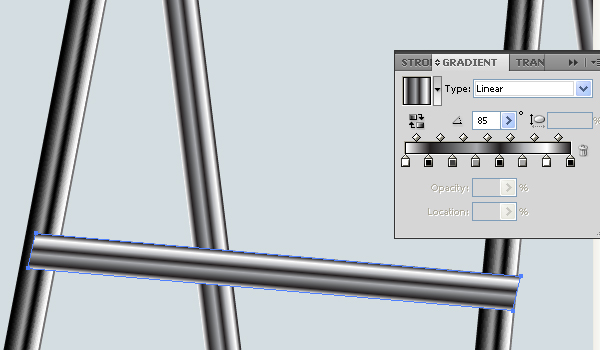
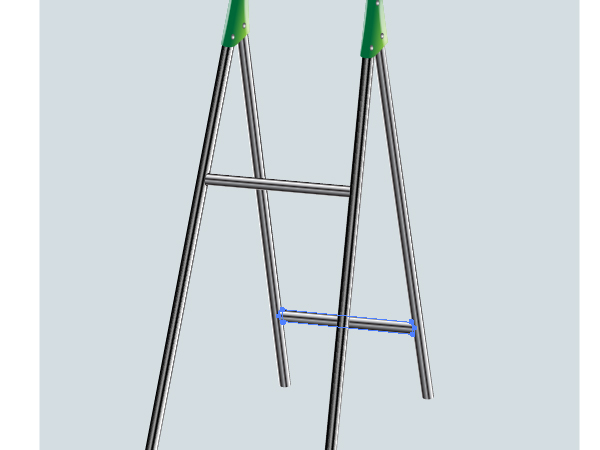
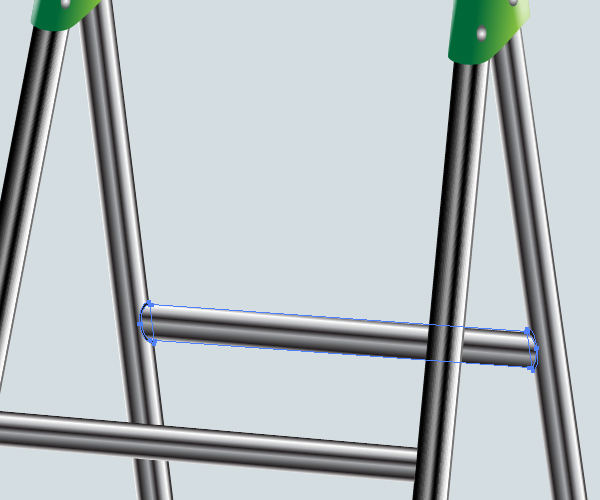
Illustrate a transverse tube over the ladder and fill it with an angled, linear gradient.
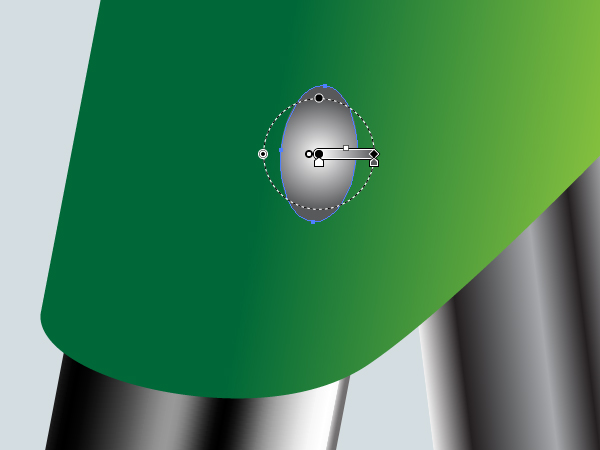
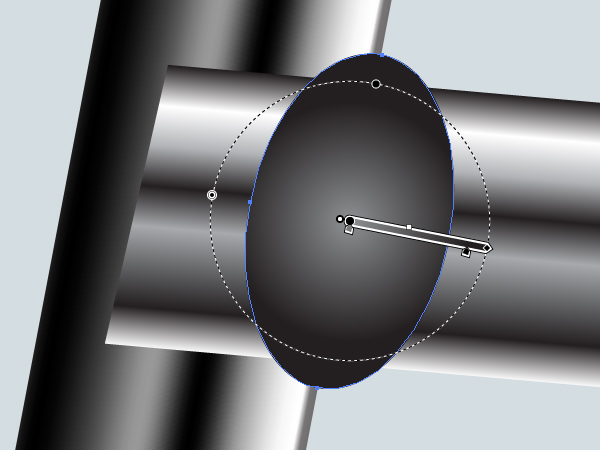
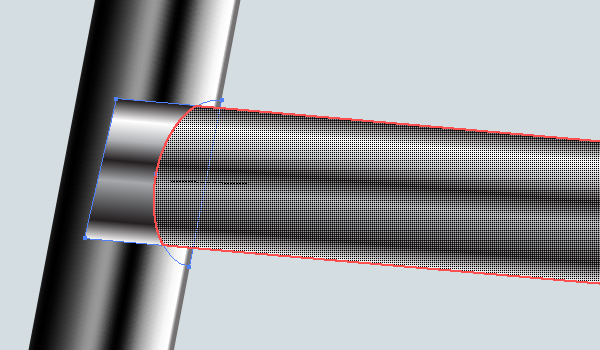
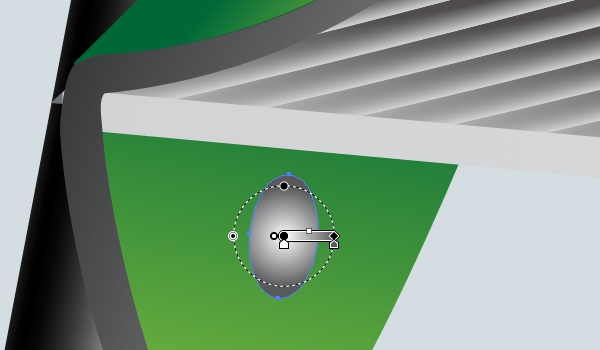
Now draw the following elliptical path at the left end of this tube. Fill the ellipse with a radial gradient. Pay attention that the long axis of the ellipse should go along the contour of the “Main tube,” which was illustrated in the first step. Follow the helpful diagram below.
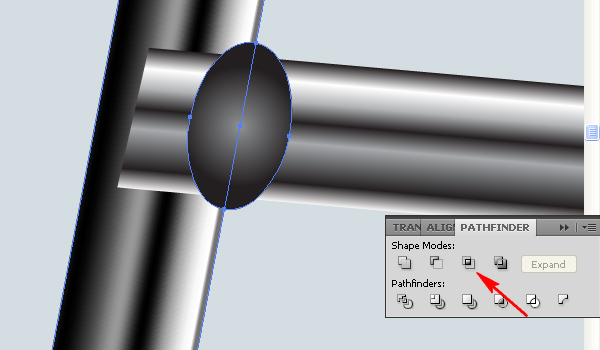
Select the “Main tube,” Copy it and Paste in Front (Command + C then Command + F). Select the ellipse over it (which was just created), Copy it and Paste in Front too. After that, select both copies of the paths, go to the Pathfinder palette, and click the Intersect button there.
Now crop the ellipse with the resulting path, by going to Object > Clipping Mask > Make (Command + 7).
Step 12
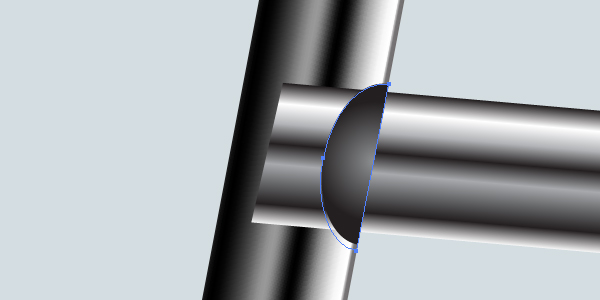
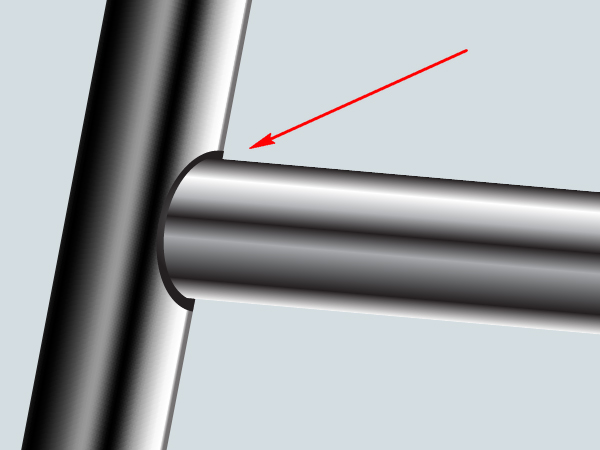
Copy the transverse tube and Paste it in Front (Command + C then Command + F). Copy just the resulting clipping path and Paste it in Front as well. Select these new copies. Take the Shape Builder Tool (Shift + M), and drag the mouse over the paths from the left to the right, as shown in the diagram below. Or use the Pathfinder palette for this operation.
Delete the unnecessary paths after that. And use the resulting path as a clipping mask for the transverse tube. All in all, you should receive the effect of inserting the transverse tube into the “Main tube.”
Step 13
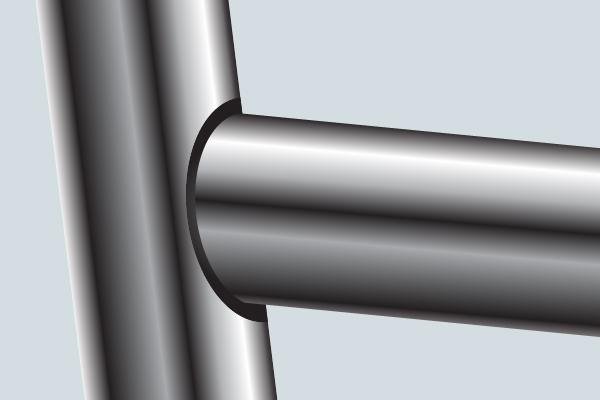
Illustrate the next transverse tubes the same way. See the images below for reference.
Step 14
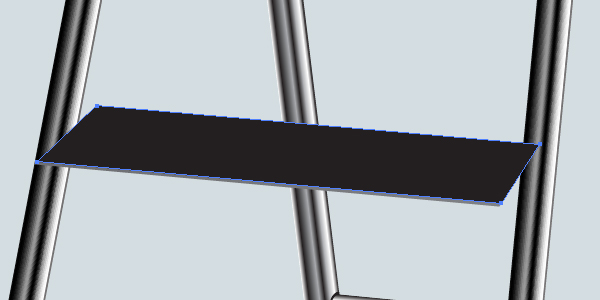
The next steps will be devoted to creating the steps (pun intended). See the step style we’ll be creating below.
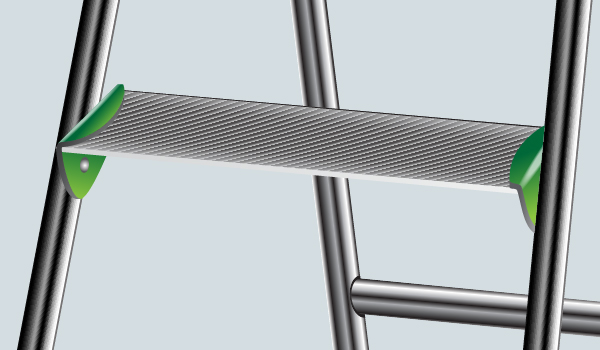
If you know how to achieve this, do it without assistance. Otherwise you should read carefully the next parts of the tutorial. First illustrate a sheared rangular path filled with an angled linear gradient as shown.
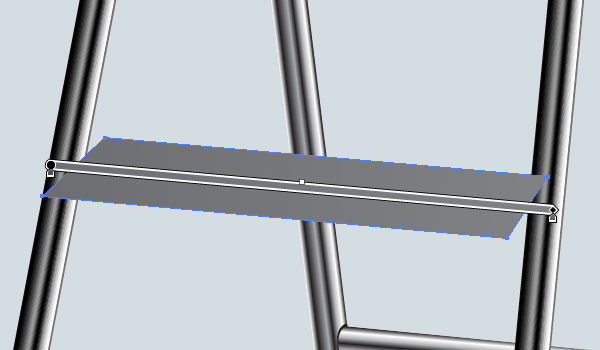
Copy it and Paste in Front (Command + C then Command + F), fill it with black, and move it slightly upwards.
Copy it again and Paste in Front (Command + C then Command + F), fill it with an angled linear gradient, and create a thickness of the step by using the Pen Tool (P).
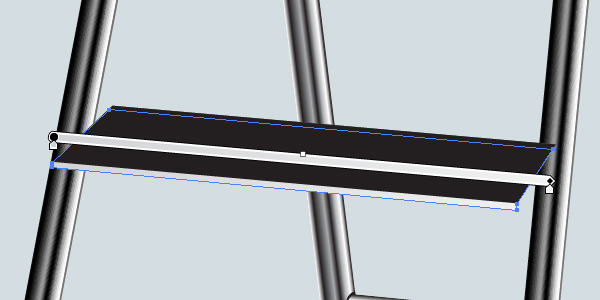
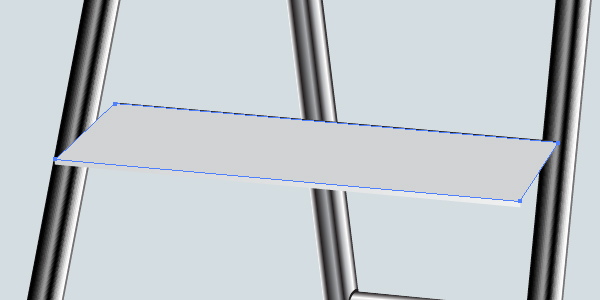
Now create a light gray path over it.
Step 15
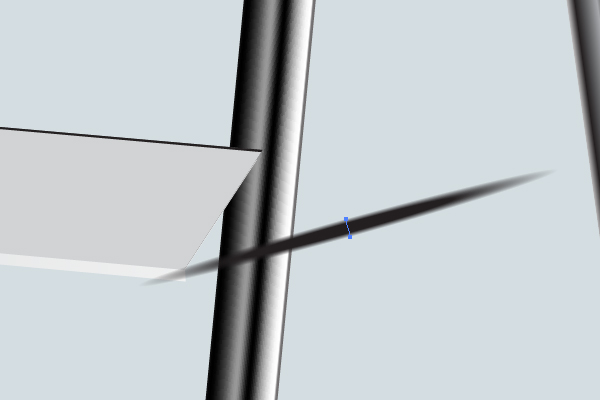
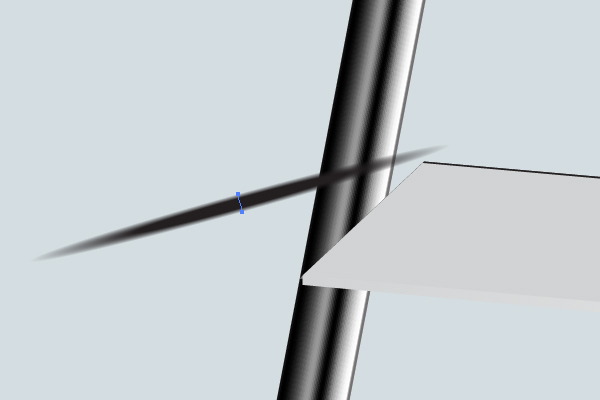
We’ll use the “Black brush” to create the notches on the step. Let’s see how this works. In the beginning, sketch a small path with the aid of the Pen Tool (P) at the right side of the step, then apply the “Black brush” to it. Change the stroke weight of the path in order to create the picture shown below.
Illustrate the same path using the same technique at the left side of the step.
Step 16
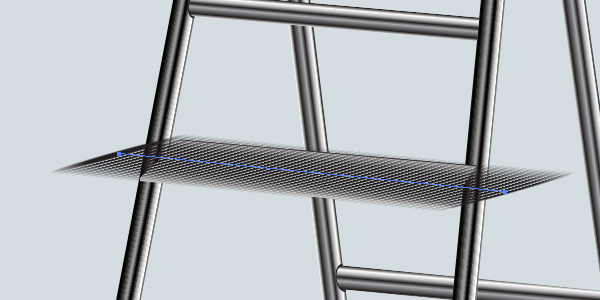
Go to Object > Blend > Blend Options, set the Spacing to Specified steps and the number of steps to about 50.

Select both paths and go to Object > Blend > Make (Command + Alt + B).
Change the Opacity of the blend if necessary and crop it with a clipping path.
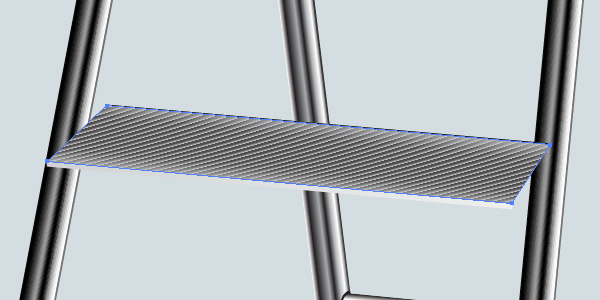
Crop the step with a clipping path too.
Step 17
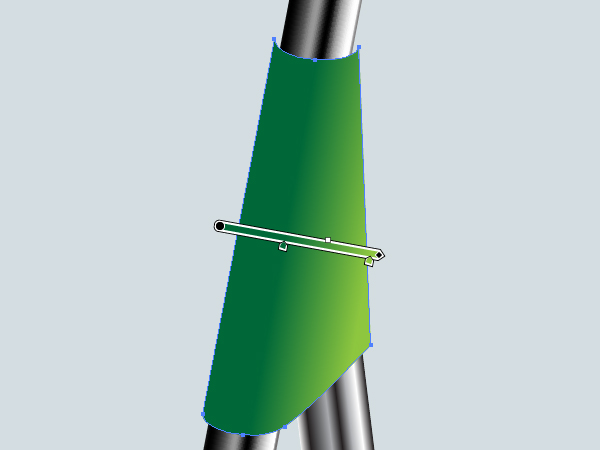
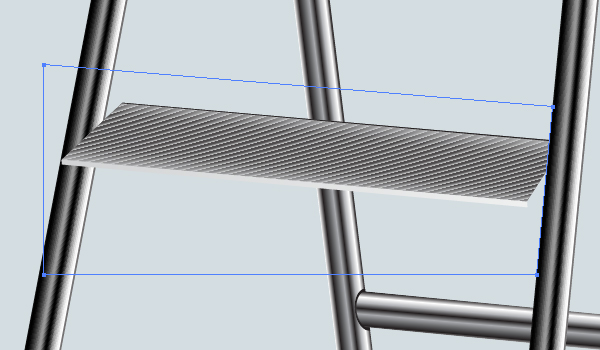
Illustrate a path filled with a linear gradient, as shown in the diagram below.
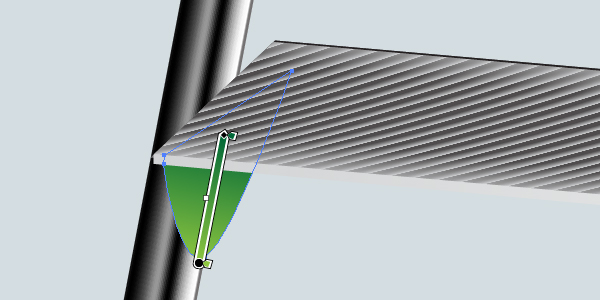
Draw the next similar path.
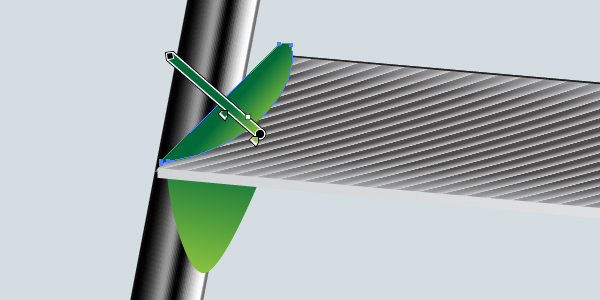
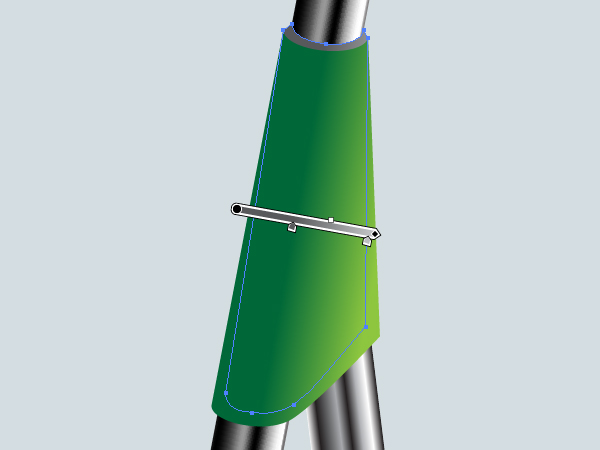
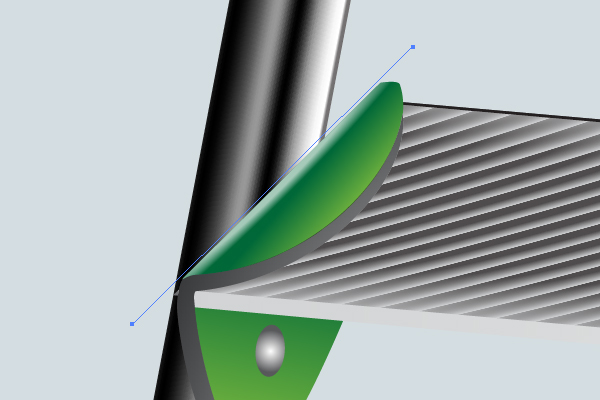
Now take the Pen Tool (P) and draw the lateral part of the connecting detail. Fill it with a usual linear gradient.
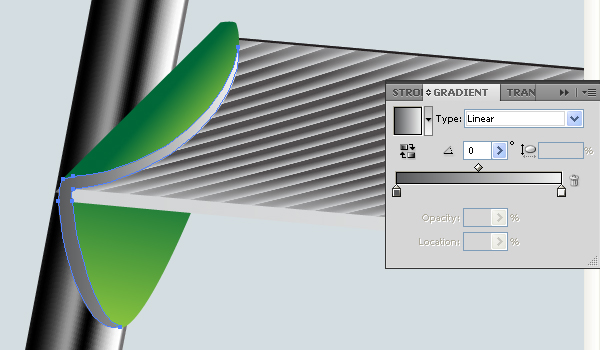
Copy it and Paste in Front (Command + C then Command + F) and fill it with a vertical gradient.

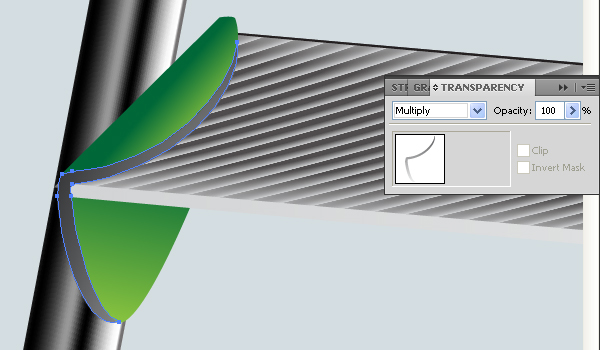
And change the Blending Mode of this path to Multiply in the Transparency palette.
Step 18
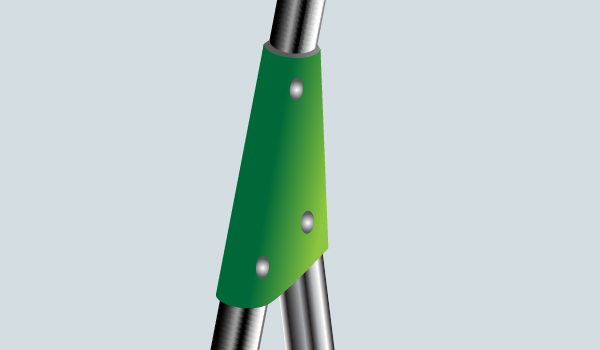
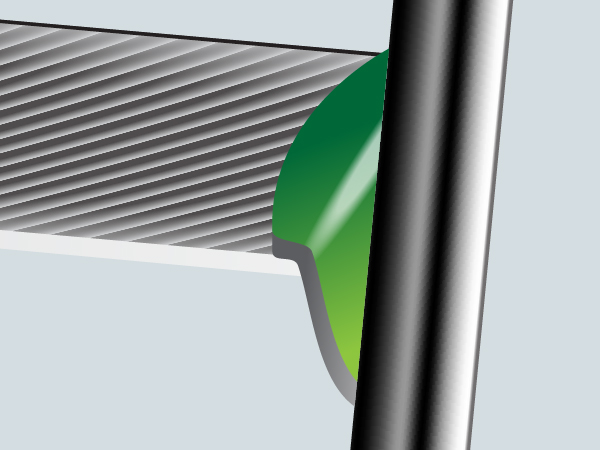
Attach the green detail to the “Main tube” with a connecting bolt as shown.
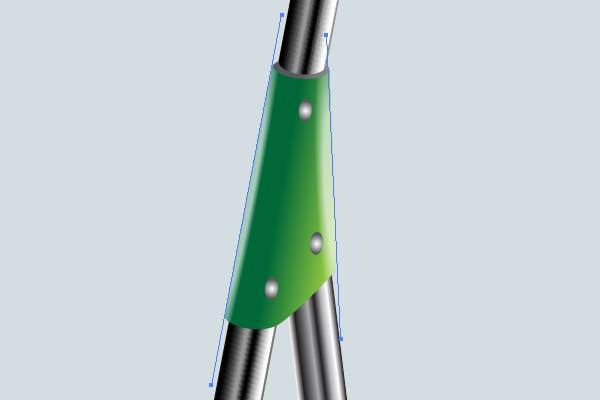
Apply the “White brush” to the following path in order to reproduce the light distribution. Crop the path with a corresponding clipping mask.
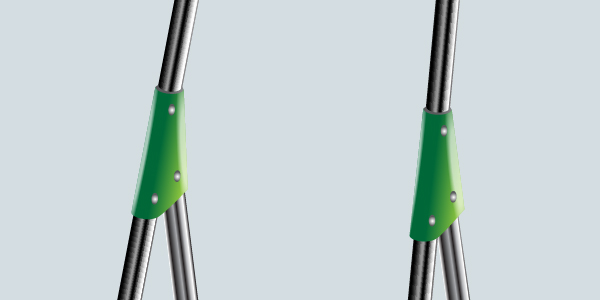
Illustrate the right green detail.
Picture as many steps of the ladder as you desire.
Step 19
Picture the top plate of the ladder filled with an angled linear gradient.
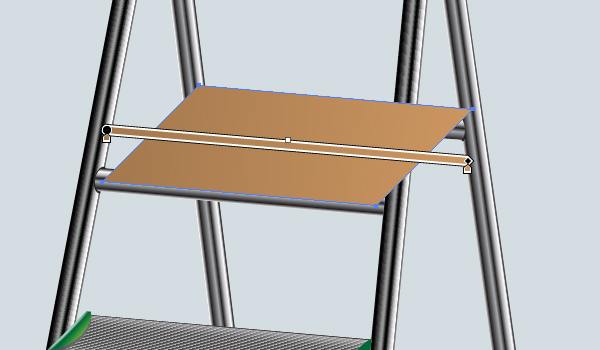
Now sketch a brown lateral path of the top plate in order to add volume to it.
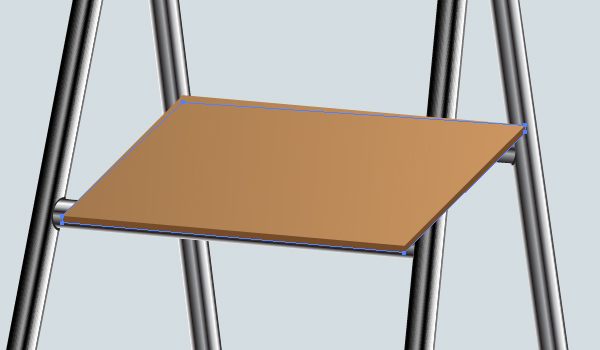
Grab the Pen Tool (P) and produce a front lateral part of the plate, then fill it with dark brown.
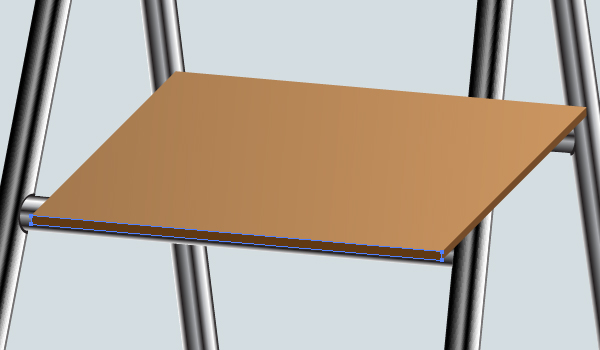
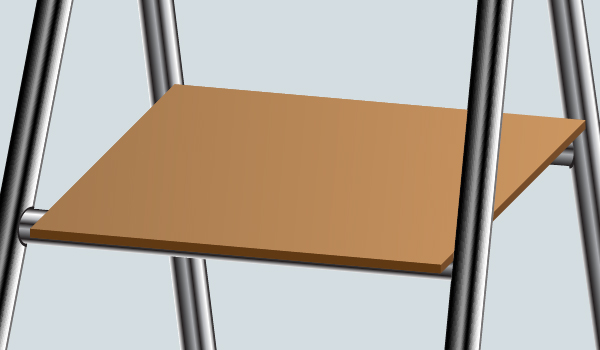
Place the plate in the correct position.
Step 20
Take the Ellipse Tool (L) and illustrate an elliptical path over the end of a leg.
Copy it and Paste in Front (Command + C then Command + F), fill it with another color, change the opacities of both ellipses. Then go to Object > Transform > Scale and decrease the copy of the ellipse to the size of the leg as shown.
Copy the leg tube and Paste it in Front (Command + C then Command + F), select both: this copy and the small ellipse, take the Shape Builder Tool (Shift + M) and draw the mouse over the paths as shown. Or use the Pathfinder palette for this purpose.
Step 21
Delete then the unnecessary paths and use the resulting path as a clipping mask for the leg tube.

Change the Opacity of the red ellipse to 100%, and change the color fill to black, then create a path illustrated below by using the Shape Builder Tool (Shift + M) or the Pathfinder palette.

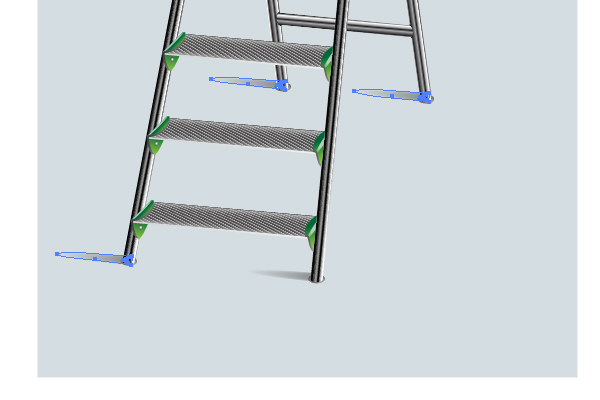
Apply the “White brush” to the following paths and crop them with a clipping mask. After that produce those support details under all the legs.

Step 22
Picture the shadows from the legs using blends. See the helpful diagrams below.

Conclusion
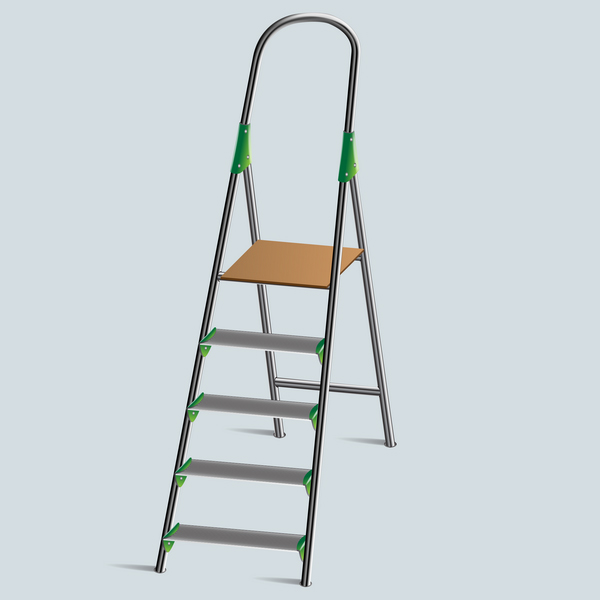
The final image is below. I hope you have studied the important techniques of Adobe Illustrator in this tutorial and have fun applying them in your own work.