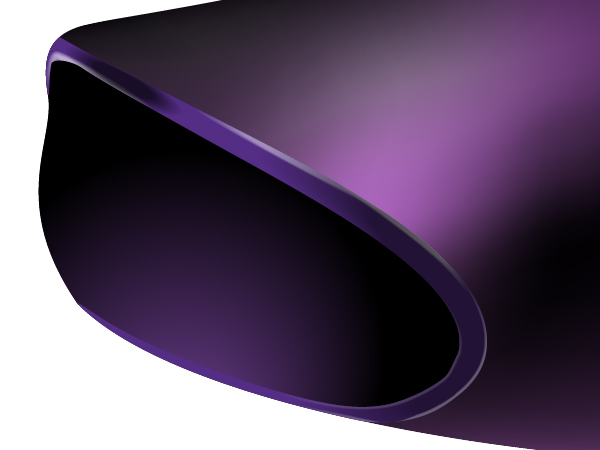
A hair dryer is a tool that helps women add beauty to their hair. Let’s illustrate a vector model of it and learn important techniques, which can improve the designer’s skills along the way.
Step 1
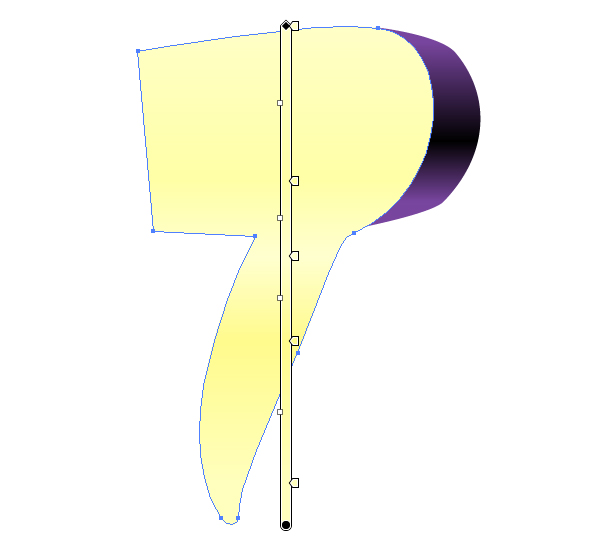
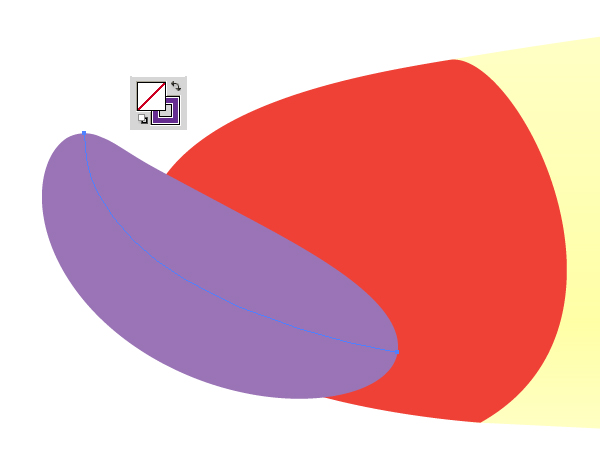
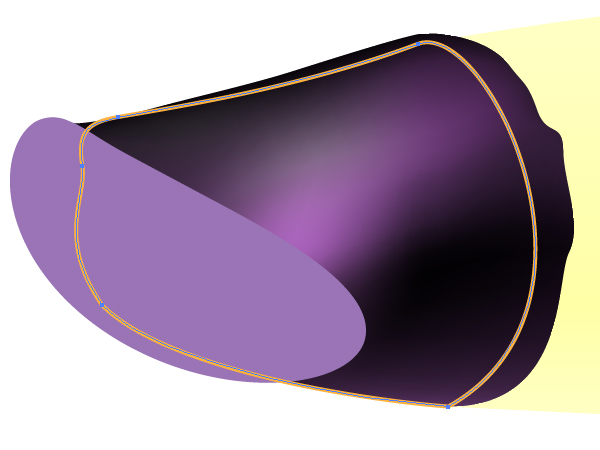
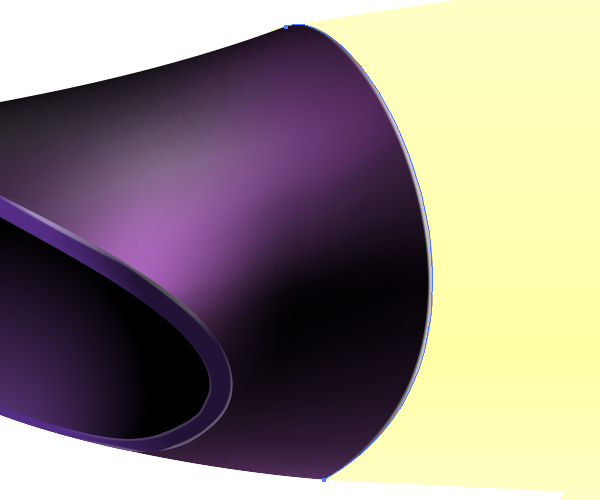
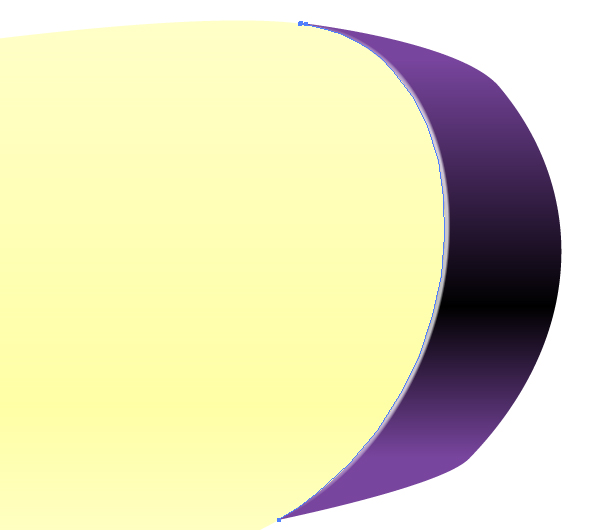
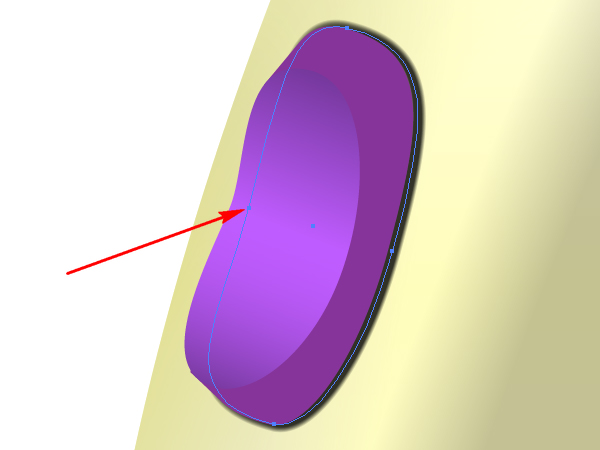
Take the Pen Tool (P) and draw a flat contour of the hair dryer without a nozzle. Fill it with any color.

Now illustrate a border of the back part of the hair dryer in order to divide the first contour after that.
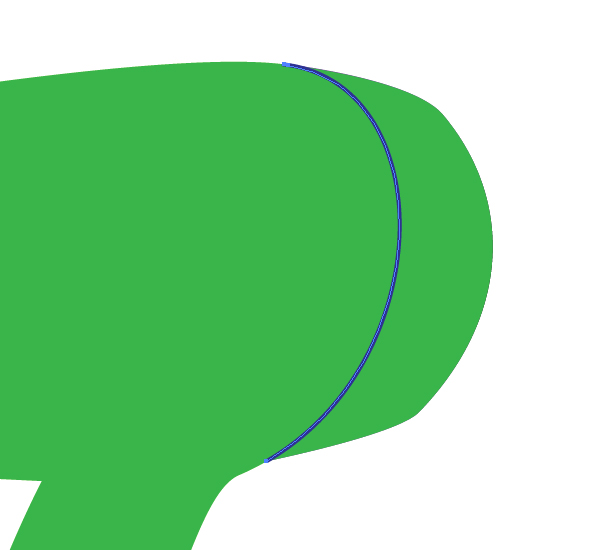
Select both paths, go to the Pathfinder palette, and click there the Divide button.
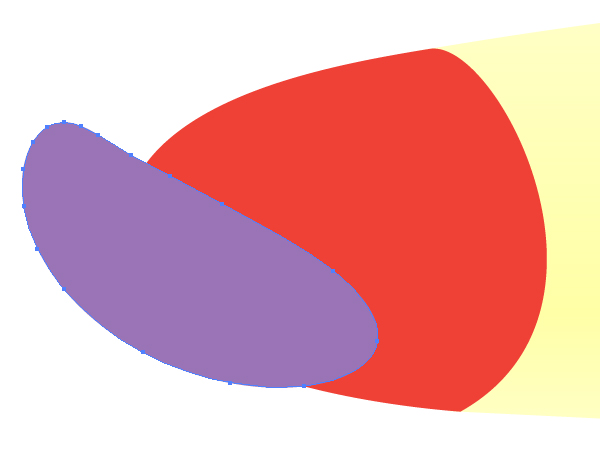
Now go to Object > Ungroup and change the color of the fill of any path.

Step 2
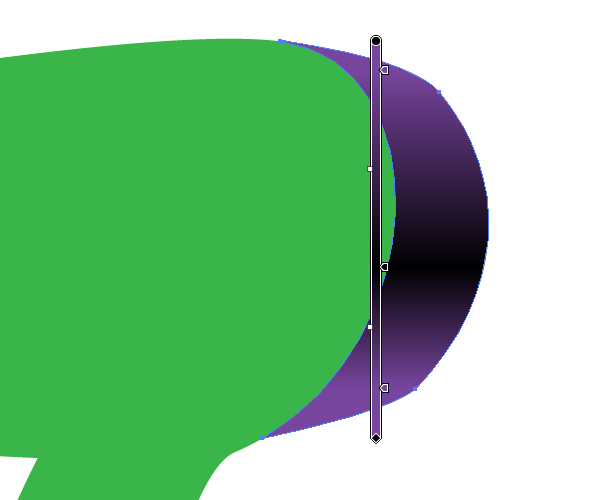
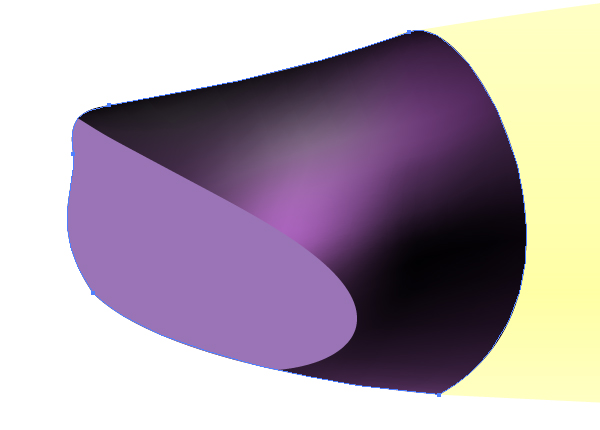
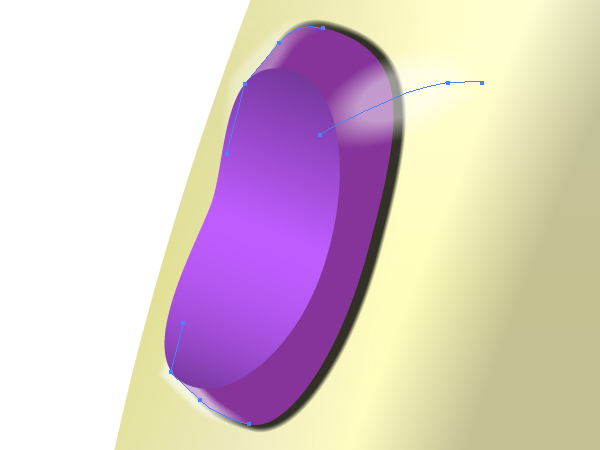
After that fill the back part with a vertical gradient, as shown in the image below.
Do the same with the second path.
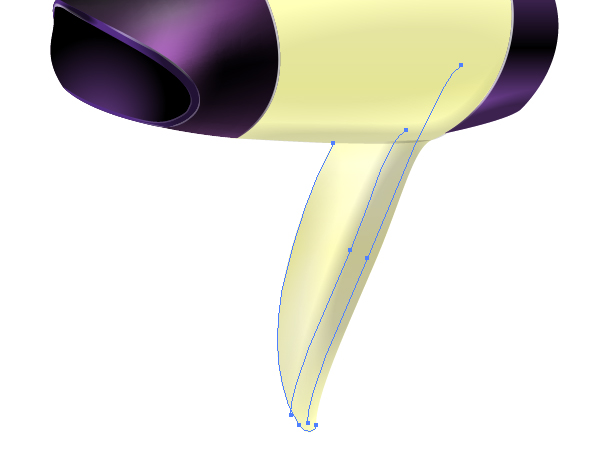
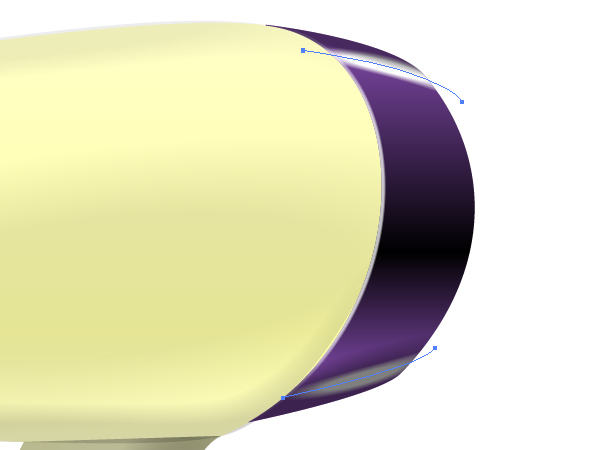
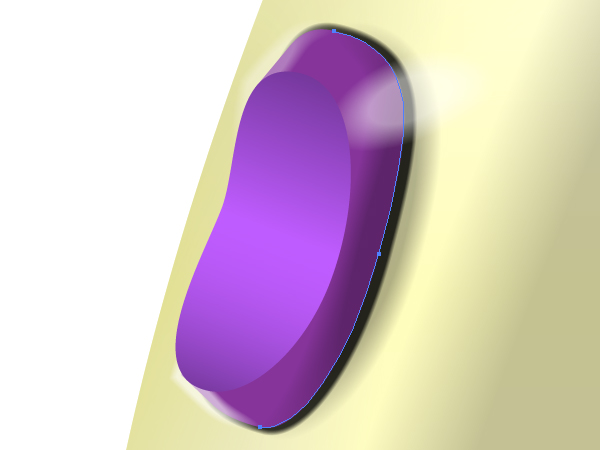
Step 3
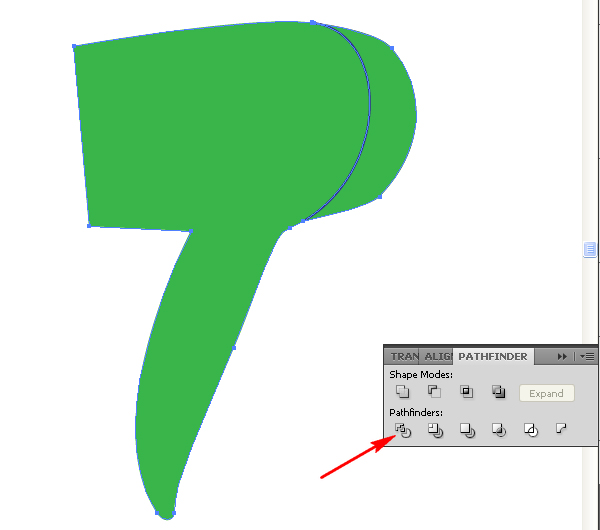
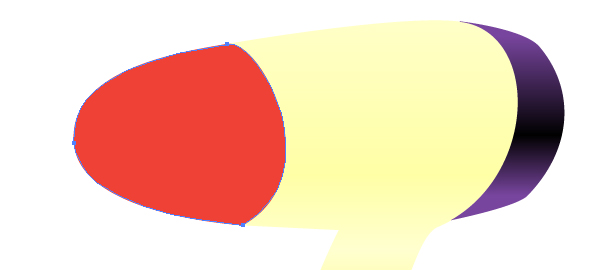
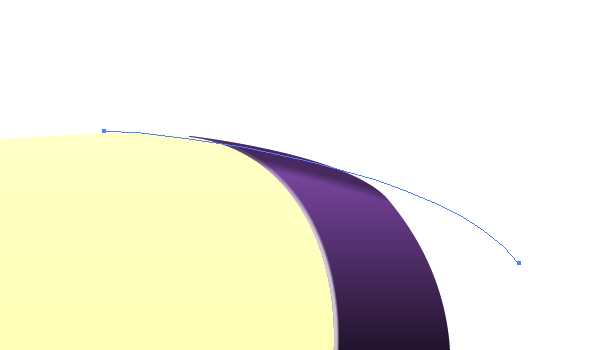
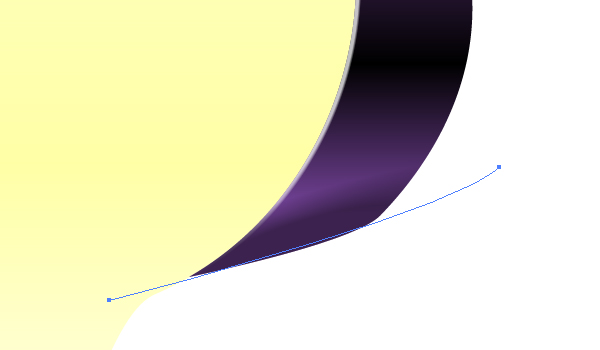
Now produce the front path filled using any color with the help of the Pen Tool (P). It must represent a nozzle further. Sketch a simple path similar to the one shown in the helpful diagram below. At this point in the tutorial you need not satisfy the perfect accuracy of the nozzle.
Step 4
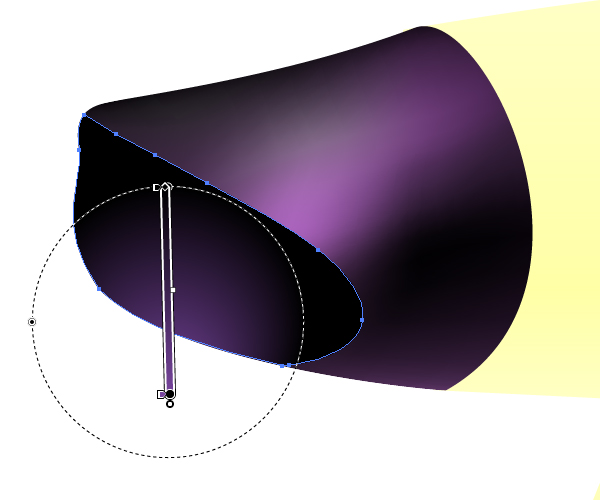
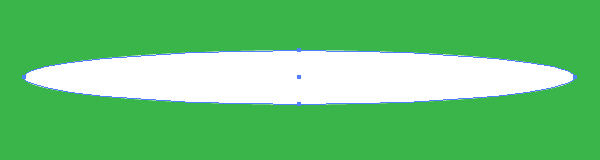
Grab the Ellipse Tool (L) and picture an elongated elliptical path.
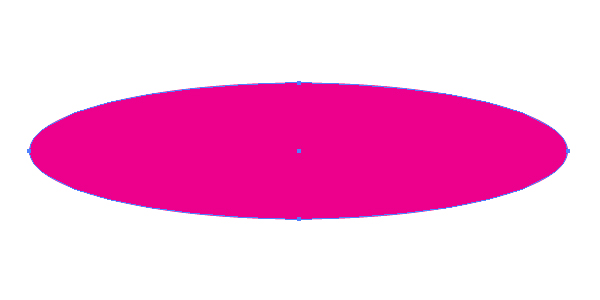
Now drag and drop it into the Brushes palette. Select the Art Brush option in the dialog box.
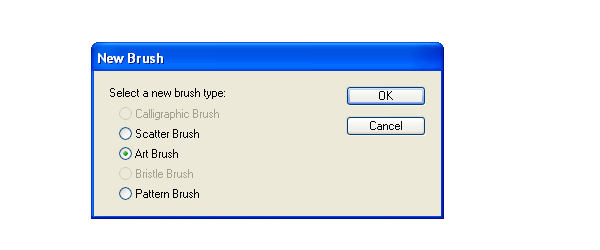
Set the items for the brush as you can see them in the diagram below. It is interesting to change the method of colorization of the brush to Tints in this dialog box. It will allow you then to change the Stroke color of the applied brush.

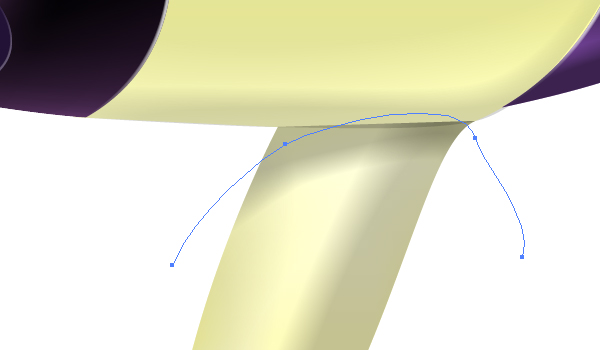
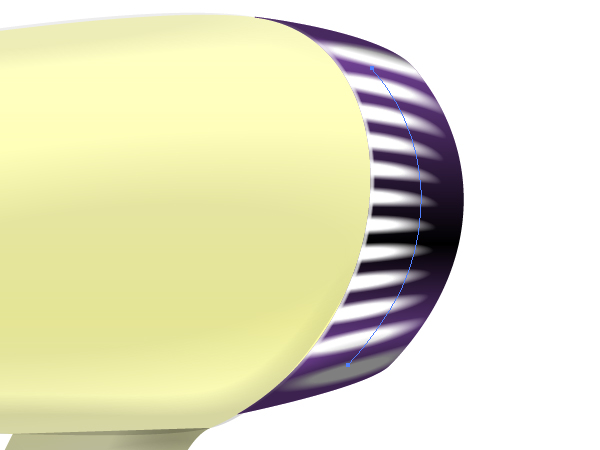
Step 5
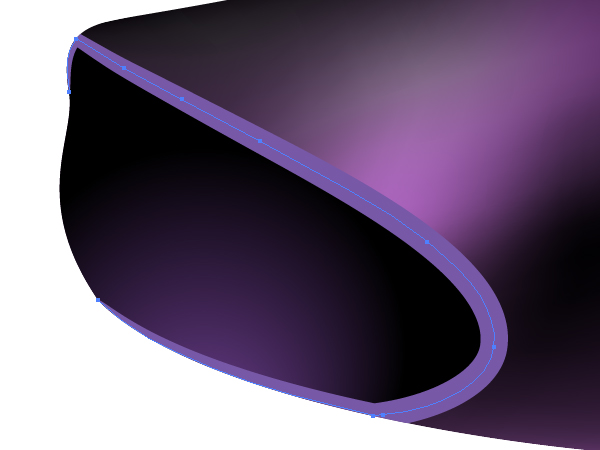
In order to illustrate a cavity in the nozzle, apply this Art brush to the following path illustrated in the diagram below over the front part of the dryer. Change the Stroke color if you desire.
Go to Object > Expand Appearance. Then go to Object > Ungroup. You should receive the following result.
Step 6
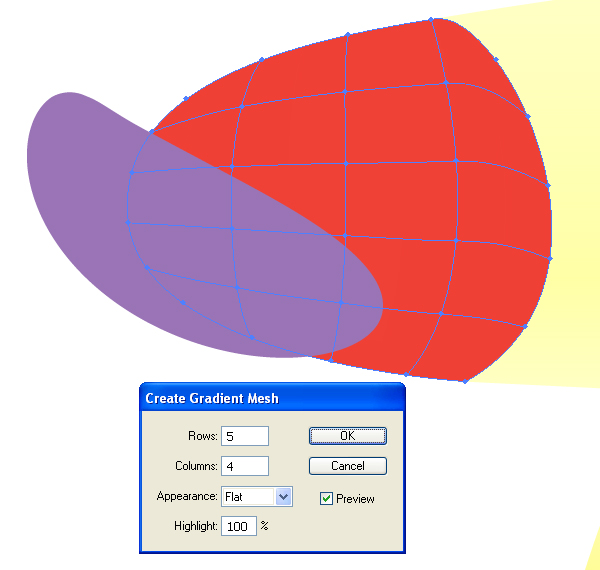
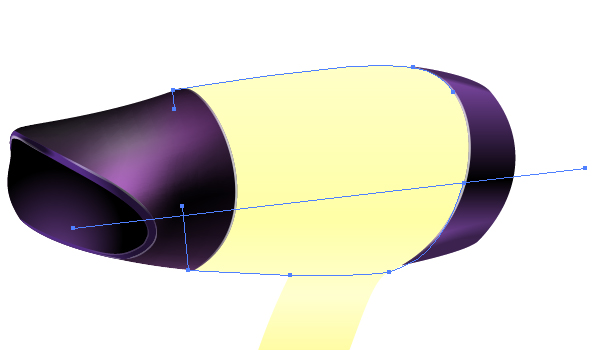
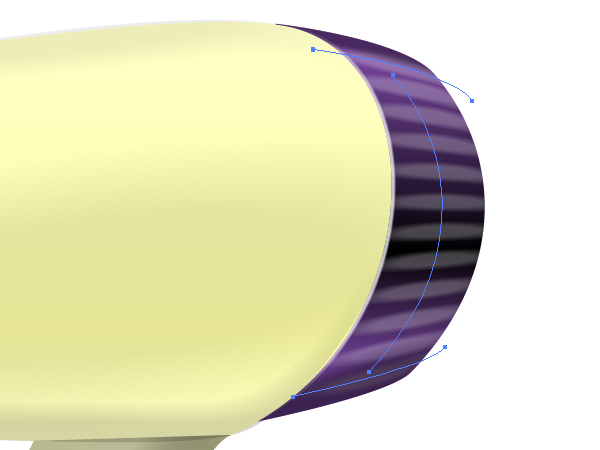
After that select the nozzle and go to Object > Create Gradient Mesh.
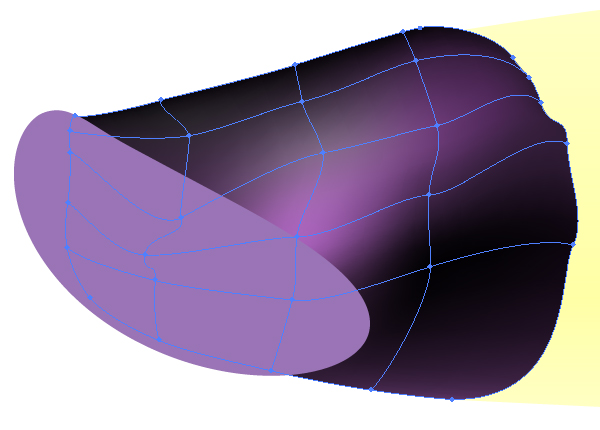
Change the colors of the mesh nodes in order to represent the light distribution. Then move the nodes slightly to form a real nozzle shape. See the image below.
If the resulting shape in your artwork is not beautiful, change it by using the corresponding mask. You can achieve the result illustrated below by going to Object > Clipping Mask > Make (Command + 7). See the helpful diagrams below and pay attention that the cavity which must be cropped too.
Fill the cavity with a radial gradient.
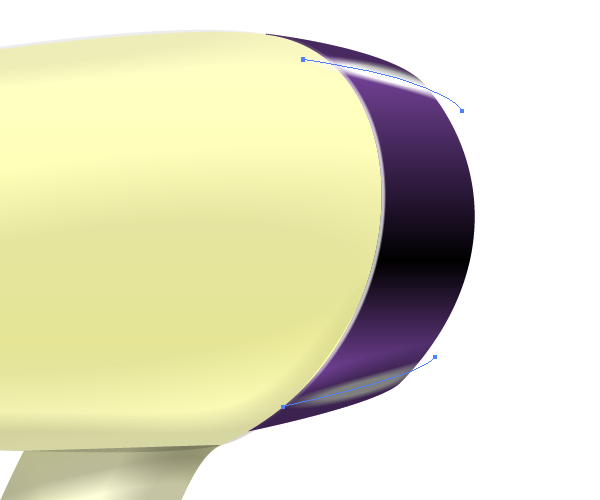
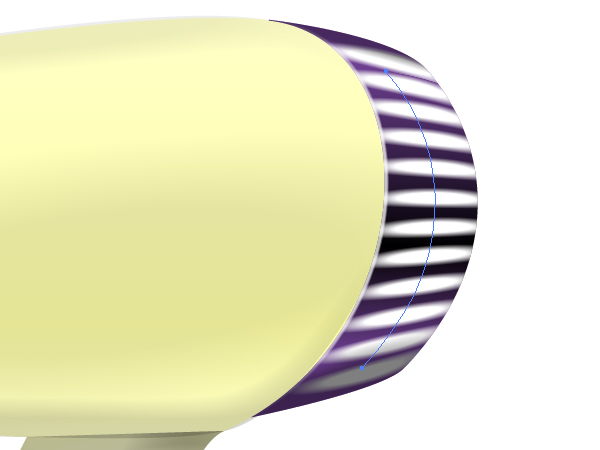
Step 7
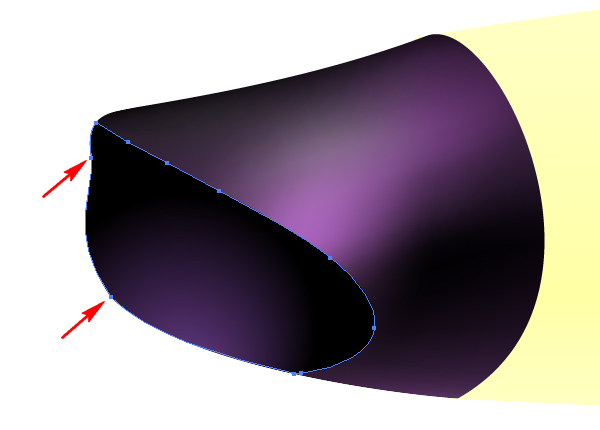
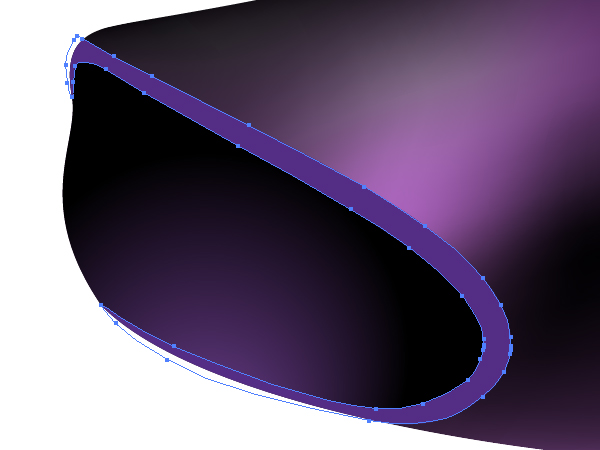
Select the cavity, Copy it, and Paste it in Front (Command + C then Command + F). Change the filling of it to None. Then take the Scissors Tool (C), and click in the points indicated by arrows in the diagram below.
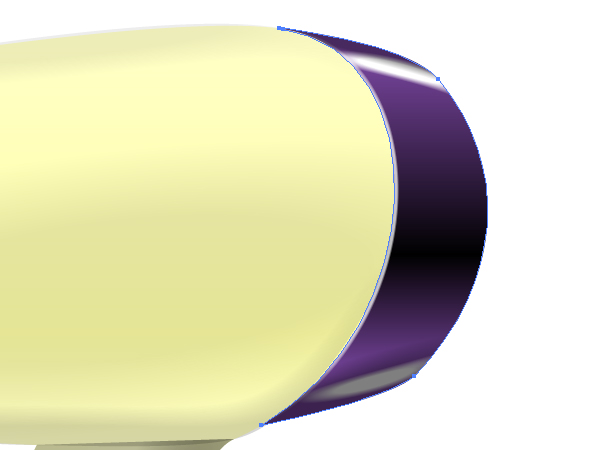
Delete the remote path in the Layers palette, and apply the Art brush created above to the remained path.
Go to Object > Expand Appearance. Then go to Object > Ungroup. Pay attention that the received path must be cropped with the existing clipping mask.
Step 8
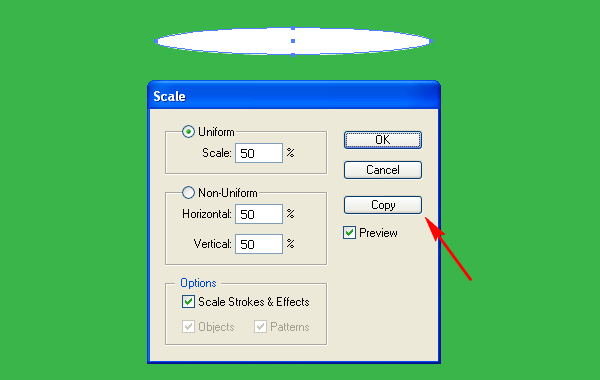
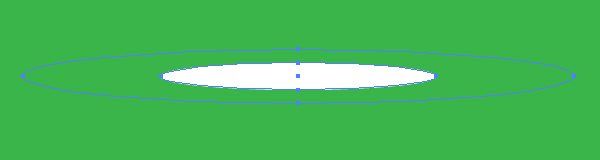
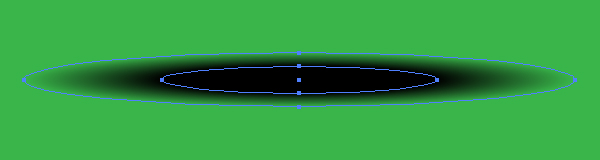
Take the Ellipse Tool (L) and draw an elongated elliptical path. Now fill it with white.
Go to Object > Transform > Scale and decrease the value of uniform scaling as shown, then click the Copy button.
Change the Opacity of the biggest ellipse to zero.
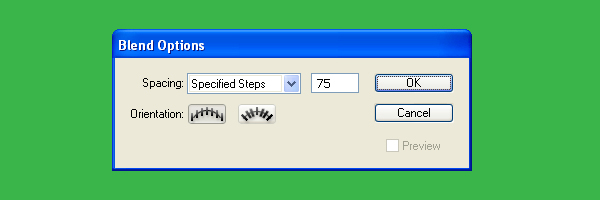
Now go to Object > Blend > Blend Options, and set there the values shown in the diagram below.
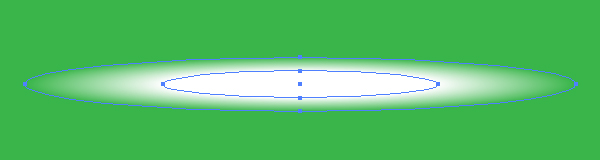
Select both elliptical paths and go to Object > Blend > Make (Command + Alt + B).
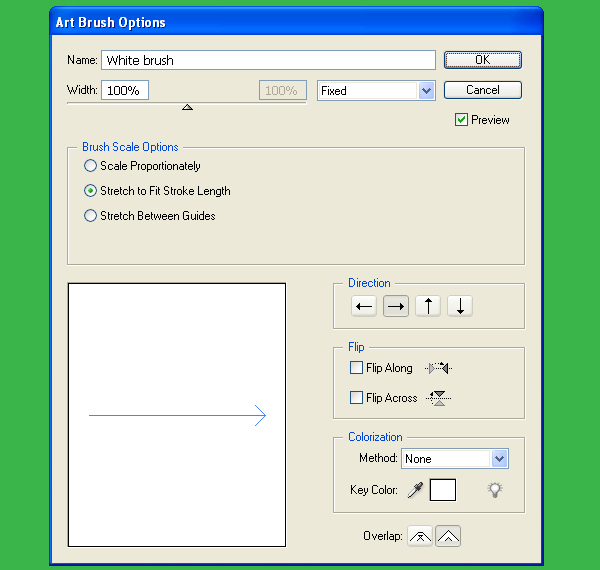
Step 9
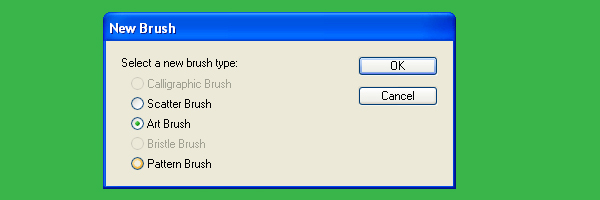
Drag and drop this blend into the Brushes palette. Select the Art Brush option in the dialog box.
Set the items for this brush. Name it “White brush.”
Create the “Black brush” the same way.
Step 10
Illustrate a path over the bounds of the nozzle and apply the “White brush” to it as shown.
Crop it by going to Object > Clipping Mask > Make (Command + 7).

Decrease the Stroke Weight and the Opacity of it.
Follow your feeling of beauty in order to illustrate as many paths with the brushes applied to them as you want.
Step 11
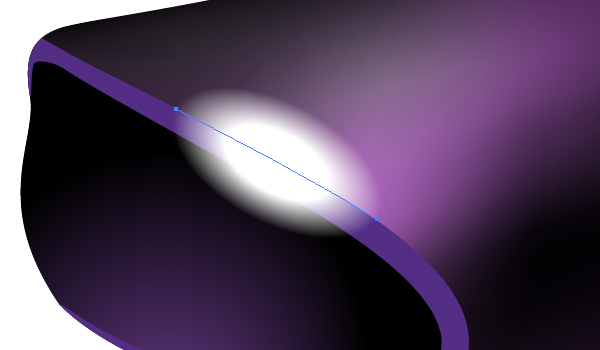
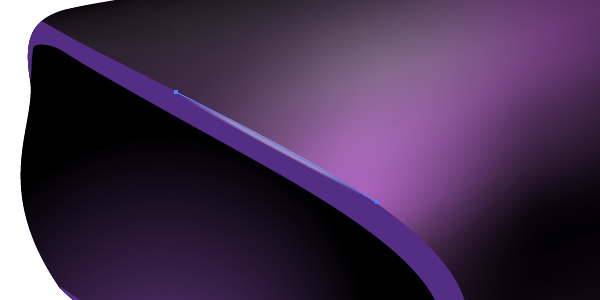
Apply the “White brush” to the semitransparent path between two parts of the hair dryer.
Do the same manipulations with the central and the back parts of the tool.
Step 12
Add a dark shade by applying the “Black brush” to the top part of the back one of the hair dryer. It must be inclined and cropped with a clipping mask aid. See the image below for reference.
Repeat these manipulations with the lower part of it.
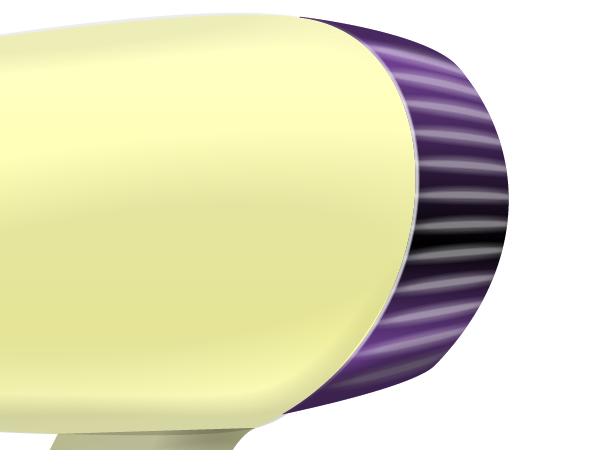
Step 13
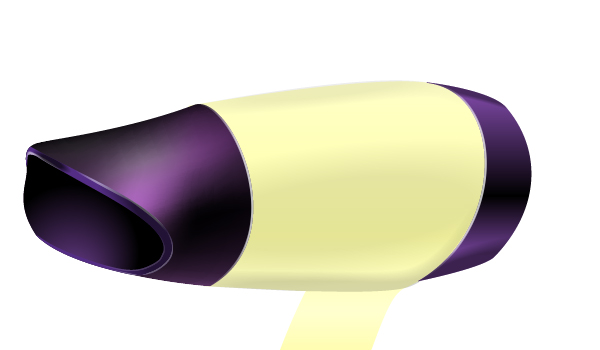
Let’s see the result we have up to this point in the tutorial, which is shown below.
The central part of the tool seems to be flat. In order to fix it let’s apply the “Black brush” to the following three paths shown in the image below.
After cropping these paths with a clipping mask (Command + 7) we should achieve the next result.
Step 14
The shape of the handle is created the same way. Apply the “White” and “Black brush” to the shown paths.
The source of light is located in the top left corner of our artwork. Therefore we should illustrate a shadow on the handle, which is located from the central part of the hair dryer. You can do it by using the “Black brush” too. See the image below that you need to achieve. And do not forget that all the paths should be cropped.
Step 15
Let’s work now on the back part of the tool. In the beginning sketch two paths and apply the “White brush” to them. See the image below where the upper path is brighter than the lower one in accordance with the light distribution principle.
Crop the paths with the clipping mask aid (Command + 7).
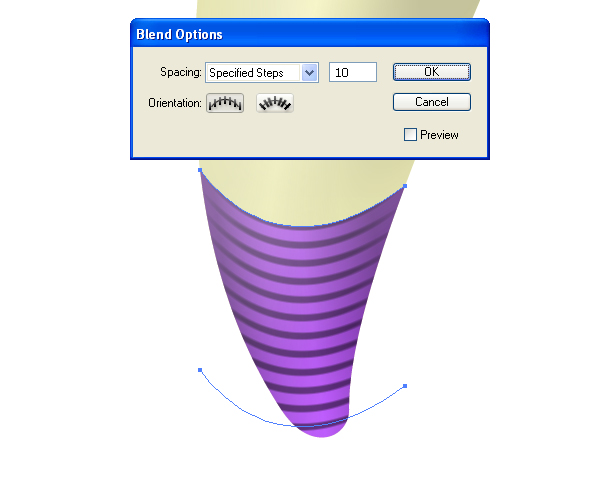
Go to Object > Blend > Blend Options and set the Spacing to Specified Steps and the quantity of steps to about 10.

Select both paths,…
…and go to Object > Blend > Make (Command + Alt + B).

I think that something is wrong here. Do you agree with me? If yes let’s continue to improve it. Create the path shown in the image below…
…and drag and drop it into the Blend group in the Layers palette, in order to let the blend go along this path.
Change the opacity of the blend.
Then Copy this blend and Paste it in Front (Command + C then Command + F). And change the Stroke weight of the paths in the blend group. You need to do this in order to emphasize the light distribution.
Step 16
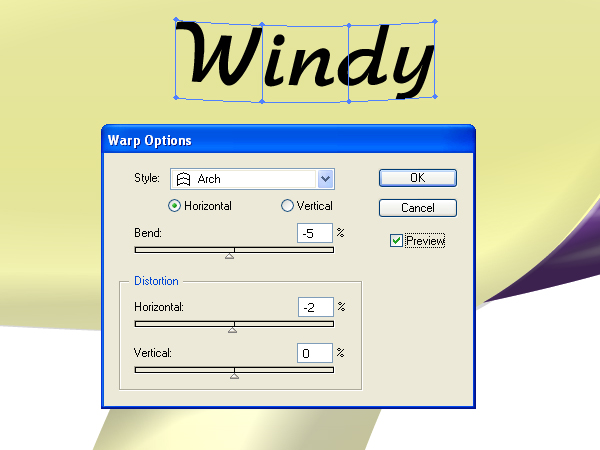
Let’s name our hair dryer “Windy.” Take the Type Tool (T), click in the central part of the tool, and type the name. Open the Character palette and choose any wonderful script.

Then go to Object > Envelope Distort > Make With Warp (Command + Alt + Shift + W) and specify the values which you can see in the diagram below.
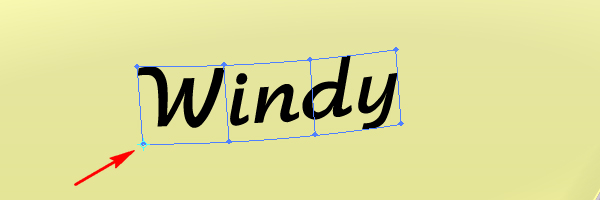
Then we should place the name of the hair dryer in the correct position over the central part. Grab the Rotate Tool (R) and click in the left bottom anchor point of the text selection (pointed by an arrow in the diagram below), and rotate the text slightly as shown.
Step 17
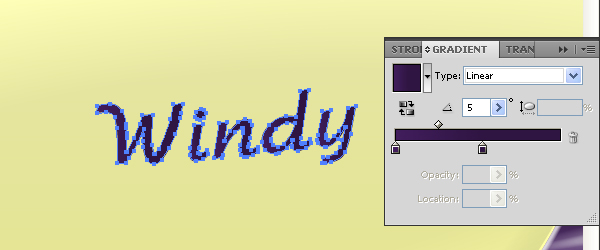
Now go to Object > Expand.

Then go to Object > Ungroup and fill the letters with an angled linear gradient.
Step 18
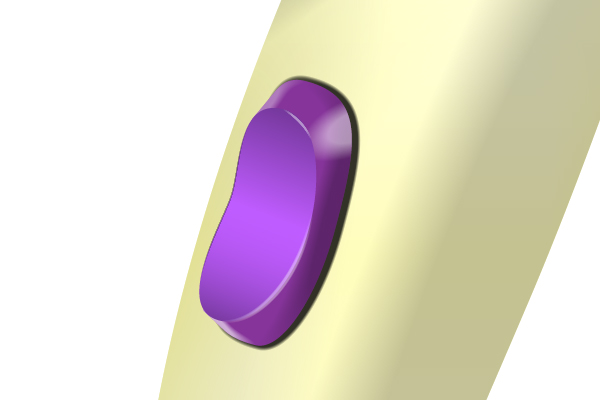
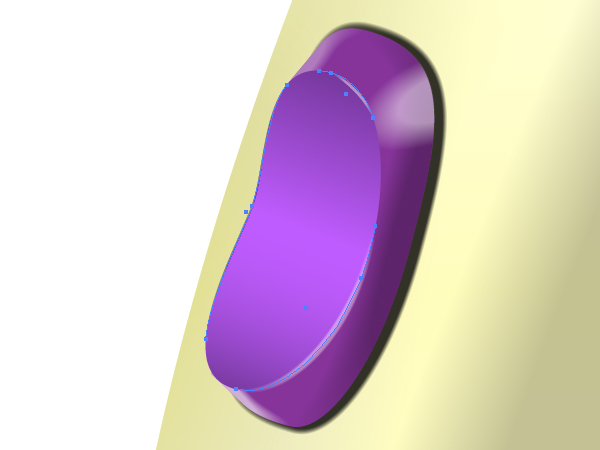
Now we’ll illustrate a power button. You should achieve the following result.
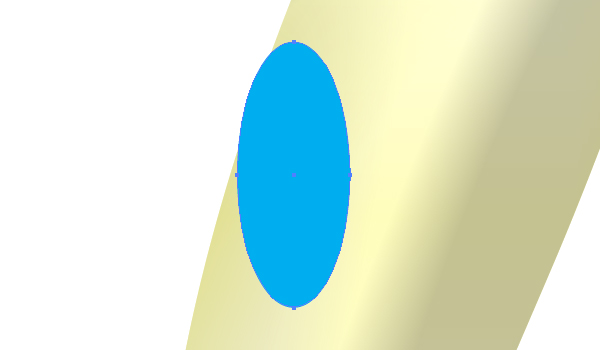
If you know how to achieve this without assistance do it by yourself. But if not, read carefully the continuation of this tutorial. Take the Ellipse Tool (L) and produce a vertical elliptical path over the yellow handle.
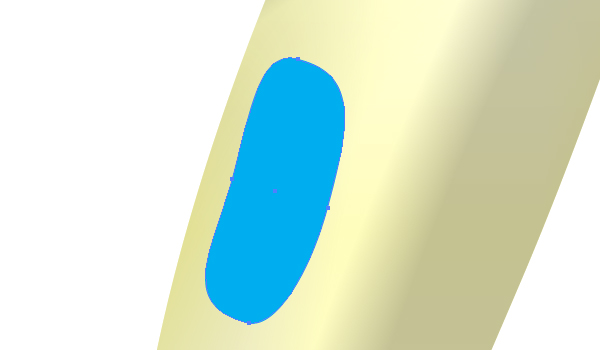
Take the Direct Selection Tool (A) and convert the elliptical shape to the next form shown below.
Illustrate then the green shape over it the same way.
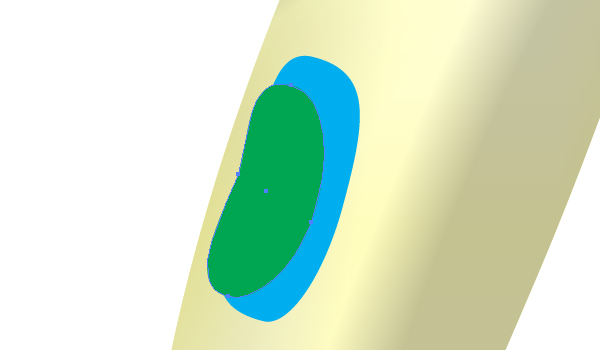
Both these paths will be basic ones for the button itself. Take the Pen Tool (P) now and sketch the path shown below in order to add the lateral parts of the button (shown with arrows in the diagram).
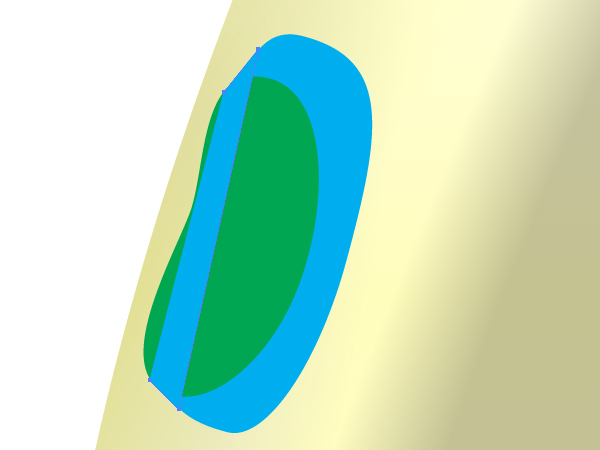
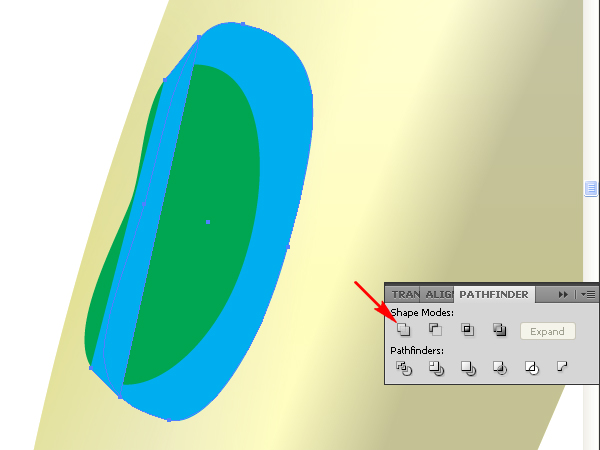
Select both blue paths, go to the Pathfinder palette and click there the Unite button. Or use the Shape Builder Tool (Shift + M) for this purpose.
Step 19
Fill the green path with an angled linear gradient.
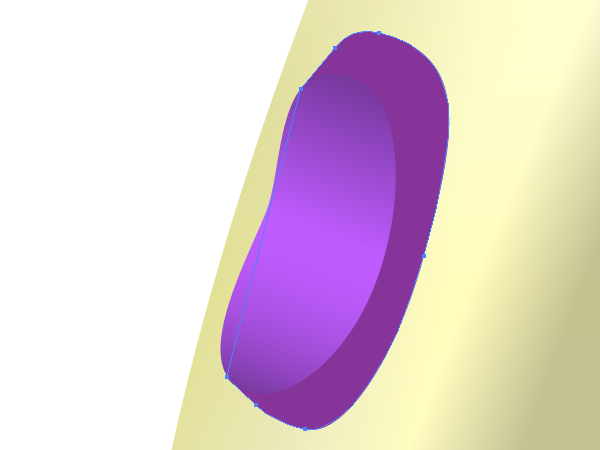
Then fill the blue path with violet.
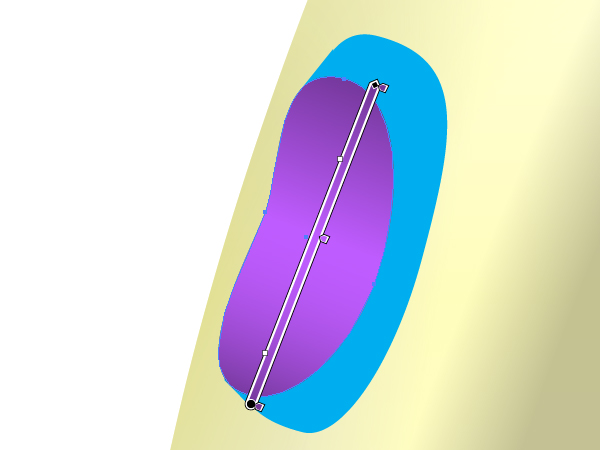
Sketch the next path, take the Scissors Tool (C), and click in the point indicated with an arrow in the diagram. Now apply the “Black brush” to the path.
Step 20
Apply the “White brush” to the following paths over the lateral side of the button.
Apply the “Black brush” to the next path over the lateral side of the button too.
And crop the paths with a clipping mask (Command + 7).
Repeat these actions on the front side of the button.
Step 21
Let’s work now on the end part of the handle. Picture the path shown below and fill it with an angled linear gradient.
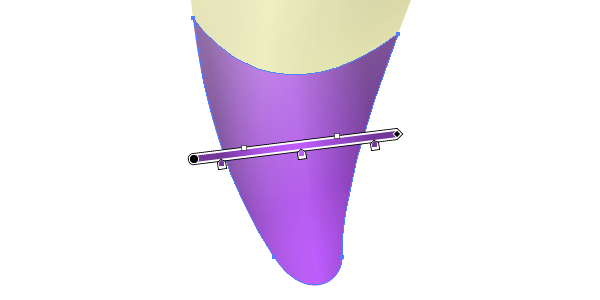
Create the blend by using the “Black brush” over this new path. Up to this point in the tutorial you already know how to achieve this without assistance. See the helpful image below for a reference.
Step 22
Illustrate a shadow from the hair-dryer by using the blend shown below.

And illustrate a background by using the Mesh Tool (U).
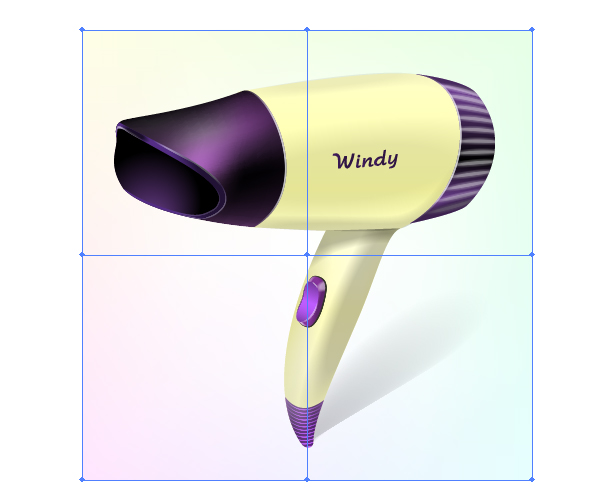
Conclusion
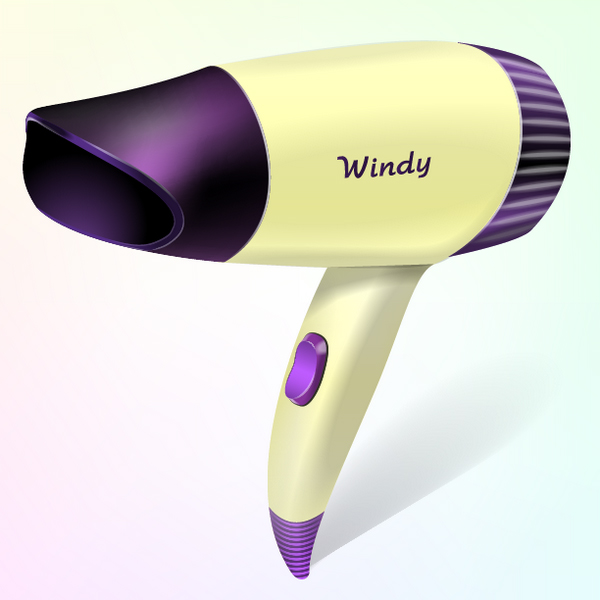
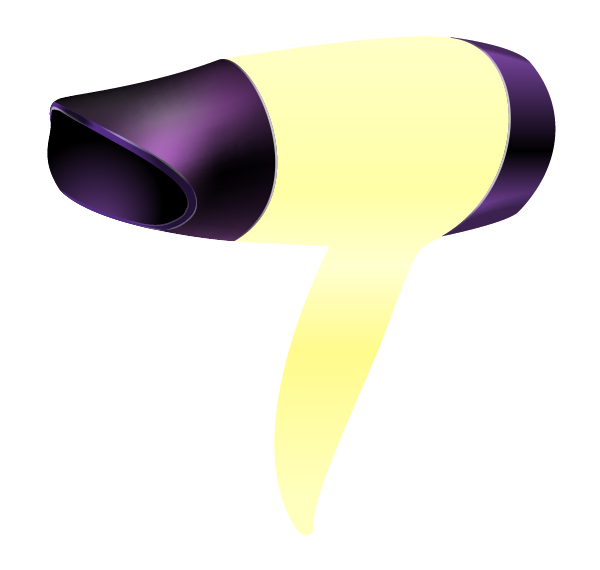
The final image is below. Apply the techniques you learned here for creating your own stunning artwork.