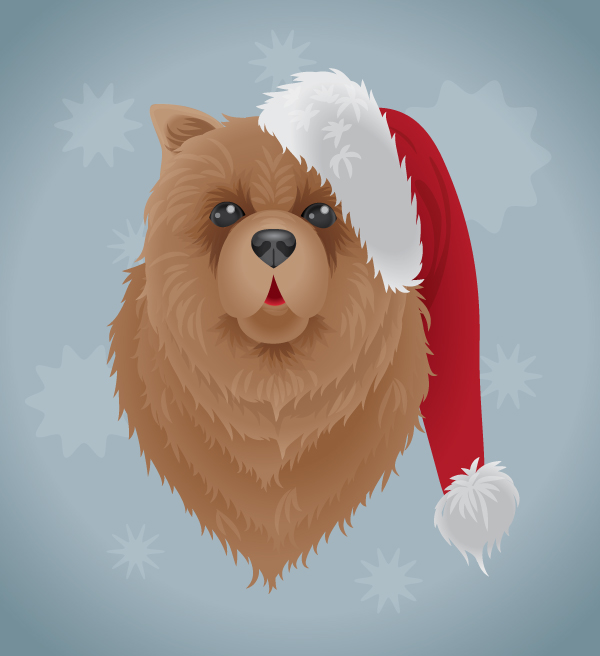
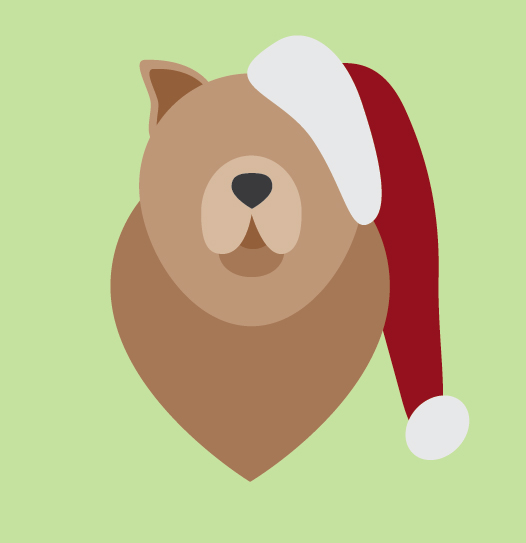
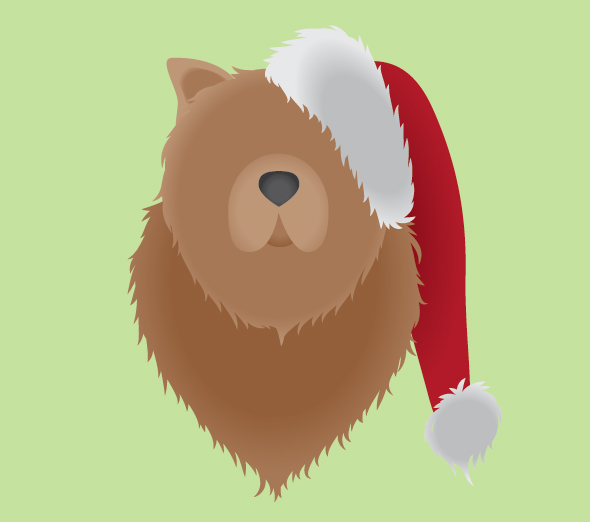
In today’s tutorial, I’m going to take advantage of the free photo stock file of the month over on Photodune and show you how I created this festive dog illustration in Adobe Illustrator. I’ll be using the stock image loosely and showing you how to follow it to produce a stylized portrait using the Paintbrush Tool, Gradients and more. So let’s get stuck in!
Step 1
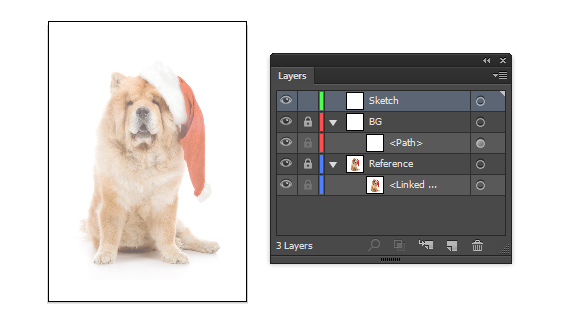
After downloading the stock image, File > Place it into a New document and set up your Layers panel as follows. I’ve put a white fill Rectangle (M) over the top of the stock image, set to Opacity 50% to help mute the colors.
Step 2
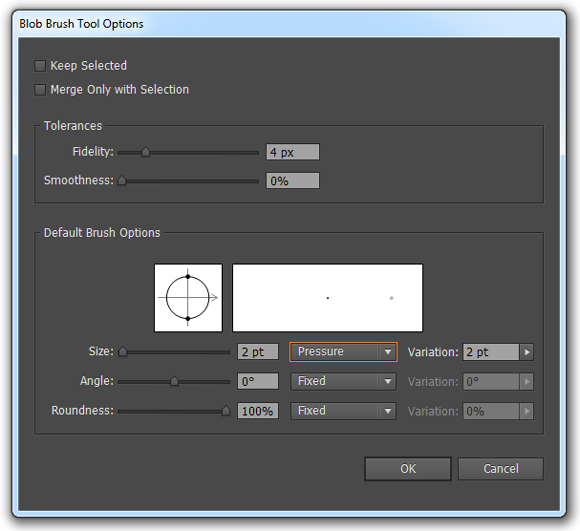
I’m going to create a rough sketch over the stock image using the Blob Brush Tool (Shift + B). Double click on the icon in the Toolbar to access the Blob Brush Tool Options. I’ve changed the Size to 2pt and it being influenced by Pressure so it will benefit from my graphics tablet. Change the Variation to 2pt and then click on OK.
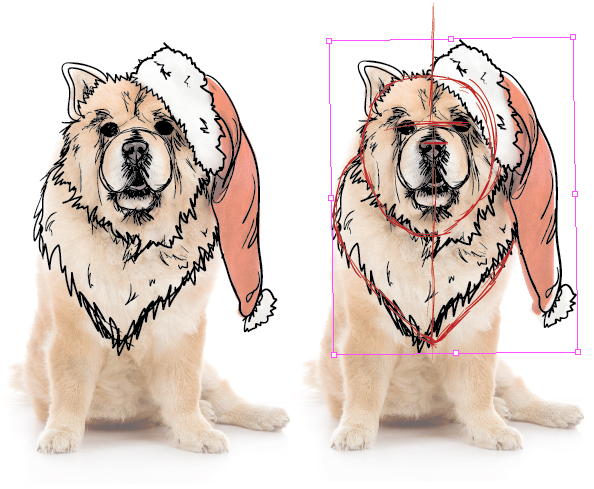
I’m sketching very loosely here and just paying attention to the key areas and going with the flow. The main things I’m changing are the size of the eyes… because bigger eyes make for a cuter portrait! I’ve then sketched a central line and lines for the eyes and nose, then used the Free Transform Tool (E) with all the elements selected to straighten the sketch.
Step 3
Reduce the Opacity of the sketch down to about 10% and then hide the stock image. I’m going to create the base shapes for the portrait, starting with the Ellipse Tool (L). Draw an even circle for the face and then select the bottom point and nudge it downwards using the arrow keys on your keyboard. Duplicate the shape and then increase it’s size and alter it’s position using the Free Transform Tool (E).
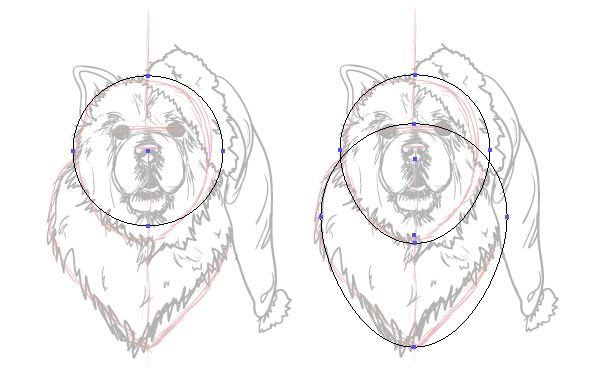
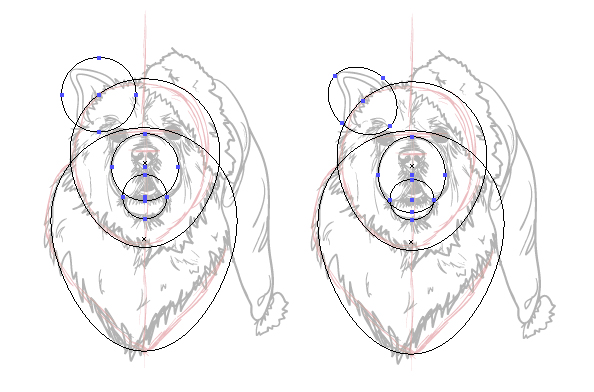
I’ve then added circles for the ear, mouth and muzzle. Alter the shapes using a similar method as appropriate.
Step 4
For the muzzle and the ear, I’ve added additional points using the Pen Tool (P). I’ve then used the Direct Selection Tool (A) to alter the handle bars to alter the shapes.
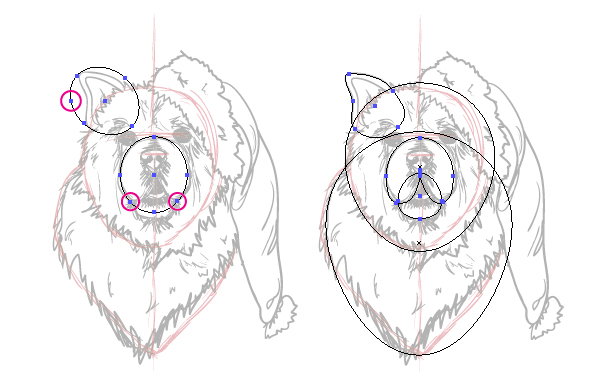
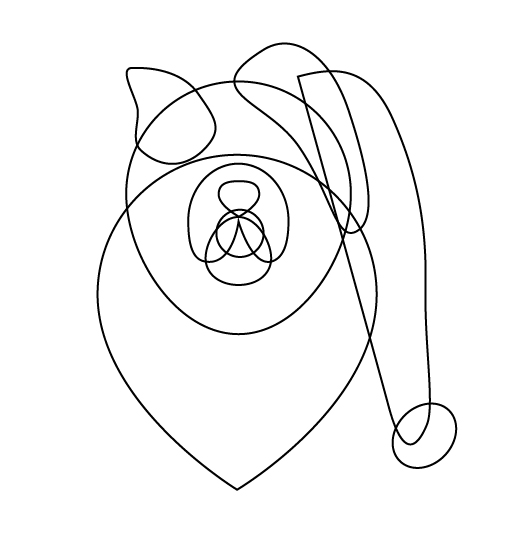
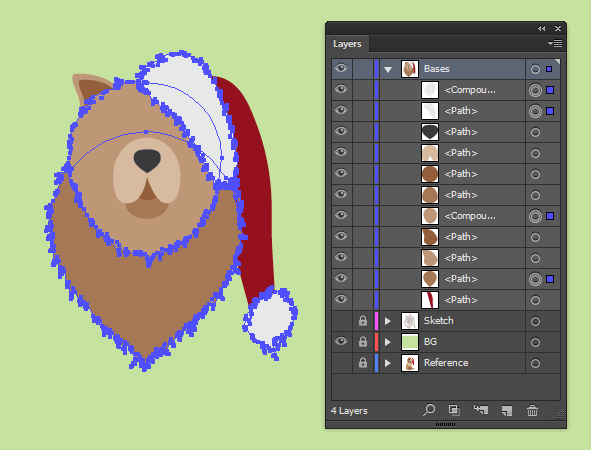
I’ve added shapes for the tongue, nose and Santa hat. Below are my complete base shapes.
Step 5
I’m going to add colors now to my base shapes. Although you maybe tempted to use a white fill for the trim of the Santa hat, avoid doing so as it would be too bright. I’ve choose an off white shade for this. The same can be said about using black for the nose… this would be too bold, so opt for an off black/dark grey shade.
Step 6
I’m going to be using a "Width Profile 1" brush I created in a previous tutorial with the Paintbrush Tool (B). Draw around the edges of the larger furry shapes with the Stroke Weight of 4pt. This includes the trim of the hat and excludes the ear and muzzle area. Group each of the sets of strokes together (Control + G).

Step 7
For each group, Object > Expand the strokes and then use Pathfinder > Unite to combine them into a shape for each area.
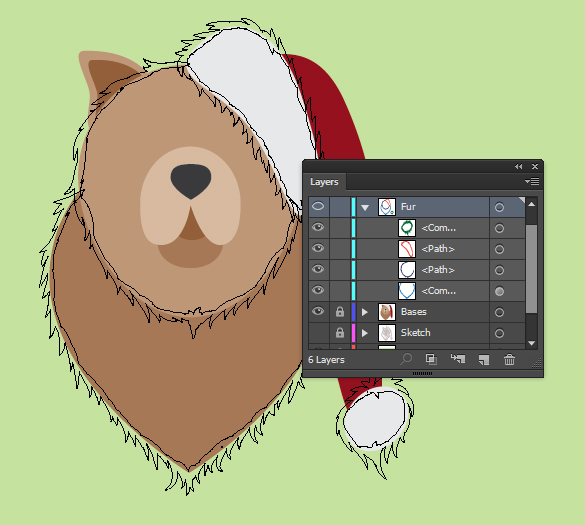
Then while selecting the corresponding shapes, use Pathfinder > Unite on those. What this will create is a furry base shape for each of the areas.
Step 8
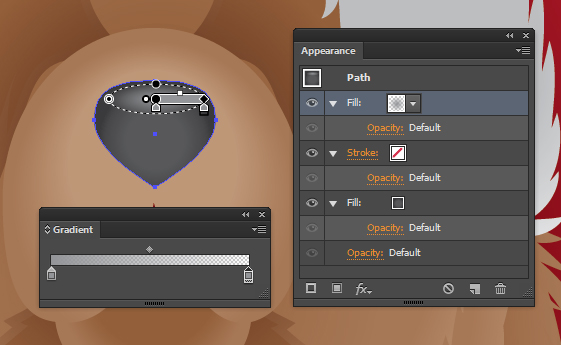
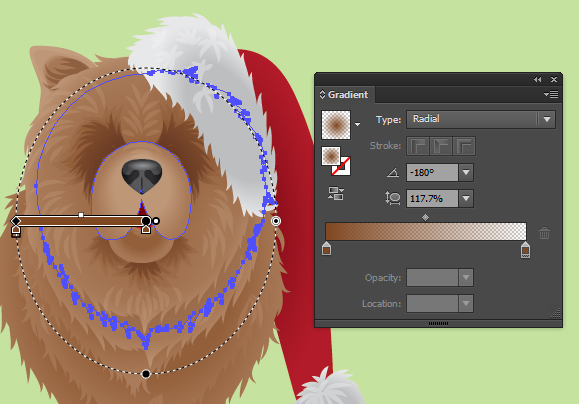
For each of the shapes, add a radial gradient fill in a New Fill in the Appearance panel. Each of the gradients should have a lighter color on the outside of the gradient to highlight the edges of the shape.
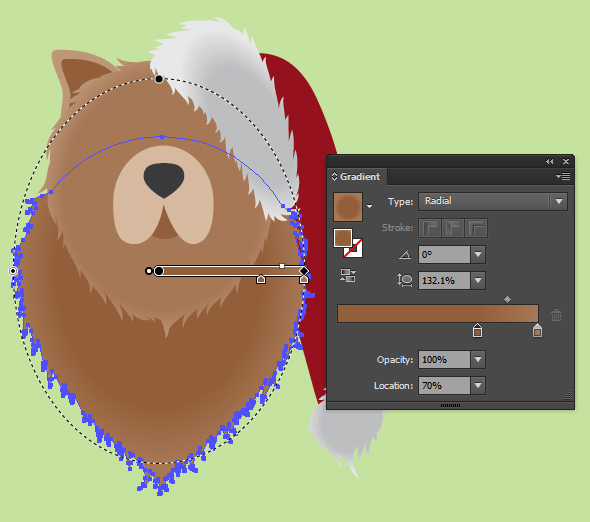
This is different for the nose, muzzle and tongue/mouth area where it is the other way around.
Step 9
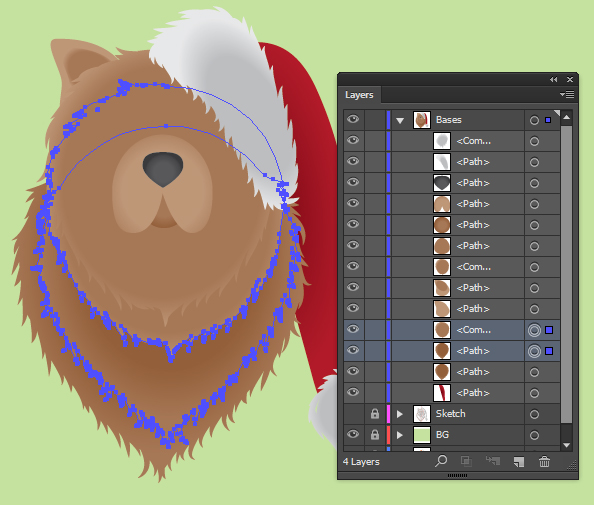
Select the large shapes for the face and neck area of the portrait and duplicate them. Use Object > Transform > Reflect > Horizontal on the neck shape.
While selected create a Blend (Control + Alt + B) and then in the Object > Blend > Blend Options change the Spacing to Specified Steps of 5 and click on OK.
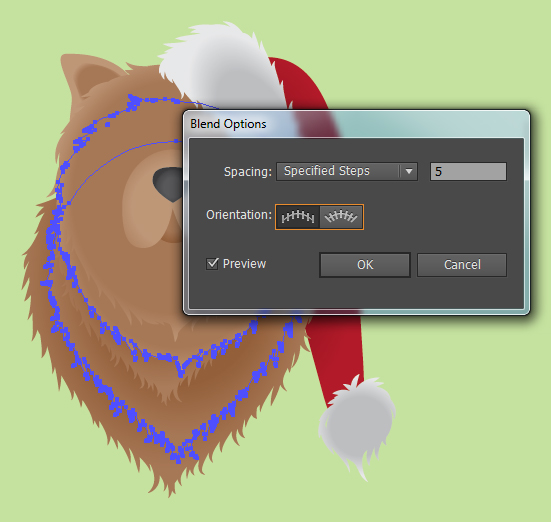
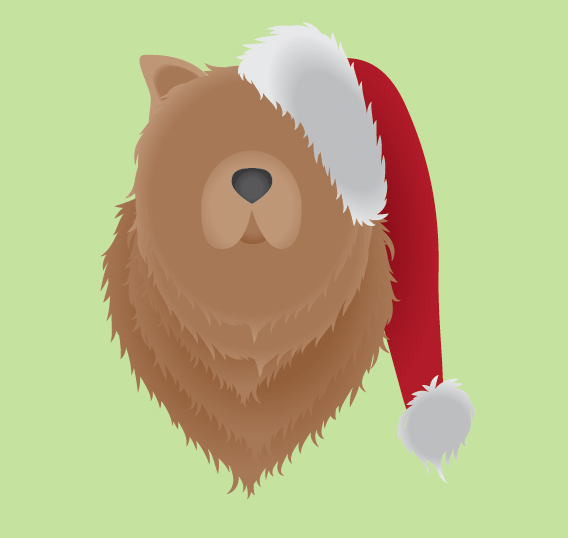
This will create a nice tufted up fur effect around the neck without the need of creating additional shapes.
Step 10
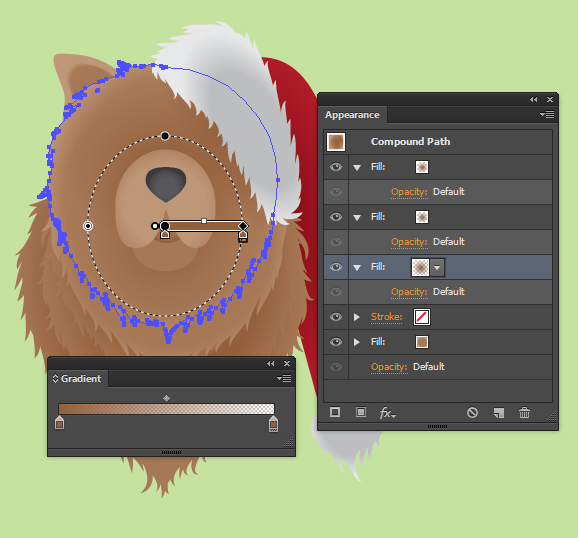
Going back to the shape for the face, add two New Fills and use a dark brown transparent radial gradient to add dark areas around the base of the muzzle and underneath the rim of the Santa hat.
Step 11
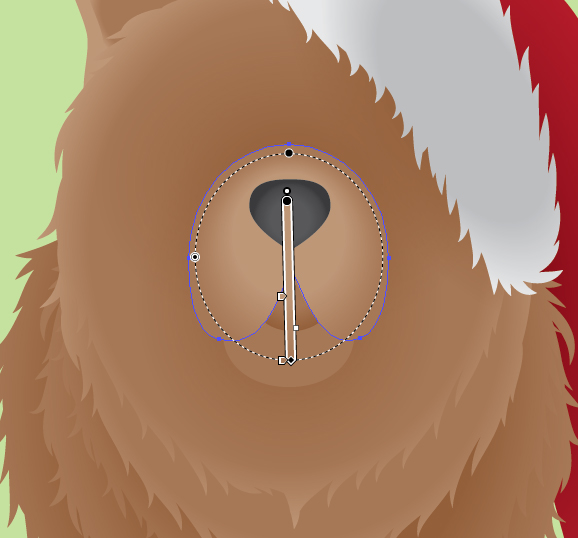
For the muzzle itself, add a New Fill with a lighter brown transparent radial gradient. However shift the source of the gradient towards the top of the muzzle. This will help create a steeper gradient along the top of the muzzle.
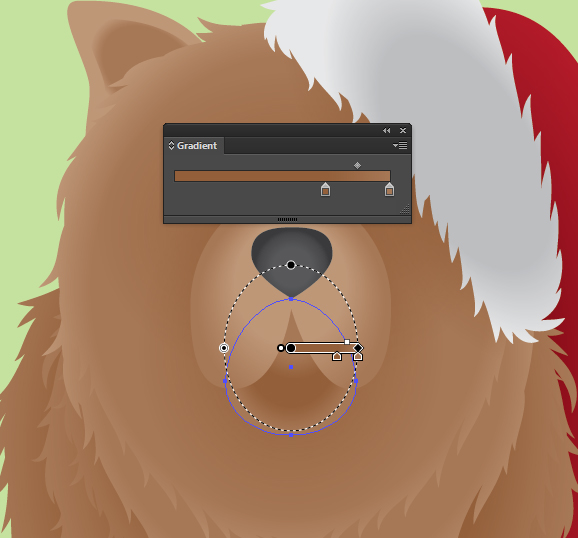
Add a medium brown to lighter brown radial gradient to define the chin/mouth shape and alter the gradient accordingly with the Gradient Tool (G).
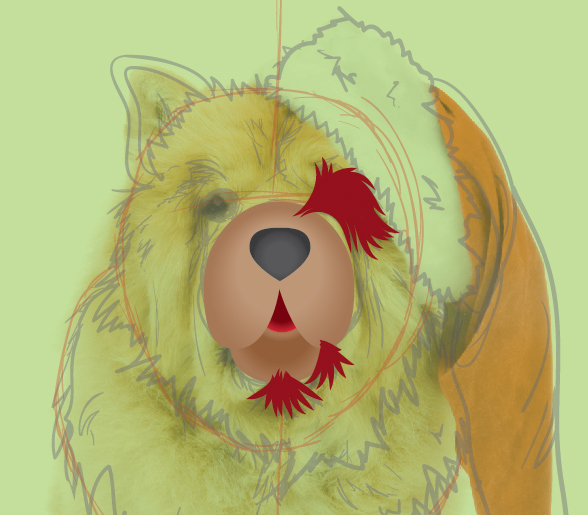
Then with the mouth shape, add a radial gradient which includes a dark and medium red to create the impression of a tongue there.

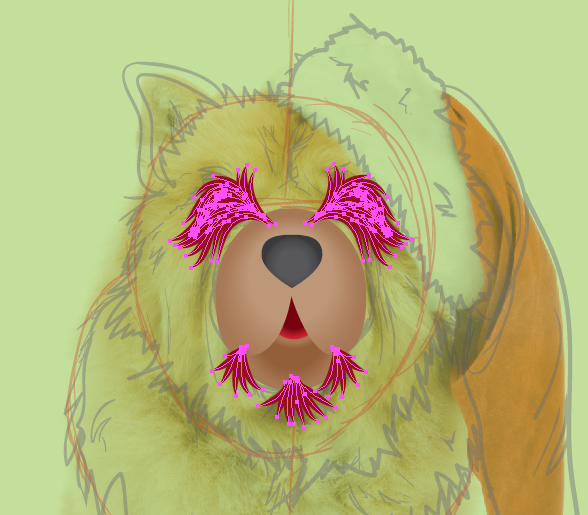
Step 12
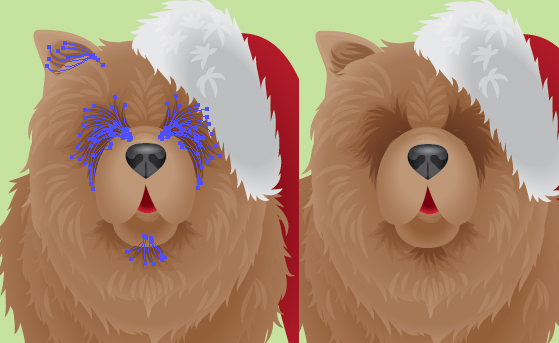
Time to start adding some darker shapes to the face. Using the Paintbrush Tool (B) with the same Art Brush as before, add 5pt strokes around one of the eyes and around the chin area.
Duplicate the group of strokes from around the eye and chin and Object > Transform > Reflect them so you have an even shape on each side.
Step 13
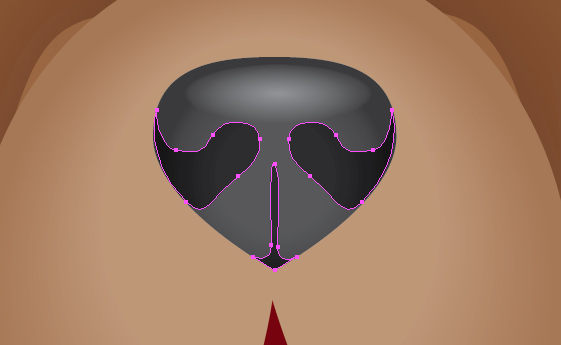
While selected, use Object > Expand. Select all five shapes and use Pathfinder > Unite.
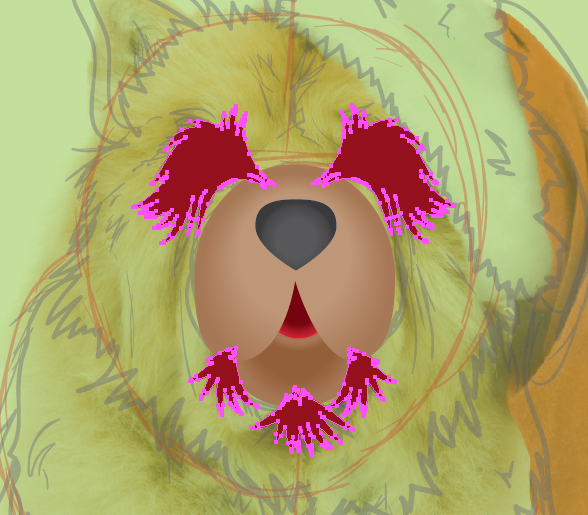
Then fill with a darker brown gradient to give the impression of shadow and deep set eyes.
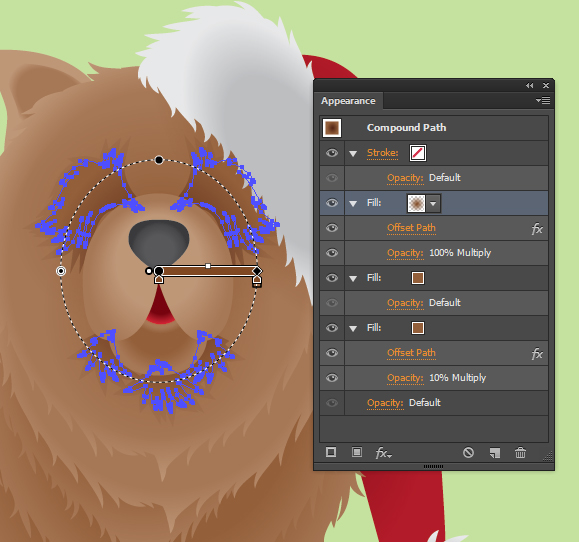
Step 14
While selected, in the Appearance panel, Add New Fill below the original Fill and add a lighter shade of brown. Use Effect > Offset Path to extend the shape by 3pt. Add New Fill above and fill with a dark brown transparent radial gradient, also with a 3pt Offset Path. This is to add a darkened area around the muzzle, but for it to also influence the lighter fur beneath the original fill.
Step 15
Moving onto the nose, add a light grey transparent radial gradient on the top of the nose in a New Fill. Use the Gradient Tool (G) to shape it.
Then add shapes for the nostril and a shape dividing the nose with a grey fill set to Blending Mode Multiply, Opacity 20%.
Step 16
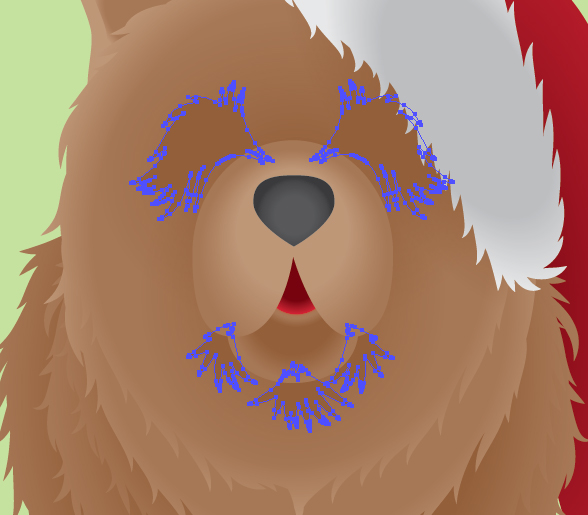
Using the Paintbrush Tool (B), add 6pt strokes with a light brown fill around the fur and light grey strokes around the hat trim. These strokes will then need to be set to Opacity 20% to 40%.
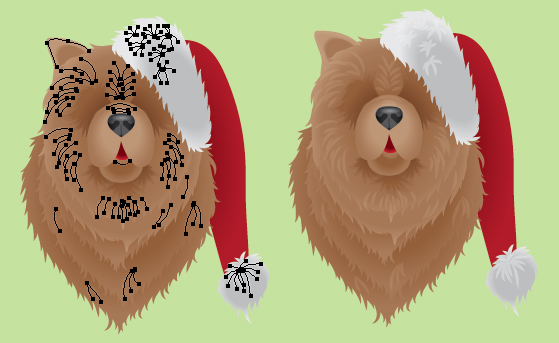
Then add darker strokes for the ear, eyes and chin set to Blending Mode Multiply.
Step 17
Duplicate the face base layer and remove all Appearance panel attributes using the Clear Appearance button. Use Object > Transform > Reflect to flip the shape. Position the shape to the lower right of the shape and fill with a dark brown transparent radial gradient to create a subtle shadow cast from the head.
Step 18
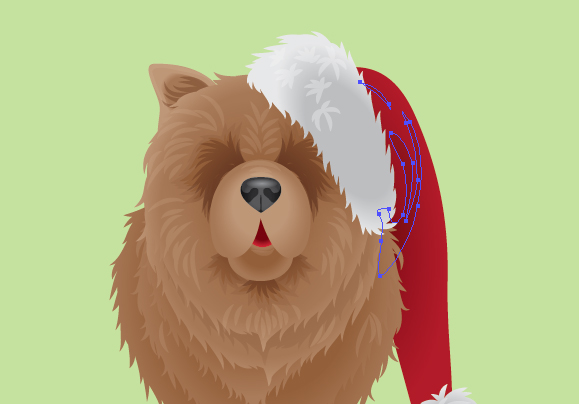
Time to add more detail to the hat. If you’re like me and find it hard to add folds to fabric, there’s no shame in following the stock image. Use the Pen Tool (P) to get a basic idea of the folds in the fabric…

… and then fill with a dark red set to Blending Mode Multiply, Opacity 50%. Depending on your initial sketch, you may need to use the Free Transform Tool (E) to enlarge and reposition the folds.
Step 19
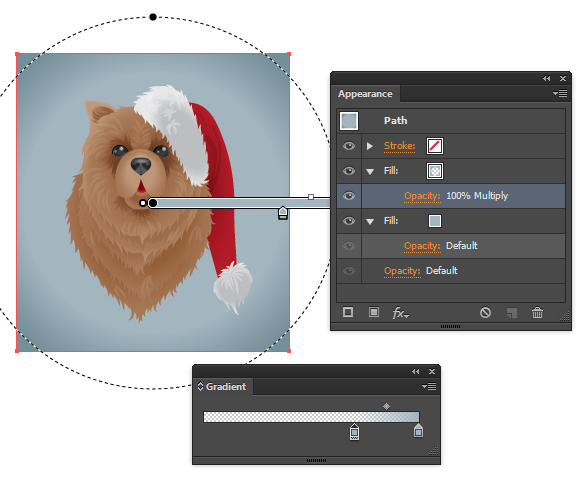
Time to add the eyes. I’ve created a pinched oval shape for one eye and then used the below Appearance panel settings. Note that the gradients create shadow around the eye, then shadow along the top of the eye (as shown), a shadow to create an eyeball effect and a gradient to create an iris effect with a slightly lighter gradient.
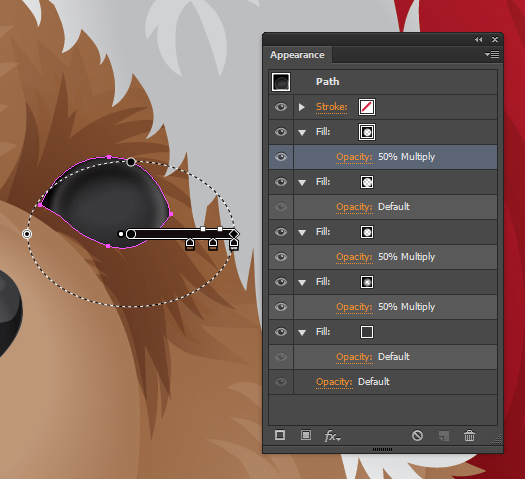
Then duplicate the shape and Object > Transform > Reflect it. Move the eye into position and ensure it’s straight using the Align panel.
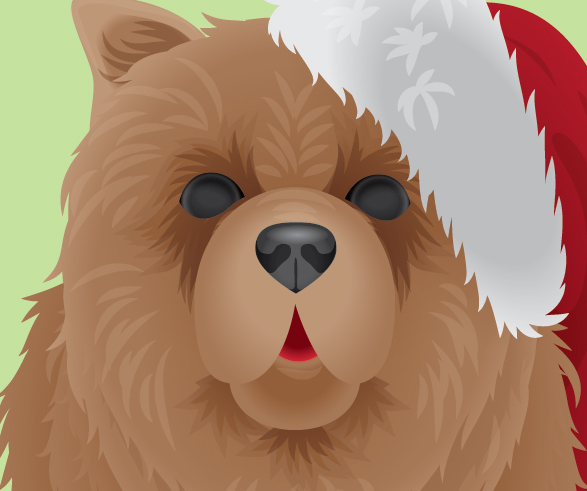
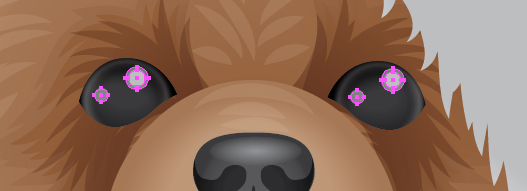
Step 20
Add three circles created with the Ellipse Tool (L) with a light grey fill set to Blending Mode Screen, Opacity 50%. Then duplicate the circles and move into position for the other eye, to create reflections on the eyes. This helps give them life and to of course make the dog look even cuter.
Step 21
To finish off, I’ve added a light blue/grey fill Rectangle (M) behind the portrait and created a subtle vignette effect with an inverted blue transparent radial gradient.
Step 22
To make it a little more festive, I’m adding some snowy style shapes in the background. Create an even circle using the Ellipse Tool (L). Then go to Effects > Transform & Distort > Zig Zag and use the below settings.
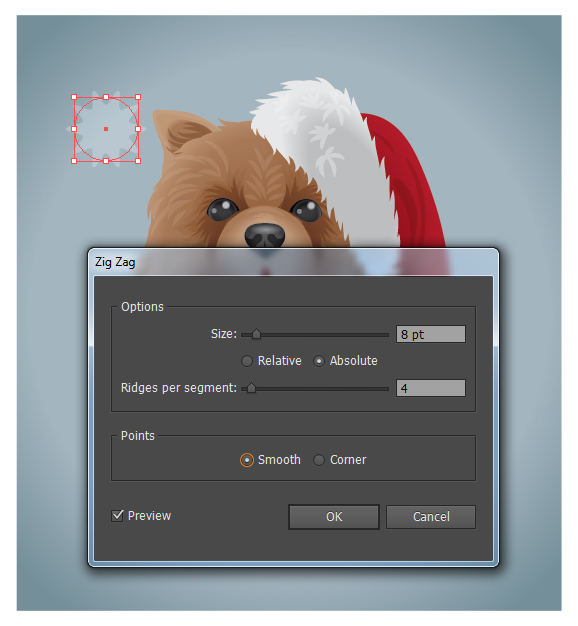
I’ve then duplicated the circle and resized it using the Free Transform Tool (E) to create different variations.

Conclusion
It’s always worth keeping an eye on Photodune for the free file of the month, you never know it may inspire you on those slow months as it has done for me. Have a great time over the festive period and remember to not over feed your pets on holiday scraps!