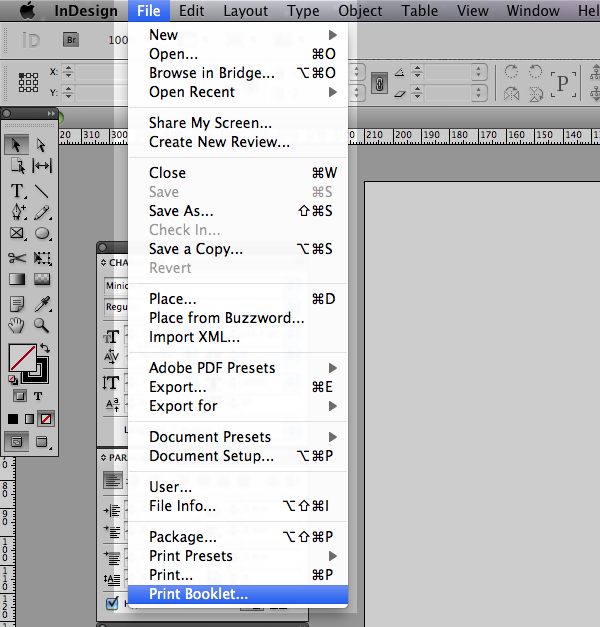
Sitting at the bottom of the File menu within InDesign is the Print Booklet feature. This feature has the potential to virtually cut out imposition time and for that reason it should not be overlooked. As print machines, paper sizes and ways of working vary I will try to keep this tut as generalised as possible. However the tut will be easier to follow if your design is portrait, saddle stitched(stapled) and contains eight pages or more.
Step 1
Start by opening your design. If you don’t have one, check my previous tut on how to create one How to Make an A5 Print Ready Leaflet InDesign CS5 or alternatively you can follow this link to download a template ready for instant use Elegant A6 Pocket Brochure Template. Note: as we are printing a saddle stitched booklet your pagination should be in multiples of four, for example 4, 8, 12, 16 and so on.
Step 2
Go to File > Print Booklet.
Step 3
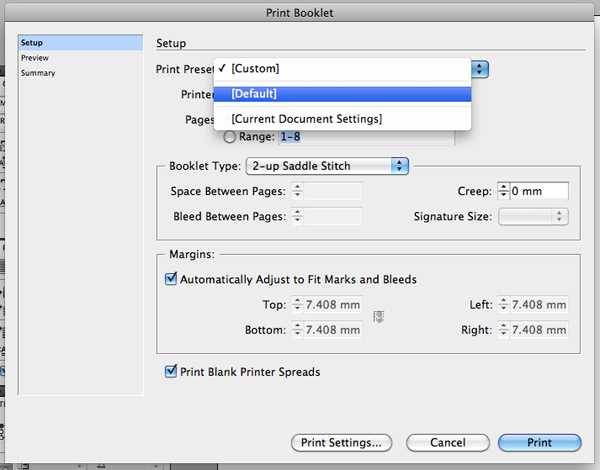
Under the Print Preset drop down menu select the printer you intend on using. If you only have one printer installed it is fine to select Default.
Step 4
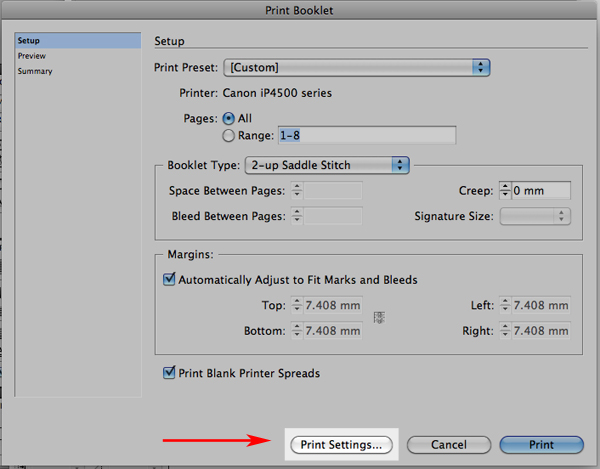
Now go to Print Settings
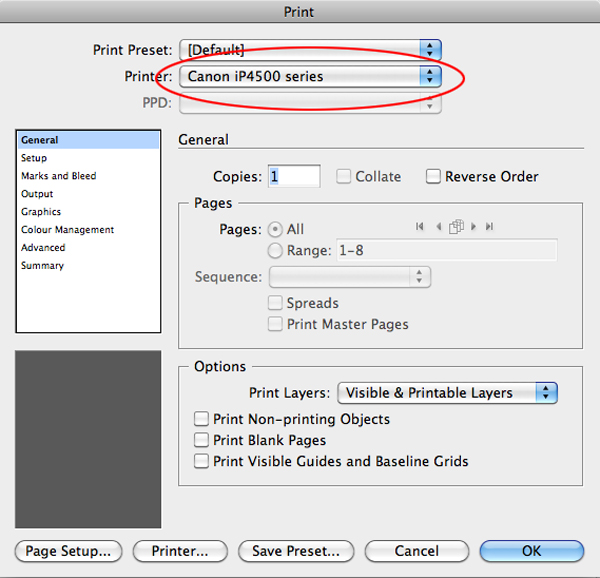
Check that your preferred printer is selected.
Step 5
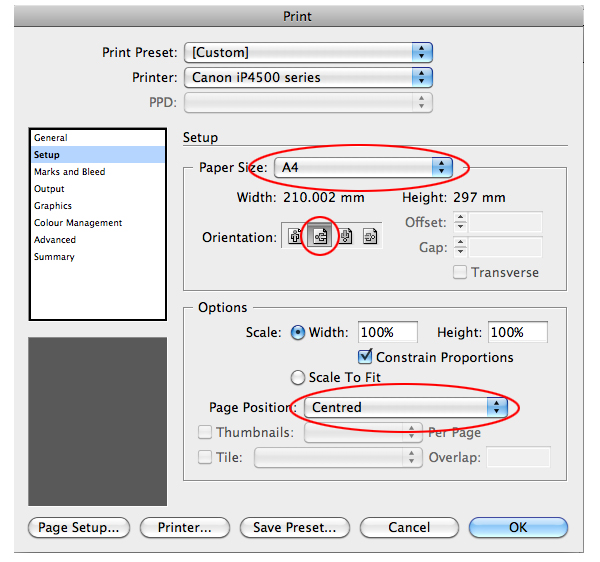
Move down to Setup and select it. Again double check your paper size, orientation is Landscape, Scale is 100% and that the Page Position is Centered.
Step 6
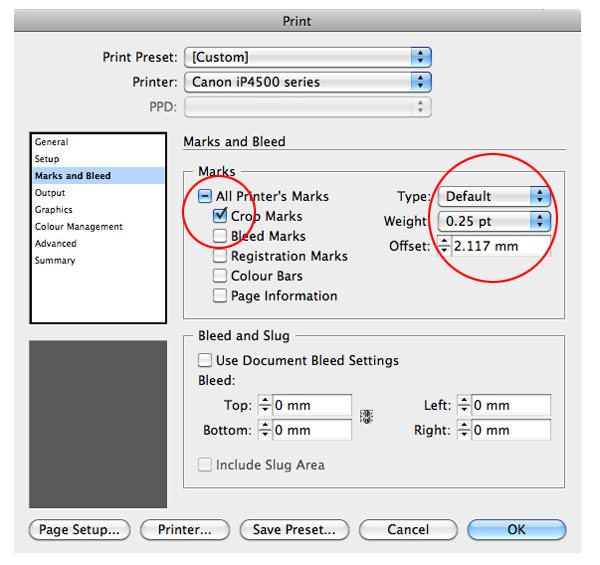
Open Marks and Bleed. Add Crop Marks and set the preferred Weight of your crops. For the purposes of this Tut everything below Marks and Bleed we are going to leave as default.
Step 7
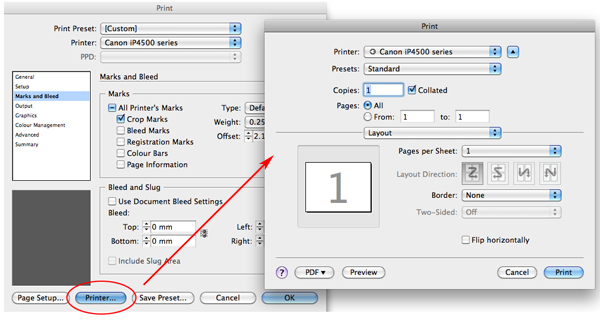
Now open the Printer options.
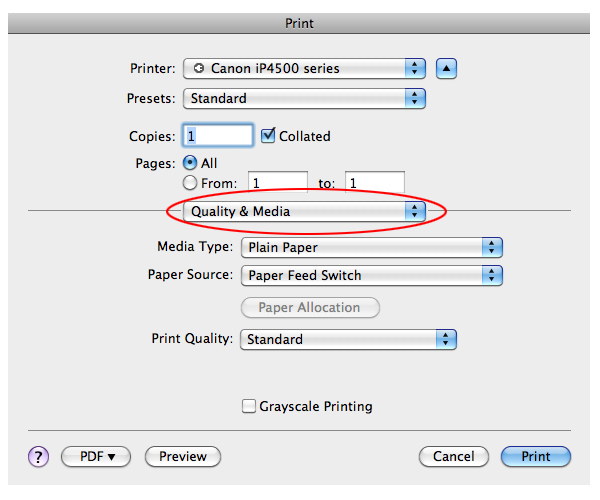
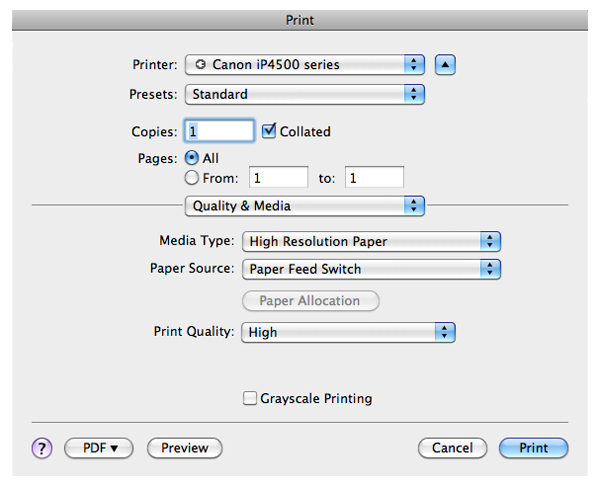
Select Quality and Media from the drop down menu.
Step 8
Select the Media Type you are printing on, check the Paper Source is correct and set your Print Quality. My selections are below.
Step 9
Next open Duplex Printing and Margin. This is where you choose where you want your booklet to be bound. For my design it needs to be Long-side stapling (Left) and it should be for the template I recommended.
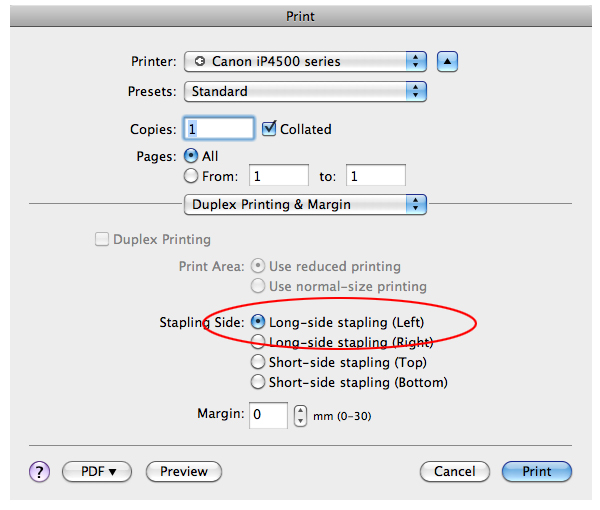
Now go ahead and press the Print button to return to the Print menu.
Step 10
Press OK to return to the Print Booklet menu. To check that your booklet is set up correctly open the Preview section.
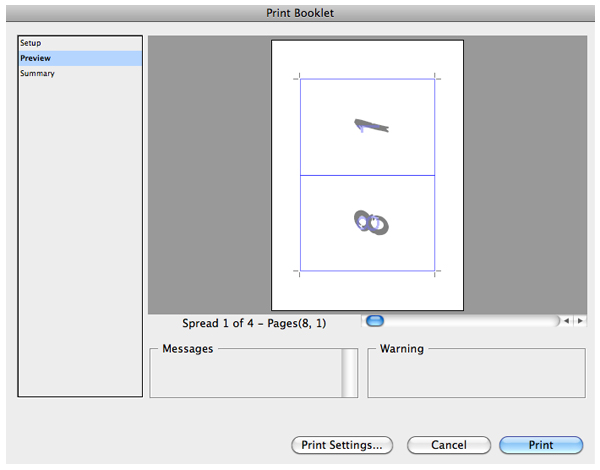
If there is any issues the Waring dialogue box will list them. By using the scroll bar you can view the page pairs. On the screen shot above you can see the back page ( number 8 ) and the front page ( number 1 ). Once you are happy press print.
Conclusion
The process that I have just detailed can be transferred to any booklet design and will cut your imposition time down dramatically. All that is left do now is to get your metal ruler, cutting board and scalpel ready.


