Today we are going to explore using Clipping Paths created in Photoshop within InDesign. The following tut will explain what format to export to and how to apply the Clipping Path using InDesign’s built in features. Additionally I will guide you to the tools needed for editing the Clipping Path and converting to a custom frame.
Step 1
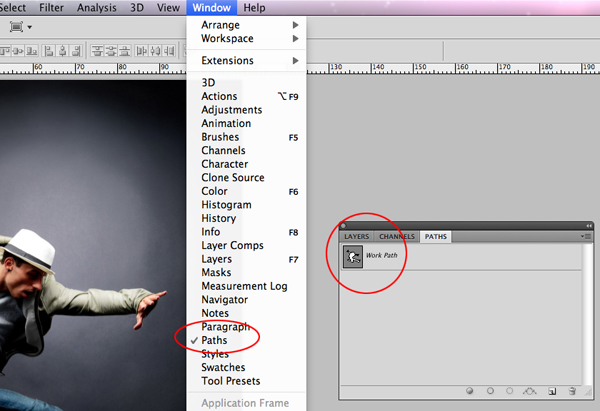
InDesign can use any graphic that has the ability to save a clipping path or alpha channel, for example a TIFF or PSD. I prefer to use EPS format as I have tried and tested it. The first task is to make sure that the graphic contains a clipping path by opening it in Photoshop. Open the Paths palette which can be found by going to Window > Paths, here you will be able to view a path if one has been created. If a path is needed and you are uncertain on how to create one check out the wonderful Photoshop Basix tutorials on PSDtuts+ before you proceed. Otherwise save your file as your preferred format.
Step 2
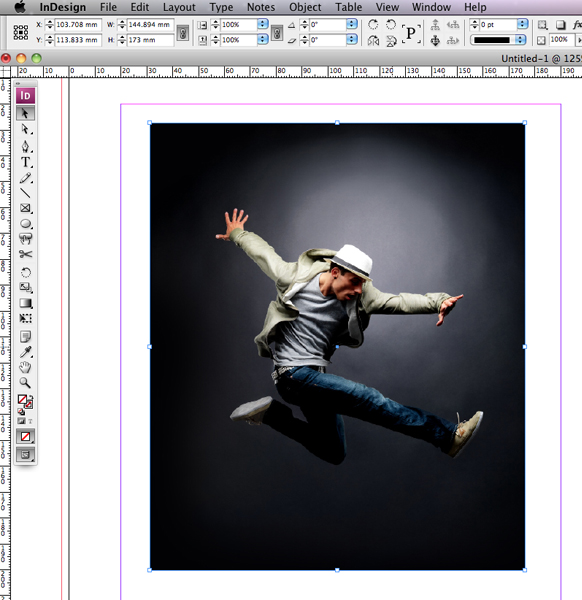
Ok back to InDesign. Open an existing project or for the purposes of this tut create a New Document. Place your image by going to File > Place. Navigate to where it is saved, select it once, press Open and click within the document to place.
Step 3
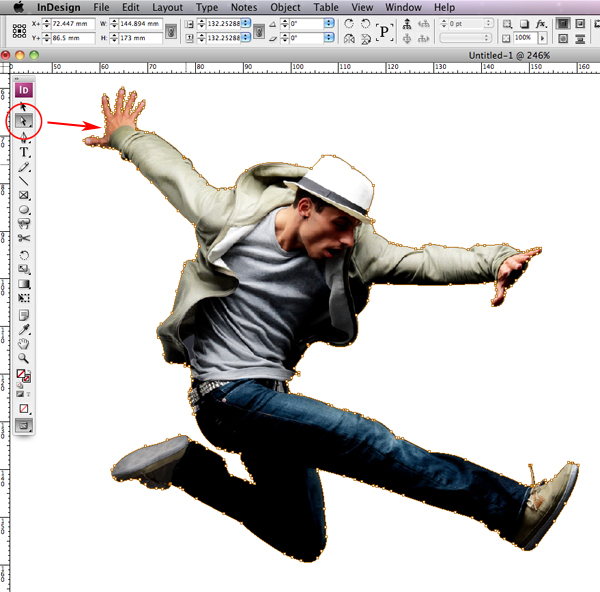
After placing, the image should still be selected, if not use the Selection Tool to select by clicking once on the graphic.

Step 4
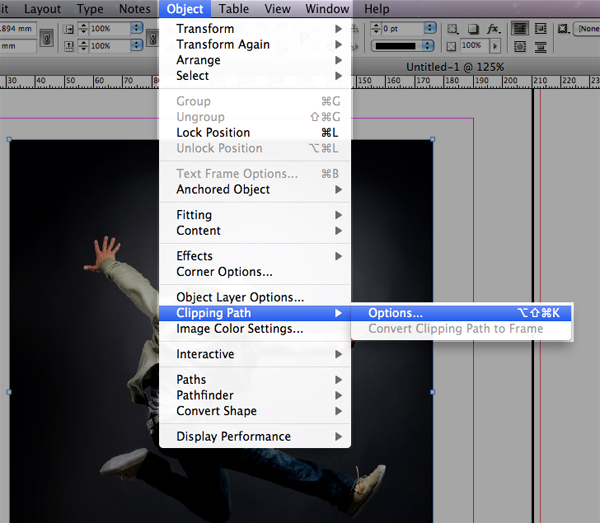
Go to Object > Clipping Path > Options.
Step 5
Within the Clipping Path floating panel open the Type drop down menu and select Photoshop Path. Now tick the Preview tick box to view the Clipping Path.
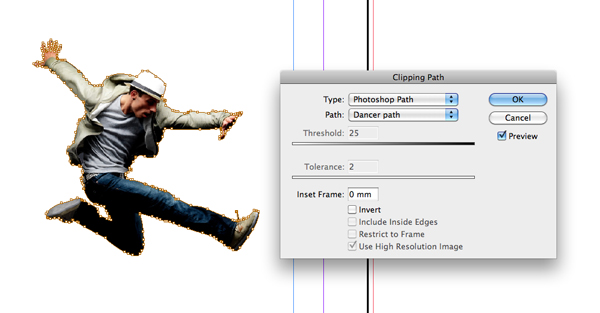
You will notice that directly under the Type menu sits the Path menu. If you happen to have more than one path saved in the graphic, this is where you choose what path to use. Finally click OK.
Step 6
The path should be selected and highlighted brown. Also the Direct Selection Tool should be active. With this tool you can adjust the path. Simply click on one of the points to adjust, or to activate the handles for adjusting curves.
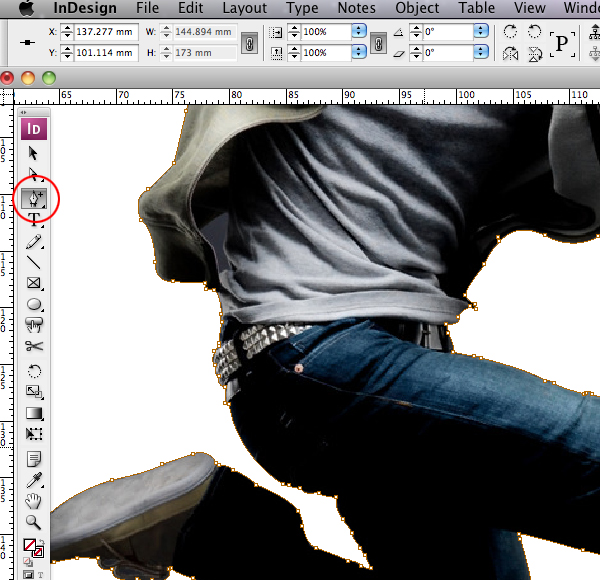
Step 7
As the path is now an InDesign path you can add and delete points using the Pen Tool. Ensure that the path is highlighted by using the Direct Selection Tool, pick the Add Anchor Point Tool and click anywhere on the path to add a point. Similarly you can use the Delete Anchor Point Tool to remove points by clicking on them.
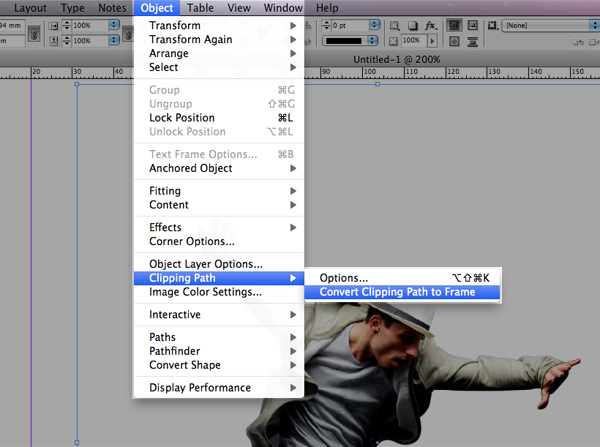
Step 8
Now that the Path is complete, you now have the option to convert the Clipping Path to a frame. To do this, select the current frame with the Selection Tool and go to Object > Clipping Path > Convert Clipping Path to Frame.
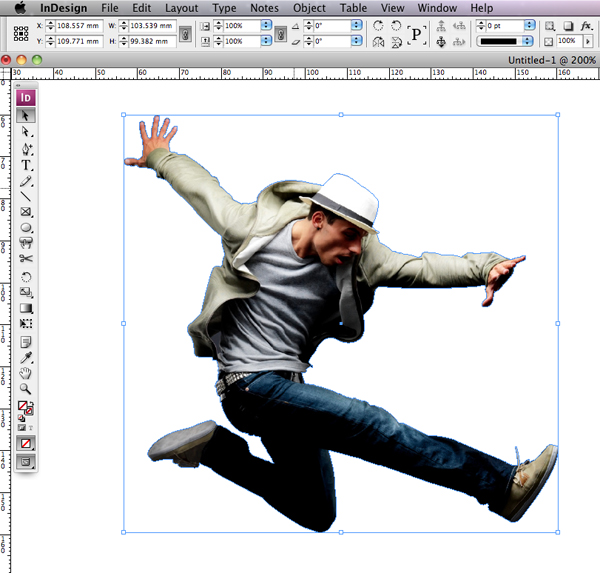
Conclusion
I recommend that you experiment with different images and paths within Photoshop and place them in InDesign. You will discover some images work perfectly and others rely on the extra capabilities that only Photoshop offers to achieve an accurate Clipping Path. Happy designing!
The image used for this tut comes from Photodune author Yuri_Arcurs